If your Lenovo laptop camera is not detected, shows a black screen, or fails to work in apps such as Zoom, Teams, or the Windows Camera app, the problem may be caused by a closed privacy shutter, blocked camera permissions, disabled hardware settings, corrupted drivers, Lenovo Vantage privacy options, or BIOS configuration. This guide explains several practical ways to restore webcam functionality.
Check the Physical Camera Cover First
Look at the top edge of the laptop screen. If there is a small slider, check its position. A closed shutter typically shows an orange indicator or covers the camera lens visibly. Slide it open and test the camera before doing anything else
Some Lenovo models also use a keyboard shortcut to toggle the camera. On certain ThinkPad models this is a function key with a camera icon — check whether pressing it changes the camera status
Fix 1: Check Windows Camera Privacy Settings
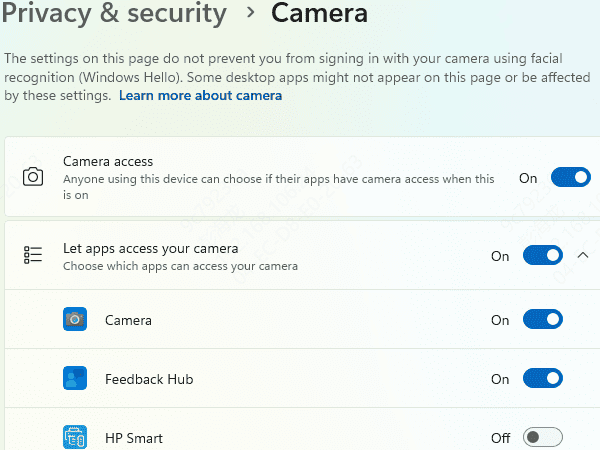
Go to Settings, then Privacy on Windows 10, or Settings, then Privacy and security on Windows 11. Click Camera. Confirm that "Allow apps to access your camera" is toggled on
Scroll down and confirm that the specific application you're trying to use — Teams, Zoom, Skype, or others — also has camera access enabled in its individual toggle. Also confirm that "Allow desktop apps to access your camera" is enabled, as this covers applications installed outside the Microsoft Store
Test with the built-in Windows Camera app after making any changes here. If the Windows Camera app shows the image correctly, the issue is app-specific rather than system-wide, and Fix 7 covers that scenario
Fix 2: Enable the Camera in Device Manager
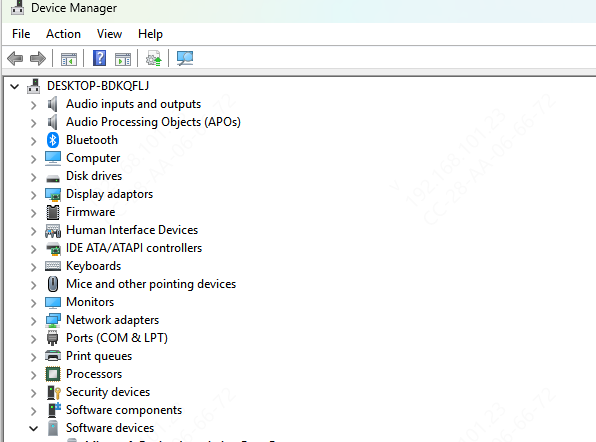
Press Win + X and open Device Manager. Expand the Cameras section, or Imaging Devices on older Windows versions. If the camera entry shows a small down arrow icon, it is disabled. Right-click it and select Enable device. The camera should become available within a few seconds
If the camera entry shows a yellow exclamation mark, the driver is corrupted or missing — Fix 3 and Fix 4 address this. If there is no camera entry at all, click the Action menu at the top of Device Manager and select Scan for hardware changes. If the camera still doesn't appear after the scan, the driver has been fully removed and needs reinstallation.
Fix 3: Download Driver via Lenovo Support
Go to Support lenovo.com and enter your laptop model number. The model number is on the sticker on the bottom of the laptop, and also available under Settings, then System, then About. Navigate to Drivers and Software and filter by Camera or Imaging. Download the camera driver for your Windows version
Before installing the new driver, remove the existing one. Open Device Manager, expand Cameras or Imaging Devices, right-click the camera entry, and select Uninstall device. If the option to delete the driver software appears, check it. Restart the laptop

Fix 4: Update Camera Driver
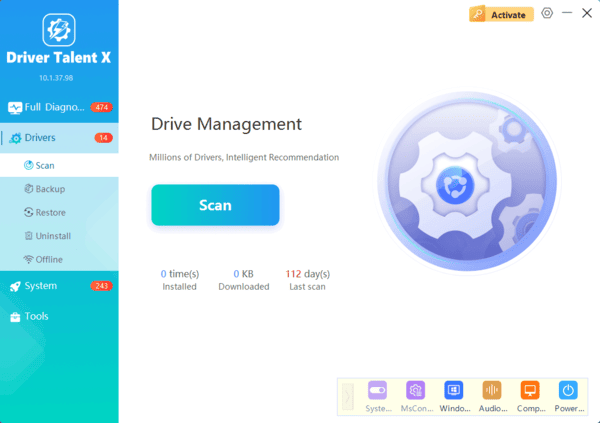
Download and install Driver Talent X. Open Driver Talent X and go to the Drivers tab. Click Diagnose to scan all hardware drivers including the camera. Find the camera or imaging device entry in the scan results
Click Full Repair to install the correct driver version. This approach is particularly effective when the camera disappeared after a Windows feature update and the manual driver download process doesn't clearly identify which file to use
Fix 5: Roll Back the Camera Driver
Open Device Manager. Expand Cameras or Imaging Devices. Right-click the camera and select Properties. Go to the Driver tab. If the Roll Back Driver button is available and not greyed out, click it
Select a reason when prompted and confirm. Restart the laptop and test
Fix 6: Check Lenovo Vantage Camera Privacy Setting
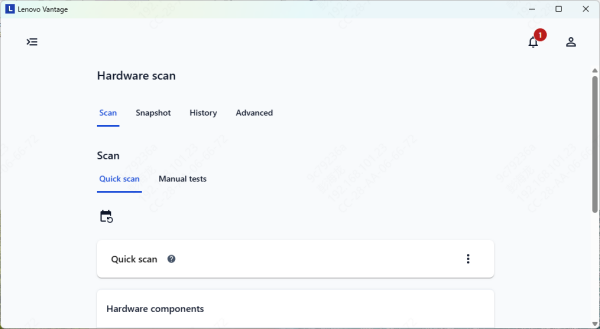
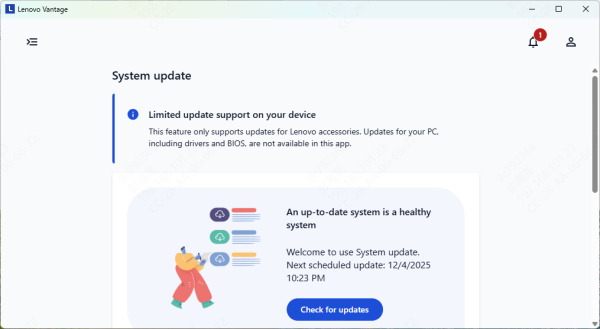
Open Lenovo Vantage. Go to Hardware Settings or Device Settings depending on the version installed. Look for a Camera Privacy Mode option. If it is enabled, toggle it off. Test the camera after disabling it
This is a surprisingly common cause of the issue on Lenovo laptops because users rarely open Lenovo Vantage after initial setup, and the toggle can be activated accidentally
Fix 7: Fix Camera Not Working in a Specific App
In Microsoft Teams, click the three-dot menu, go to Settings, then Devices. In the Camera section, select the correct camera from the dropdown. If it shows the correct camera but no preview, close other apps that may be using the camera and try again
In Zoom, click the gear icon to open Settings, then go to Video. Confirm the correct camera is selected in the Camera dropdown at the top
In Chrome or Edge, click the padlock or settings icon in the address bar while on the video call page. Go to Site settings, then Camera, and change the setting to Allow
Fix 8: Reset the Windows Camera App
If the built-in Windows Camera app itself is failing, resetting it clears corrupted app data without affecting other applications or drivers
On Windows 10 and Windows 11, go to Settings, then Apps. Search for Camera. Click it and select Advanced options. Scroll down to the Reset section and click Reset. After the reset completes, reopen the Camera app and test
Fix 9: Check BIOS Settings on ThinkPad Models
On Lenovo ThinkPad laptops, particularly those managed by corporate IT departments, the camera can be disabled in BIOS settings. No Windows-level fix will override a BIOS-level disable
Restart the laptop and press F1 during the boot screen to enter BIOS setup. Navigate to the Security or Config section. Look for a Camera option or an I/O Port Access section that lists individual hardware components
If the camera is set to Disabled, change it to Enabled. Press F10 to save and exit. Allow the laptop to restart and test the camera
Frequently Asked Questions
Why are two cameras listed on my Lenovo laptop?
Some Lenovo models include a standard RGB webcam and an infrared camera for Windows Hello. Select the RGB or integrated camera for video calls; the IR camera is mainly intended for facial recognition.
Why does Windows say another application is using the camera?
Only one application may be able to access the webcam at a time. Close Teams, Zoom, browsers, recording tools, and background camera utilities in Task Manager, then reopen the required application.
Why can't I change the camera privacy or BIOS settings?
On a company-managed ThinkPad, these settings may be controlled through Group Policy, security software, or an administrator-protected BIOS. Contact the organization's IT administrator instead of attempting to bypass the restriction.
Conclusion
The majority of Lenovo camera failures are resolved by one of four checks: opening the physical privacy shutter, turning on camera access in Windows privacy settings, disabling Camera Privacy Mode in Lenovo Vantage, or reinstalling the camera driver. The physical shutter and privacy settings checks take under two minutes and resolve the issue in most cases. For driver-related failures following Windows updates, Fix 3 and Fix 4 cover both manual and automated driver reinstallation. Driver Talent X handles the driver identification and repair automatically for users who prefer not to search Lenovo's support site manually.