If your Alienware laptop keyboard is not working, it can be a serious issue—especially during gaming or important tasks. This problem can be caused by software glitches, outdated or corrupted drivers, system settings errors, or even hardware-related faults. Fortunately, there are several effective troubleshooting methods you can try to restore keyboard functionality. In this guide, we'll walk you through a step-by-step process to help you fix your Alienware keyboard and get it working properly again.
Step 1: Check for Physical Problems
If the restart didn't help, inspect your keyboard for any physical problems. Sometimes, dirt, dust, or physical damage can interfere with the keys.
Ensure no keys are stuck or jammed
Gently clean the keyboard with compressed air to remove any dirt or debris
Check if the laptop is in sleep mode or hibernate mode as these can cause the keyboard to become unresponsive
Step 2: Boot in Safe Mode
If the keyboard is still unresponsive, booting into Safe Mode can help identify if a third-party app or service is causing the problem. Safe Mode starts Windows with minimal drivers, which helps to rule out software conflicts.
Press Windows + I to open Settings
Go to Update & Security > Recovery > Restart now under Advanced startup
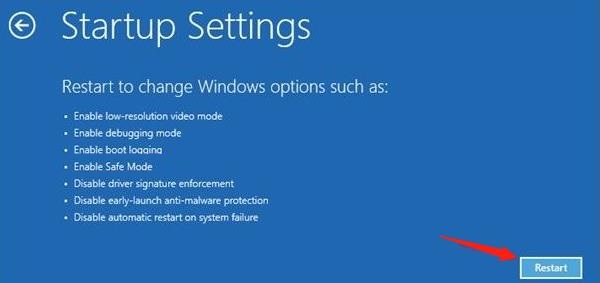
Once the system restarts, select Troubleshoot > Advanced options > Startup Settings
Click Restart, then select Safe Mode from the options
Check if your keyboard works in Safe Mode. If it does, it's likely that a third-party program is causing the issue
Step 3: Update Keyboard Drivers
Outdated or corrupt keyboard drivers are a common cause of keyboard issues. Updating or reinstalling the driver can often resolve the problem.
Use Device Manager
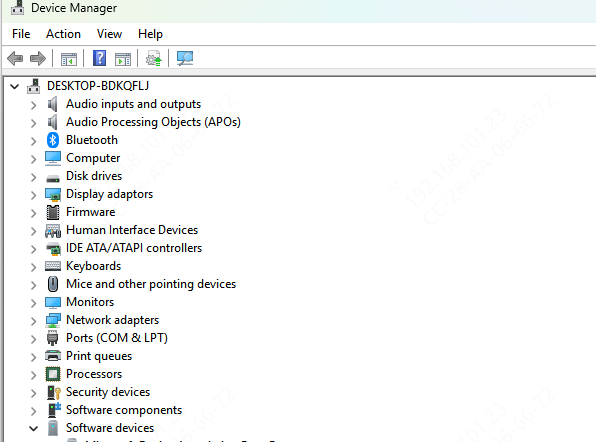
Press Windows + X and select Device Manager
Expand the Keyboards section and right-click on your keyboard driver
Select Update driver and choose Search automatically for updated driver software
If Windows finds an update, it will install it. Restart your laptop afterward
Use Driver Talent X
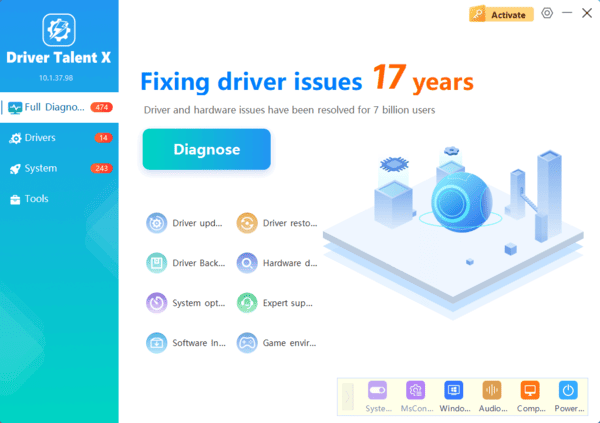
Driver Talent X simplifies the process of updating your drivers, ensuring that all necessary drivers, including your keyboard driver, are up-to-date and compatible with your system. With just a few easy steps, it can help fix keyboard issues caused by driver problems, saving you time and effort.
Download and install Driver Talent X from the official website
Launch the software and click on Scan to detect outdated drivers
Select the keyboard driver from the list and click Repair Now to update or reinstall it automatically
Restart your Alienware laptop, and check if the keyboard is functioning properly
Check for Windows Updates
Press Windows + I to open Settings
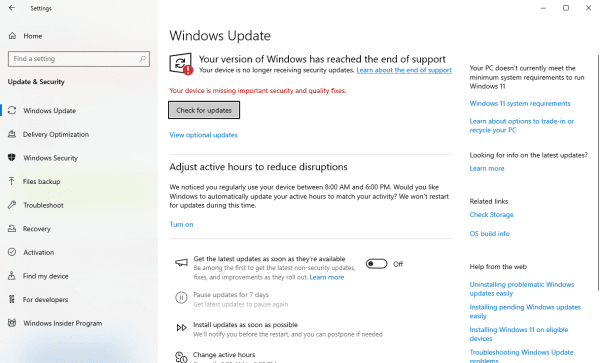
Go to Update & Security and click Check for updates
If any updates are available, install them
After installation, restart your laptop and check if the keyboard works
Step 4: Run Windows Troubleshooter
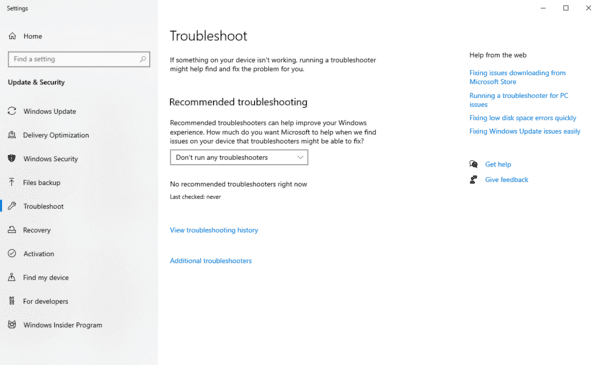
Windows has a built-in troubleshooter that can automatically detect and fix keyboard-related issues. The troubleshooter can identify problems with your keyboard and apply fixes without requiring you to manually intervene.
Open Settings by pressing Windows + I
Go to Update & Security > Troubleshoot > Additional troubleshooters
Select Keyboard and click Run the troubleshooter
Let Windows check and apply any fixes automatically
Step 5: Disable Filter Keys
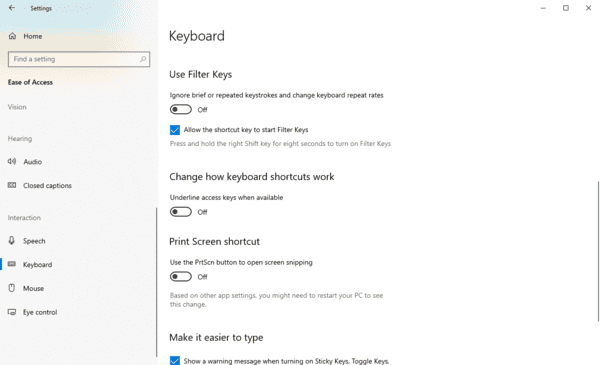
The Filter Keys feature in Windows is designed to help people with physical disabilities, but it can sometimes cause issues with keyboard responsiveness. Filter Keys ignores repeated keystrokes and slows down the keyboard response time. If enabled, this feature can cause the keyboard to behave abnormally.
Press Windows + I to open Settings
Go to Ease of Access > Keyboard
Find Filter Keys and turn it off
Step 6: Use System Restore
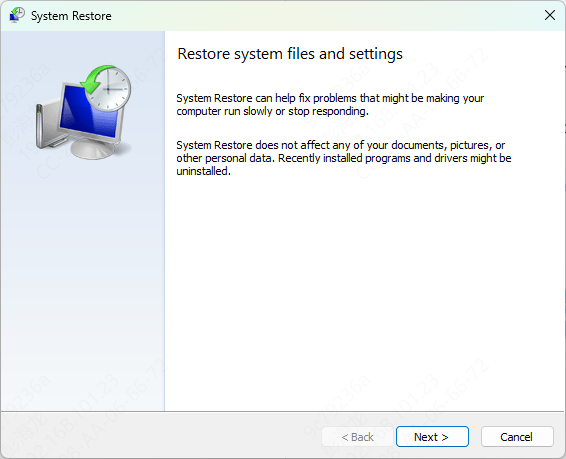
If the keyboard issue started after a recent update or software installation, using System Restore can help revert your system back to a point where the keyboard was working. System Restore is helpful when the keyboard worked fine previously but stopped after a system update, installation, or other changes.
Type System Restore in the search bar and select Create a restore point
Under the System Protection tab, click System Restore
Follow the on-screen instructions to restore your system to a previous state
Step 7: Test with an External Keyboard
If none of the above methods worked, it's a good idea to test your system with an external keyboard. This can help you determine if the issue is with the built-in laptop keyboard or if it's a system-wide problem
Plug in a USB or Bluetooth keyboard
If the external keyboard works, the issue is likely with the built-in keyboard itself
If the external keyboard also doesn't work, it may be a software issue