Facing a custom.dll for Schedule 1 error? Discover the causes, symptoms, and step-by-step fixes to restore missing or corrupted DLL files quickly.
Understanding the custom.dll for Schedule 1 Error
Before troubleshooting, it's crucial to understand the role of custom.dll. DLL (Dynamic Link Library) files contain essential code and instructions that software applications rely on. The custom.dll for schedule 1 is often linked to specific scheduling functions in a program, and if it's missing, corrupted, or incompatible, the software may fail to run as intended.
Common triggers for this error include:
Accidental deletion of the DLL file
Corrupted installation of related software
Malware or virus infections damaging DLL data
Outdated or faulty drivers that cause compatibility issues
Windows registry errors referencing custom.dll
Symptoms of a Corrupted or Missing custom.dll
Recognizing the early signs of a DLL issue can help you act quickly before it escalates. Frequent symptoms include:
Application crashes immediately upon startup
Error messages such as "custom.dll not found" or "Cannot load custom.dll for schedule 1"
Slow performance or freezing during specific scheduling operations
Unexpected shutdowns when running certain tasks
Frequent blue screen errors (BSOD) involving custom.dll references
Method 1: Restore custom.dll from the Recycle Bin
Sometimes the simplest solution works best. If the custom.dll file was accidentally deleted, restoring it from the Recycle Bin can resolve the problem instantly.
Open the Recycle Bin on your desktop.
Search for custom.dll.
Right-click the file and select Restore.
Restart your computer and test the affected program.
If the file is not in the Recycle Bin, proceed to more advanced fixes.
Method 2: Run a System File Checker (SFC) Scan
Corrupted system files often cause DLL errors. The SFC tool can automatically detect and replace damaged files.
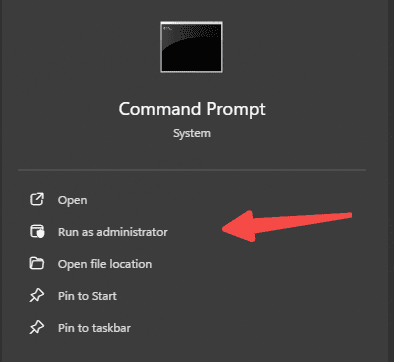
Press Windows + S, type cmd, and select Run as administrator.
Type the command: sfc /scannow
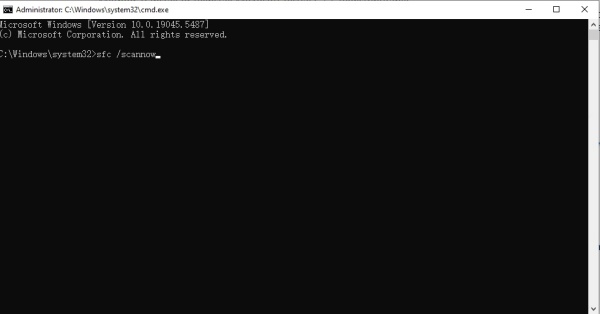
Press Enter and wait for the scan to finish.
Restart your PC and check if the error persists.
Method 3: Reinstall the Associated Program
If the custom.dll for schedule 1 error is tied to a specific application, reinstalling that software can restore the correct DLL version.
Open Control Panel > Programs > Programs and Features.
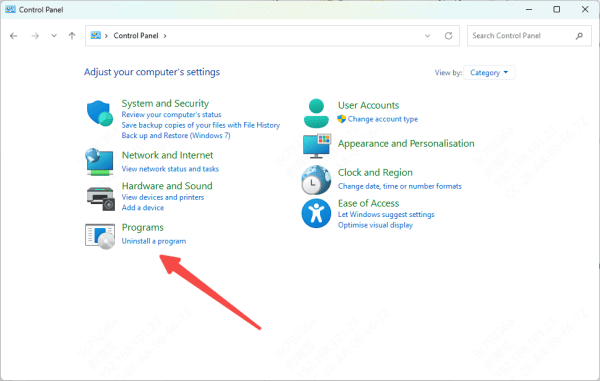
Locate the affected application.
Click Uninstall and follow the prompts.
Download the latest version from the official website.
Install it and restart your computer.
Method 4: Update Drivers
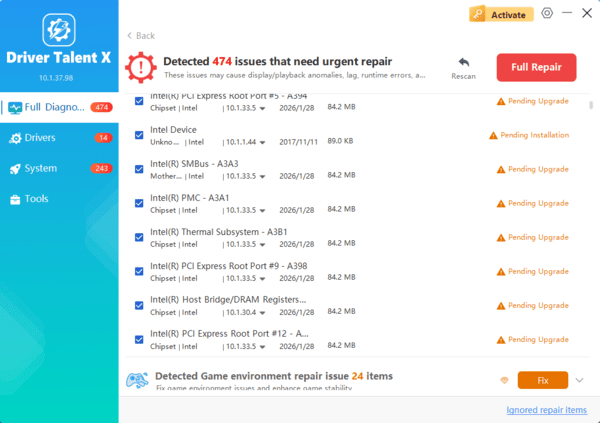
Outdated or corrupted drivers can prevent DLL files from functioning correctly. Driver Talent offers a fast and automated way to resolve these issues. In addition to driver updates, it has a DLL file repair feature that replaces missing or damaged DLLs without manual searching.
Steps to Use Driver Talent:
Download and install Driver Talent from the official website.
Launch the software and click Scan to detect outdated or missing drivers.
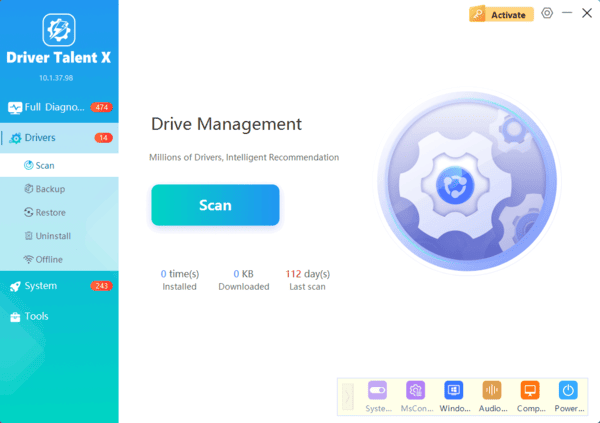
Select Repair to fix damaged DLL files and update drivers automatically.
Restart your PC to apply changes.
Why Use Driver Talent?
Automatic DLL repair without manual downloads
Certified drivers for maximum compatibility
One-click fixes to save time
Backup and restore functions to prevent future issues
Method 5: Manually Download and Replace custom.dll
If all else fails, manually replacing the DLL file might be necessary. Be cautious—only download from trusted, verified sources to avoid malware.
Find a reputable DLL database or the software's official site.
Download the correct version of custom.dll for your Windows architecture (32-bit or 64-bit).
Place the file in the program's installation directory or: C:\Windows\System32
Register the DLL via Command Prompt: regsvr32 custom.dll
Restart your PC.
Conclusion
The custom.dll for schedule 1 error can be frustrating, but it is usually fixable with the right approach. From restoring deleted files and running system scans to using automated repair tools like Driver Talent, you can resolve the issue efficiently. Ensuring your system stays updated and protected is the key to preventing similar problems in the future.
By following these steps, you can restore full functionality to your applications and avoid costly downtime.
