When the touchpad on your Lenovo Yoga stops working, it can disrupt your workflow—especially if you don't have an external mouse available. This issue can be caused by disabled touchpad settings, outdated or corrupted drivers, Windows updates, BIOS settings, or even hardware problems. This guide provides step-by-step solutions to help you restore full touchpad functionality on your Lenovo Yoga running Windows 11.
Check Basic Touchpad Controls
Ensure the Touchpad Is Enabled
Some Lenovo Yoga laptops allow the touchpad to be disabled accidentally
Press Fn + F6, Fn + Esc, or the key with a touchpad icon
Check if the touchpad responds after toggling
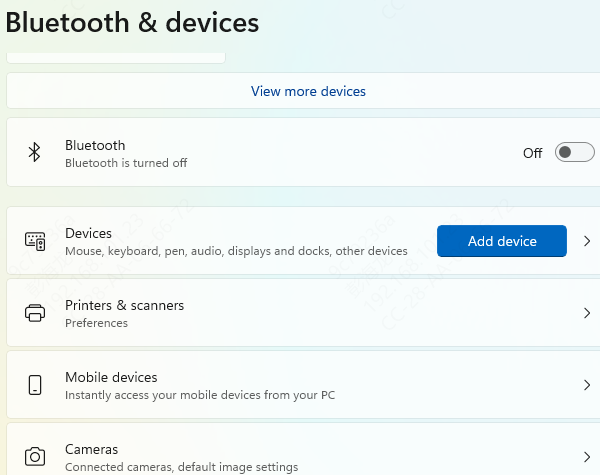
Check Windows 11 Touchpad Settings
Go to Settings → Bluetooth & devices
Select Touchpad
Ensure Touchpad = On
Confirm gestures, sensitivity, and scroll settings are properly configured
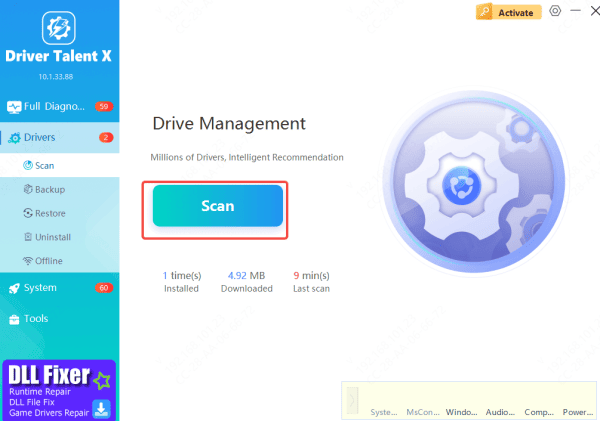
Use Driver Talent X for Automatic Driver Repair
Updating all input, chipset, and system drivers ensures compatibility with Windows 11.
Download and Install Driver Talent X
Download the installer and follow the on-screen setup instructions
Run a Scan
Open Driver Talent X
Go to Drivers → Scan
The program will inspect all touchpad-related components, including precision touchpad drivers, USB drivers, and chipset controllers
Update Drivers
Select all recommended updates
Driver Talent X will automatically download and install the correct Lenovo-compatible drivers
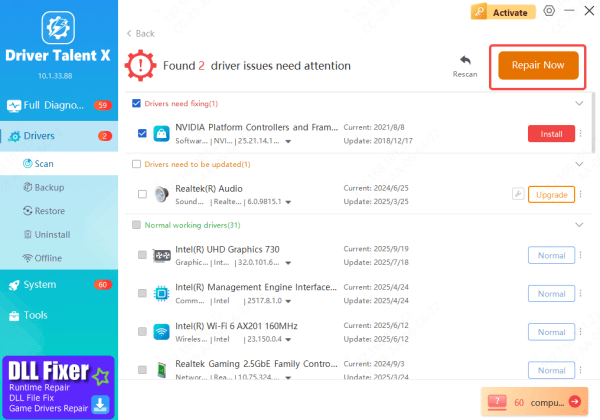
Restart
A reboot ensures Windows loads all updated drivers properly, often restoring full touchpad functionality
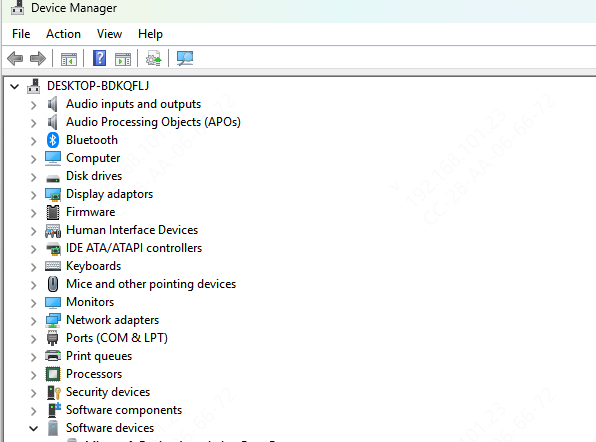
Reinstall Drivers
If updating the touchpad driver doesn't resolve the issue, performing a full reinstall can often fix deeper driver corruption or software conflicts.
Open Device Manager by pressing Win + X and choosing Device Manager
Under Mice and other pointing devices, find your Lenovo touchpad, right-click it, and select Uninstall device
Make sure to check Delete the driver software for this device to remove all existing driver files
Restart your laptop, and Windows will automatically install a fresh generic touchpad driver upon boot
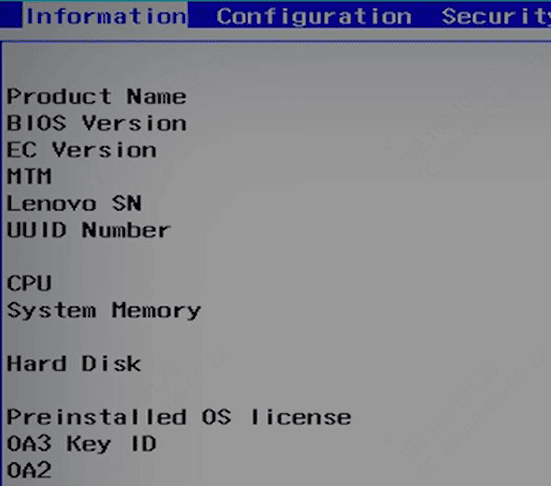
Check Lenovo Yoga BIOS Settings
Restart your laptop
Press F2 or Del to enter BIOS
Find Internal Pointing Device / Trackpad
Ensure it is set to Enabled
Save changes and reboot
If BIOS disabled the touchpad after an update, re-enabling it usually resolves the issue immediately.
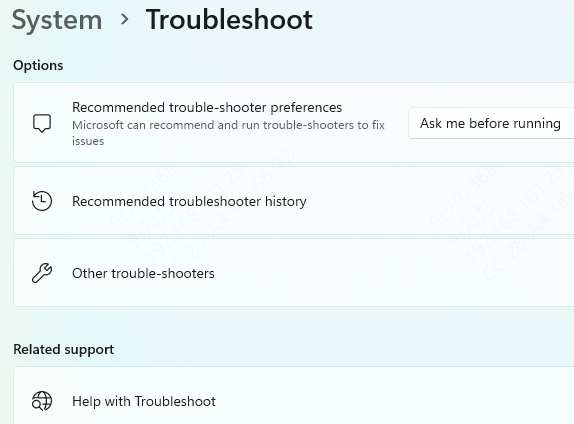
Run Windows Troubleshooters
Windows 11 includes built-in tools for detecting device issues.
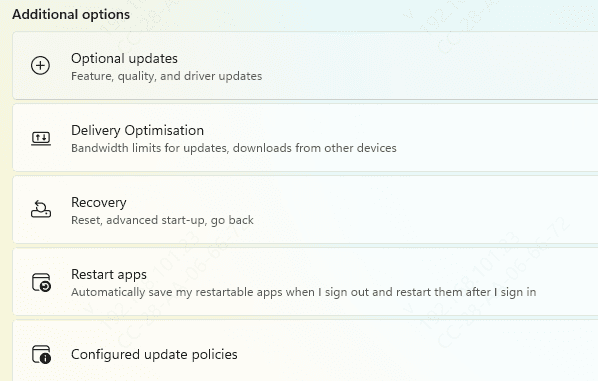
Go to Settings → System → Troubleshoot
Select Other troubleshooters
Run:
Hardware and Devices
Keyboard (sometimes linked to touchpad firmware)
These can automatically repair driver or configuration problems.
Check Windows Updates
Open Settings → Windows Update
Select Check for updates
Download and install all available updates, then restart your Lenovo Yoga
This ensures your system has the latest patches and compatibility fixes that may restore normal touchpad functionality.
Roll Back Recent Windows 11 Updates
Sometimes Windows updates break touchpad functionality.
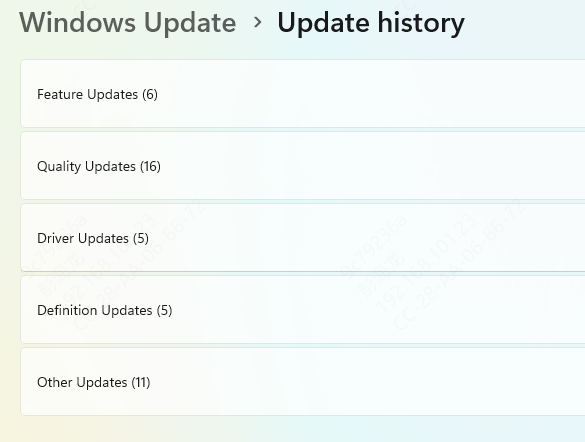
Go to Settings → Windows Update → Update history
Select Uninstall updates
Remove the latest Quality Update
Restart your device
If the touchpad works afterward, Windows Update was the cause.
Conclusion
By checking basic touchpad controls, ensuring system settings are correct, updating or reinstalling drivers, reviewing BIOS configurations, and applying Windows updates or rollbacks, you can resolve nearly all software-related touchpad issues. If the touchpad still doesn't work after trying every method in this guide, the problem may be hardware-related—such as a damaged touchpad cable or faulty sensor—so contacting Lenovo support or visiting a certified repair center is the best next step. With the right troubleshooting steps, you can restore full touchpad functionality and get your Lenovo Yoga working smoothly again.
