If Windows shows a red X on the volume icon and reports "Audio services not running," your speakers or headphones may stop producing sound completely. The issue is usually caused by a stopped Windows Audio service, an outdated or corrupted audio driver, disabled playback devices, incorrect registry settings, or damaged system files. This guide explains several practical ways to restore audio on Windows 10 and Windows 11, including restarting Windows Audio services, updating drivers with Driver Talent X, checking playback devices, running the built-in troubleshooter, correcting service startup values, and repairing system files with SFC and DISM.
Fix 1: Restart the Windows Audio Service
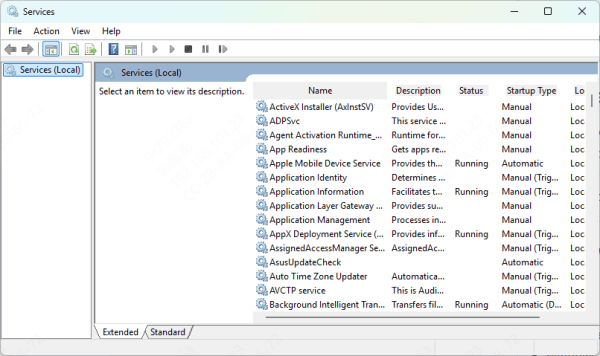
Press Win + R, type services.msc, and press Enter to open the Services panel. Scroll down to Windows Audio in the list. If the Status column shows it is not running, right-click it and select Start
If it is already listed as running, right-click and select Restart instead. After starting or restarting the service, check the Startup type by double-clicking Windows Audio. Set the Startup type to Automatic if it is set to anything else, then click Apply and OK
While still in the Services panel, locate Windows Audio Endpoint Builder. This is a dependency of Windows Audio, and if it is stopped or set to Manual, the main audio service will fail to run reliably. Apply the same steps: start it if it is stopped and set its Startup type to Automatic
Fix 2: Verify the Audio Device Is Enabled in Playback Settings
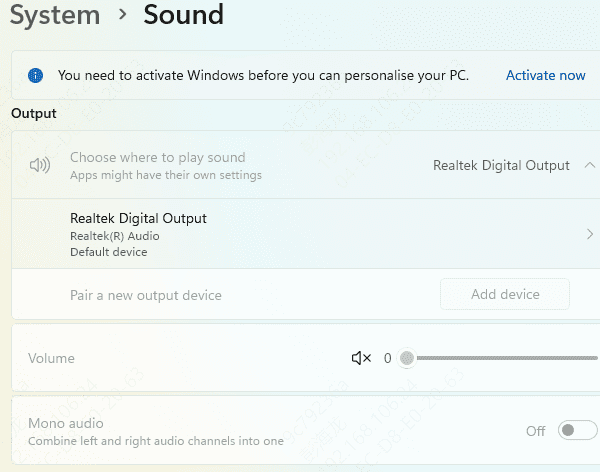
Right-click the volume icon in the taskbar and select Sound Settings or Sounds depending on your Windows version. In the Sounds dialog, navigate to the Playback tab
If your speakers or headphones appear greyed out or show a downward arrow icon indicating they are disabled, right-click the device and select Enable. Right-click it again and select Set as Default Device. Click OK and test audio immediately
If no devices appear in the Playback tab at all, right-click in the empty area and select Show Disabled Devices and Show Disconnected Devices to reveal any hidden entries
Fix 3: Run the Windows Troubleshooter
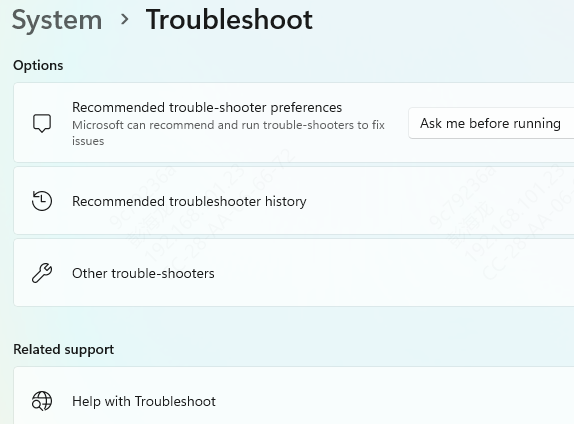
Windows includes a built-in audio troubleshooter that can detect and automatically fix several categories of audio service problems, including incorrect service states and driver mismatches
Follow the prompts the troubleshooter presents. It will attempt fixes automatically and report what it found. Even when it cannot fix the problem itself, the diagnostic output identifies the specific component causing the failure, which guides the remaining steps
Fix 4: Correct the Registry Startup Value for the Audio Services
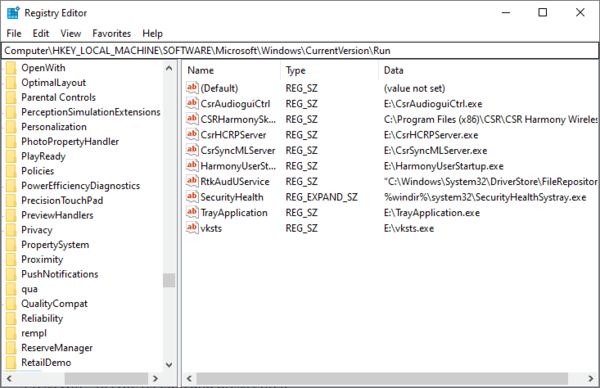
Press Win + R, type regedit, and press Enter. Back up your registry before making any changes by clicking File, then Export, and saving a copy to your desktop. Navigate to HKEY_LOCAL_MACHINE\SYSTEM\CurrentControlSet\Services\AudioEndpointBuilder
In the right panel, locate the Start DWORD value and double-click it. Set the value to 2, which corresponds to automatic startup, and click OK. Then navigate to HKEY_LOCAL_MACHINE\SYSTEM\CurrentControlSet\Services\Audiosrv and confirm that its Start value is also set to 2. Close the registry editor and restart your computer
Fix 5: Update Your Audio Driver

If the service restarts successfully but stops again on the next reboot, or if it refuses to start at all, the audio driver is the most likely cause. An outdated, corrupted, or incompatible driver prevents the service from initializing because it cannot establish communication with the audio hardware.
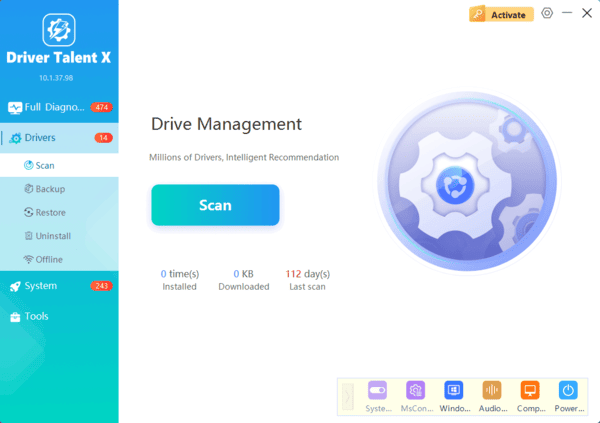
Download and install Driver Talent X. Launch the application and go to the Drivers section, then click Scan
When the scan finishes, locate the audio driver in the results and click Upgrade
After the installation completes, restart your computer to fully initialize the new driver. Return to services.msc after rebooting and confirm that Windows Audio is running and set to Automatic
Fix 6: Run SFC and DISM to Repair System File Corruption
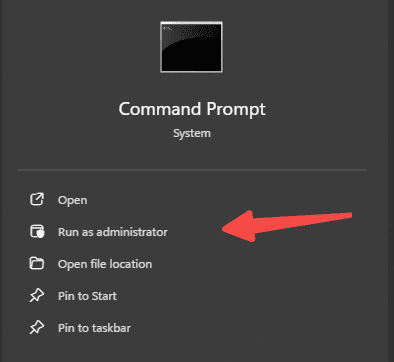
Open Command Prompt as Administrator by searching for cmd in the Start menu, right-clicking it, and selecting Run as administrator. Type sfc /scannow and press Enter. Allow the scan to complete without closing the window. If it reports finding and repairing corrupted files, restart your computer and test audio
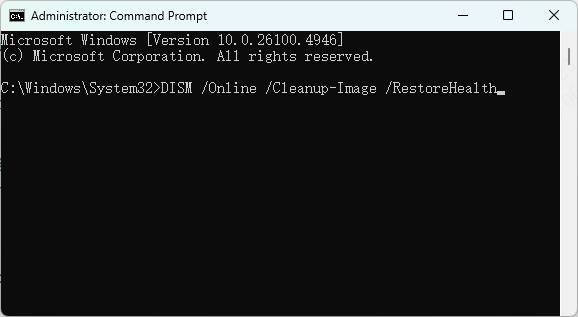
If SFC reports that it found errors it could not fix, run DISM next. In the same elevated Command Prompt, type DISM /Online /Cleanup-Image /RestoreHealth and press Enter
This requires an internet connection as it downloads clean file copies from Microsoft's servers. After DISM completes, run sfc /scannow again to allow SFC to use the now-repaired component store. Restart the computer when both tools have finished
Frequently Asked Questions
Why does the Windows Audio service keep stopping?
A corrupted audio driver, damaged system files, conflicting audio software, or an incorrectly configured dependency may repeatedly stop the service. Check Windows Audio Endpoint Builder and reinstall the audio driver.
Why is Windows Audio running but there is still no sound?
The wrong playback device may be selected, the device may be disabled, or its driver may not work correctly. Enable the device and set it as the default output in Sound settings.
Is editing the registry necessary to fix this error?
Usually not. Restart the services, check playback devices, run the troubleshooter, and repair the audio driver first. Edit service registry values only after backing up the registry and confirming they are incorrect.
Conclusion
The "Audio services not running" error is almost always caused by the Windows Audio service stopping unexpectedly, an outdated or corrupted audio driver, a disabled playback device, or system file damage. Restarting the service through the Services panel resolves the problem immediately in most cases. When the service cannot start or keeps stopping, updating the audio driver with Driver Talent X addresses the underlying driver incompatibility that is preventing stable service operation.