Valorant is a fast-paced tactical shooter where every millisecond counts. Experiencing high ping in Valorant not only disrupts gameplay but can be the difference between a clutch victory and a frustrating loss. In this guide, we present a comprehensive set of solutions to help you identify, troubleshoot, and ultimately fix high ping issues in Valorant to ensure you play at your full potential without latency dragging you down.
What Is High Ping and Why It Ruins Valorant
Ping, measured in milliseconds (ms), indicates how quickly your device communicates with Valorant servers. A low ping (below 50ms) ensures smooth gameplay, while high ping (100ms or more) leads to input delays, rubberbanding, or connection timeouts. Riot’s competitive servers are tuned for low-latency response, so anything above optimal can degrade your match experience significantly.
Check Valorant Server Status Before Troubleshooting
Before diving into device-level fixes, first ensure the Valorant servers are operational:
Visit Riot Games Service Status Page
Choose your region and check if there are ongoing outages or maintenance
If servers are down, you’ll need to wait until they are restored
1. Optimize Your Internet Connection for Valorant
A poor or inconsistent internet connection is the most common cause of high ping in Valorant. Here’s how to fine-tune your setup:
Switch to a Wired Ethernet Connection
Wi-Fi is inherently unstable, especially in crowded or noisy environments. If possible:
Plug your PC or laptop directly into your router via an Ethernet cable
Ensure the cable is CAT6 or higher for best performance
Position the router closer if cabling is not feasible, or use powerline adapters
Close Bandwidth-Heavy Background Applications
Applications like Netflix, YouTube, Steam, or cloud backups can consume large amounts of bandwidth. To free up network resources:
Open Task Manager > Processes tab
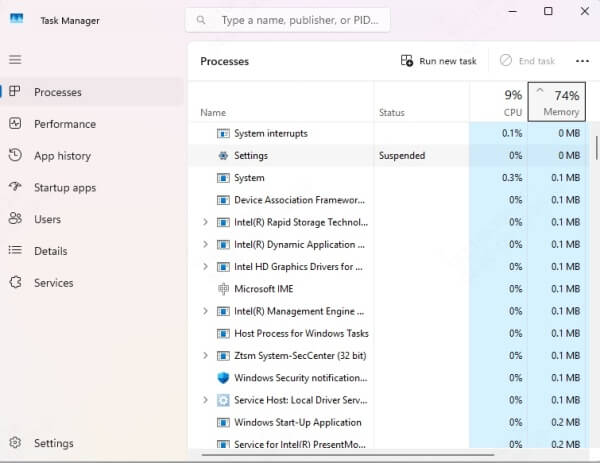
End tasks like Google Drive, Dropbox, Discord screen share, or Windows Update
Disable automatic downloads in platforms like Steam and Epic Games
2. Use the Closest Valorant Server Region
Valorant automatically assigns your region, but occasionally, your connection may route through a suboptimal region.
Manually Select Server Before Matchmaking
On the matchmaking screen, click the three bars icon near the "Play" button
You’ll see the ping values of each region
Select the server with the lowest ping (usually your geographical region)
This helps bypass bad routing or congested paths automatically selected by Riot’s server allocator.
3. Disable VPNs or Proxies
VPNs can increase latency significantly by routing traffic through distant servers. If you are using one:
Disconnect from any VPN or proxy software before launching Valorant
If you need a VPN for privacy, consider one with gaming-optimized servers like NordVPN Meshnet or ExitLag (use cautiously)
4. Update Network Drivers for Peak Performance
Outdated or corrupted network drivers can cause poor communication with your router or modem, resulting in high ping spikes.
Use Driver Talent to Auto-Update Network Drivers
Driver Talent is a trusted tool to update all your system drivers efficiently. To use it:
Download and install Driver Talent
Launch the application and click Scan
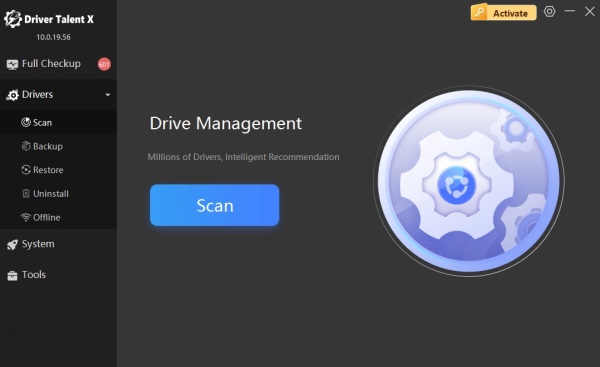
Wait for the tool to detect outdated drivers
Click Upgrade and restart your computer once complete
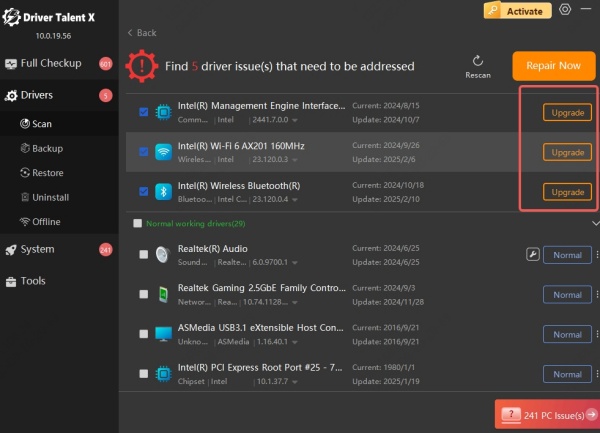
Keeping your Wi-Fi/Ethernet drivers updated can drastically reduce packet loss and improve network stability.
5. Flush DNS and Renew IP
Your DNS cache may be overloaded or outdated, affecting how your PC communicates with Riot servers. Resetting this can resolve routing issues:
Steps to Flush DNS and Renew IP
1. Open Command Prompt as Administrator

2. Type the following commands, pressing Enter after each:
ipconfig /flushdns
ipconfig /release
ipconfig /renew
3. Restart your computer
This will clear cached DNS data and establish a fresh connection with your ISP.
6. Change DNS to a Faster Provider
Your ISP’s default DNS may be slow or unreliable. Switching to a faster DNS service can significantly improve your game connection.
Recommended DNS Servers:
| Provider | Primary DNS | Secondary DNS |
| Google DNS | 8.8.8.8 | 8.8.4.4 |
| Cloudflare | 1.1.1.1 | 1.0.0.1 |
| OpenDNS | 208.67.222.222 | 208.67.220.220 |
How to Change DNS:
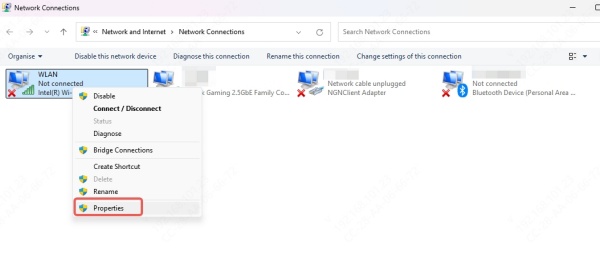
Go to Control Panel > Network and Sharing Center
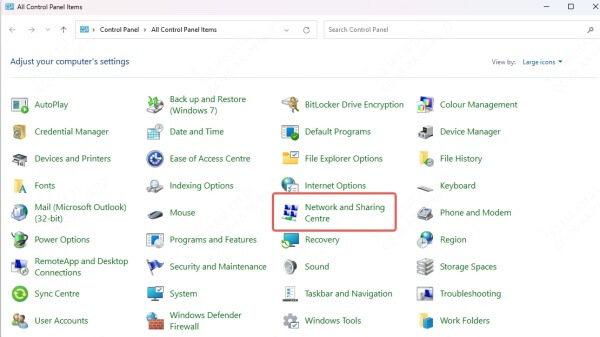
Click on your active connection > Properties
Select Internet Protocol Version 4 (TCP/IPv4) > Properties

Enable Use the following DNS server addresses
Input the DNS addresses from above, then click OK
7. Configure In-Game Settings for Network Stability
While settings don't directly affect ping, certain features may reveal issues or help diagnose them.
Enable Network Stats in Valorant
Open Settings > Video > Stats
Turn on Network Round Trip Time, Packet Loss In/Out, and Server Tick Rate
These help you visually track spikes in latency and performance drops
Lower Max FPS (Optional)
If your system is overburdened, it may cause instability. Set Max FPS (Menu/Background/Foreground) to a capped value based on your monitor’s refresh rate.
Conclusion: Play Valorant Without High Ping Holding You Back
Resolving high ping in Valorant requires a multi-step approach, from optimizing your internet connection and updating drivers to tweaking system settings and ensuring server routing efficiency. We strongly recommend using tools like Driver Talent to keep your system running at peak performance and minimize connection interruptions.
Valorant is a game of milliseconds. Don't let ping be your enemy. Follow the steps above and take back control of your game today.
