Intel network drivers cover two separate categories: Intel Ethernet for wired LAN connections and Intel WiFi for wireless connections. They use different driver packages, come from different download sources, and are installed independently. Mixing them up — downloading the WiFi driver when the Ethernet adapter is the problem, or vice versa — is a common mistake that wastes time without resolving anything. This guide covers identifying the correct adapter, downloading the right driver package, performing a clean installation, and handling the most common installation errors on Windows 11.
Identify the Intel Network Adapter First
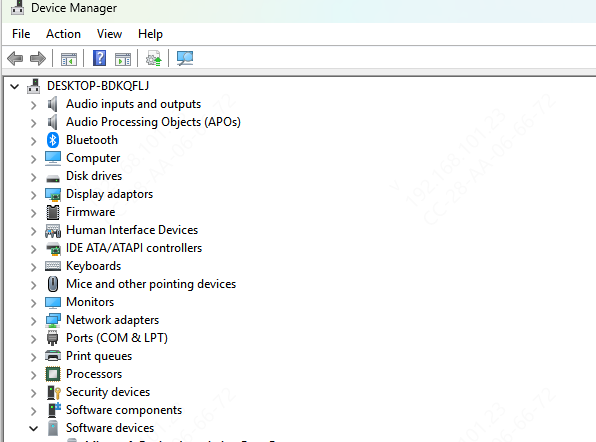
Press Win + X and open Device Manager. Expand Network Adapters. Intel Ethernet adapters appear as entries such as Intel Ethernet Connection I225-V, Intel Ethernet Connection I219-V, or Intel Ethernet Connection I219-LM
Intel WiFi adapters appear as Intel WiFi 6 AX201 160MHz, Intel WiFi 6 AX200, Intel WiFi 6E AX211, or Intel Wireless-AC 9560 depending on the system
Download Intel WiFi Driver
For laptops, the WiFi driver from the laptop manufacturer's support site is the recommended choice. OEM WiFi drivers are validated against the specific laptop model, display configuration, and BIOS version — they are more stable than Intel's generic package on the specific hardware
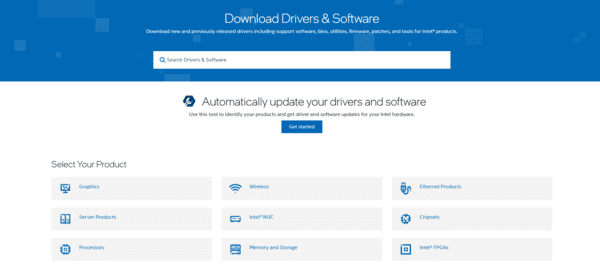
For systems where the OEM site does not have a recent update, Intel's official support site provides the current driver. Search the WiFi adapter model name and select Windows 11
Install Intel Network Drivers Automatically with Driver Talent X
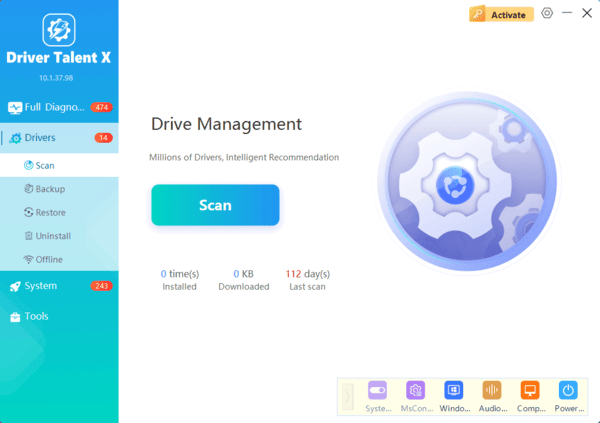
When no internet connection is available on the affected machine after a clean Windows 11 install, or when the manual installer keeps failing, Driver Talent X identifies the Intel network adapter by hardware ID and installs the correct driver without requiring manual adapter identification.
If the PC has no network access, download Driver Talent X on a different device that has internet access and transfer the installer to the affected machine via USB drive
Driver Talent X handles both Intel Ethernet and Intel WiFi in the same scan, which is useful when both adapters need driver attention simultaneously after a clean install
Fix Intel Network Driver After Windows 11 Update
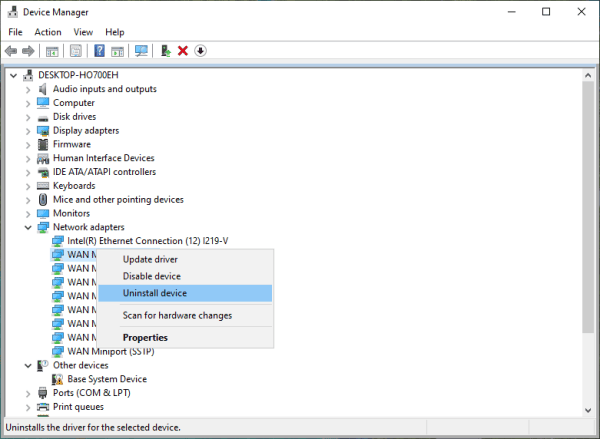
If the network adapter started showing issues immediately after a Windows 11 update, check whether Roll Back Driver is available. Open Device Manager, right-click the Intel adapter, select Properties, go to the Driver tab, and click Roll Back Driver if the button is active. Restart and test.
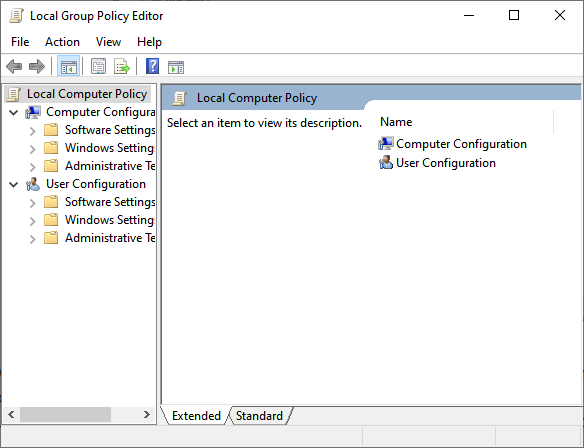
To prevent Windows 11 from replacing the driver again, open Group Policy Editor by pressing Win + R and typing gpedit.msc. Navigate to Computer Configuration, then Administrative Templates, then Windows Components, then Windows Update. Find the policy named "Do not include drivers with Windows Updates" and set it to Enabled. This applies on Windows 11 Pro and Enterprise editions.
Conclusion
Intel Ethernet and Intel WiFi use separate driver packages and require separate downloads. Confirming the exact adapter model in Device Manager before downloading is the required first step. For laptops, the OEM driver from the manufacturer's support site provides the most stable validated version. For desktops, the motherboard manufacturer's driver page is the correct source for Intel Ethernet. Driver Talent X handles automatic hardware detection and driver installation for both adapter types in a single scan — particularly useful when no network access is available after a clean Windows 11 install and a USB transfer is the only path to getting the driver onto the machine.
