Experiencing a laptop keyboard where some keys are not working can be incredibly frustrating. Whether it's the spacebar, enter key, or random letters, these partial keyboard failures can hinder productivity and signal deeper issues. In this guide, we will explore the common causes, step-by-step troubleshooting methods, and permanent fixes for when some keyboard keys are not working on your laptop.
Common Reasons Why Some Keyboard Keys Are Not Working on Laptop
Before diving into solutions, understanding the underlying causes is crucial. Here are the most frequent reasons why some keys in laptop keyboard not working:
Physical damage or dirt buildup
Driver corruption or outdated drivers
Software conflicts
Malfunctioning keyboard matrix or ribbon cable
BIOS or firmware issues
Operating system bugs
Step 1: Clean Your Laptop Keyboard Thoroughly
One of the most overlooked but frequent reasons for some keys not responding is the accumulation of dirt, dust, or food particles underneath the keyboard.A simple but thorough cleaning may restore full functionality.
How to Clean Laptop Keyboard:
Turn off and unplug your laptop.
Hold the laptop upside down and gently shake to remove loose particles.
Use a can of compressed air to blow out debris from between the keys.
Lightly scrub with a soft brush or toothbrush.
For deep cleaning, gently pop off the affected keycaps and clean underneath with isopropyl alcohol and a cotton swab.
Step 2: Check for Physical Damage
Physical damage is a common culprit when specific keys on the keyboard fail to register. Whether caused by accidental drops, spills, or excessive pressure, damaged keys can become stuck, unresponsive, or behave erratically.
Indicators of Physical Damage:
Spilled liquid on the keyboard
Certain keys not responding at all
Keys feel stuck or mushy
If physical damage is confirmed, consider keyboard replacement.
Step 3: Reboot Your Laptop in Safe Mode
Booting into Safe Mode allows your operating system to run with minimal drivers and background programs. This method is particularly useful if keyboard issues are caused by software conflicts or third-party applications.
How to Enter Safe Mode:
For Windows 10/11:
Press Windows + R, type msconfig, and press Enter.
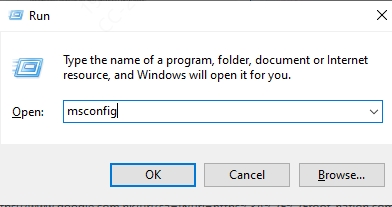
Go to Boot tab > Safe boot > Minimal > Apply > OK.
Restart your laptop.
Test your keyboard.
If the keys work in Safe Mode, a third-party application or driver conflict is likely the issue.
Step 4: Update or Reinstall Keyboard Drivers
If the keyboard driver is outdated, missing, or corrupted, certain keys may not function as expected. Updating or reinstalling the driver ensures your system uses the most stable and compatible version available.
Steps to Update Keyboard Driver:
Press Windows + X and select Device Manager.
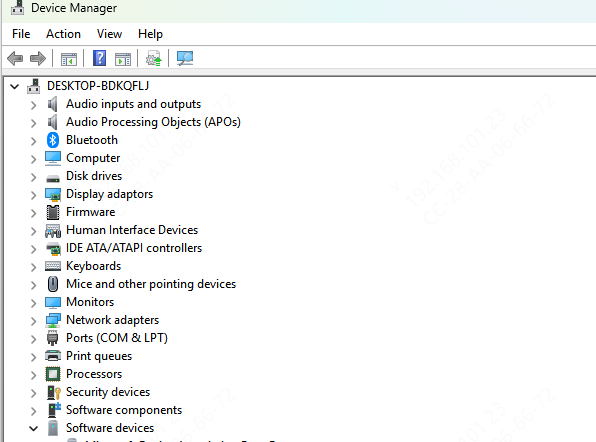
Expand the Keyboards section.
Right-click your keyboard and choose Update driver.

Select Search automatically for drivers.
One of the most efficient ways to update and repair problematic drivers is by using Driver Talent, a trusted tool known for automatically identifying, downloading, and installing the latest drivers with just one click.
Why Use Driver Talent:
Automatically detects faulty or outdated drivers
One-click download and installation
Backup and restore driver features for safety
Supports all major laptop brands
Steps to Update Keyboard Driver with Driver Talent:
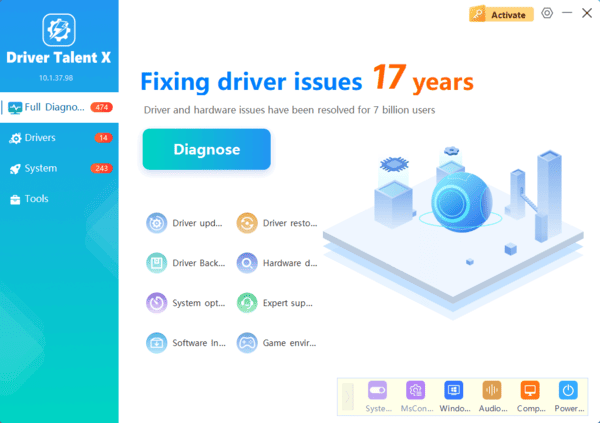
Download and install Driver Talent.
Launch the program and click Scan.
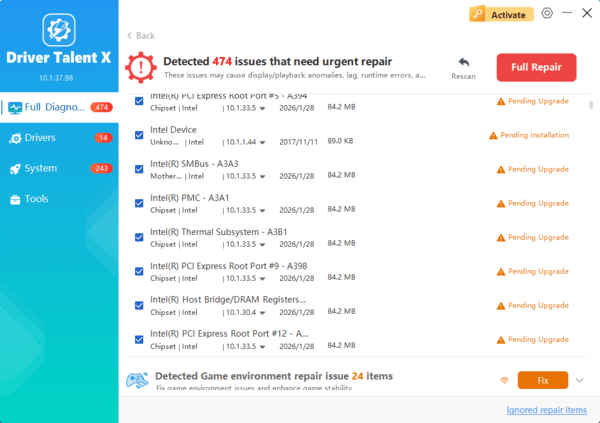
Locate the Keyboard driver in the results.
Click Update or Repair to fix driver issues.
Restart your laptop and test the keyboard.
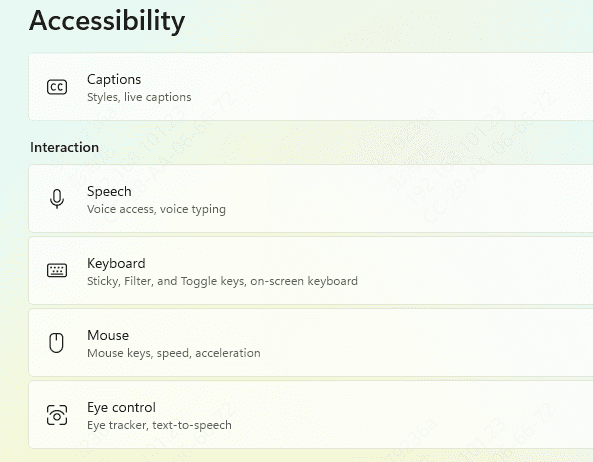
Step 5: Adjust Keyboard Settings in Windows
Windows includes several accessibility features designed to assist users with different needs. However, these features—such as Sticky Keys, Filter Keys, and Toggle Keys—can interfere with normal typing behavior if accidentally enabled.
Fix Sticky and Filter Keys:
Go to Settings > Ease of Access > Keyboard.
Turn off Sticky Keys, Filter Keys, and Toggle Keys.
Restart your computer and check again.
Step 6: Run Windows Keyboard Troubleshooter
The built-in Windows Troubleshooter is an automated diagnostic tool designed to detect and fix problems with your system's hardware, including the keyboard. When some keys on your laptop keyboard aren't working, running this troubleshooter can help resolve software-related issues quickly and easily.
Steps to Run Troubleshooter:
Go to Settings > System > Troubleshoot > Other troubleshooters.
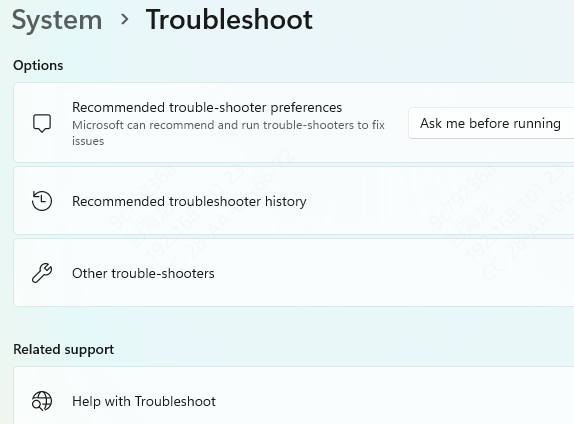
Locate and run Keyboard Troubleshooter.
Follow on-screen instructions.
If issues are found, Windows will attempt to fix them automatically.
Step 7: Check BIOS Settings
If the issue persists beyond the operating system, it's possible the root of the problem lies in the BIOS or UEFI firmware settings. Testing your keyboard functionality in BIOS can help determine if the issue is at the system level or related to Windows. If keys don't respond in BIOS, it's highly indicative of hardware failure.
How to Access BIOS:
Restart your laptop and press F2, DEL, or ESC (depending on brand).
Once in BIOS, navigate using your keyboard to ensure all keys work.
Conclusion
If some keys on your laptop keyboard are not working, the issue could be caused by anything from dust and outdated drivers to hardware failures. Follow the steps in this guide to troubleshoot and fix the problem efficiently.
For driver-related issues, we recommend using Driver Talent to automatically update and repair keyboard drivers with ease. Try Driver Talent now to get your keyboard working smoothly again!
