During the use of a Windows computer, you may sometimes encounter a situation where WiFi or Ethernet appears to be connected, but web pages do not load, the network icon shows a warning sign, or there is no internet access at all. In many cases, this issue is caused by problems with the network adapter driver. This article explains the common causes of the network not connecting problem and provides detailed step-by-step instructions on how to fix it by reinstalling the network adapter driver, helping you quickly restore a stable and reliable internet connection.
1. Common Causes of Network Connection Failure
Before reinstalling the driver, it's important to understand several common reasons that may cause network issues:
Network adapter driver is corrupted, missing, or outdated
System updates cause driver incompatibility
Network settings were mistakenly changed or registry errors
Third-party security software or firewall blocking network connection
Hardware issues or loose connections
If other troubleshooting fails, reinstalling the network adapter driver is one of the most direct and effective solutions.
2. Detailed Steps to Reinstall the Network Adapter Driver
Method 1: One-Click Reinstallation Using Driver Talent X
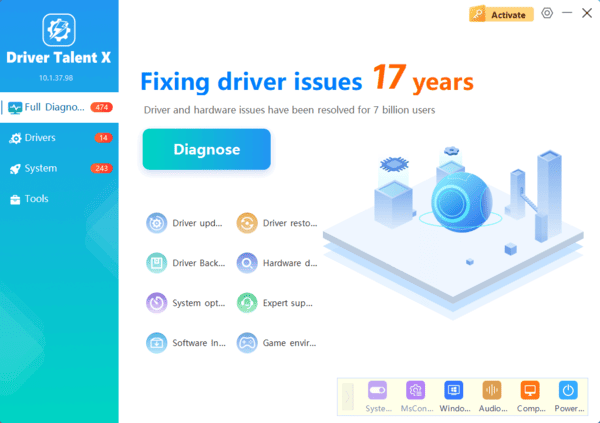
If you are not familiar with manual driver installation, it is recommended to use the professional tool Driver Talent X, which can automatically detect, download, and install the most suitable network adapter driver for your device. It's simple to operate and very efficient.
Click the download button in the article to download and install the latest version of Driver Talent X.
Launch the software and go to the Drivers page, then select "Scan".
After scanning, find the Network driver in the results, and click "Reinstall" to reinstall the driver.
After installation completes, restart your computer to ensure the new driver takes effect.
Check if the network connection is restored.
Tip: Using Driver Talent X helps avoid incorrectly installing drivers that may cause blue screen or loss of network access.
Method 2: Manual Reinstallation of Network Adapter Driver (For Experienced Users)
Press Win + X and select "Device Manager".
Expand Network adapters, locate your wireless or wired network card.
Right-click the device and choose "Uninstall device".

Check Delete the driver software for this device, then click "Uninstall".
After uninstalling, click the Action menu → Scan for hardware changes.
Windows will automatically reinstall the default network adapter driver.
If it fails, manually download and install the appropriate driver from the official website.
After installation, restart your computer and test if the network connection is restored.
3. Other Auxiliary Fix Suggestions
Besides reinstalling the driver, the following methods may help diagnose and restore the network:
Reset network settings:
Settings → Network & Internet → Status → Network reset

Run network troubleshooter:
Settings → System → Troubleshoot → Other troubleshooters → Network adapter

Disable third-party firewall or antivirus software
Check hardware connections:
Ensure cables are securely plugged in and wireless receivers work properly
Try system restore:
Roll back to a system restore point when the network was working fine
When your computer shows network connection failure, reinstalling the network adapter driver is an effective way to fix the issue. It is recommended to use the professional tool Driver Talent X for automatic repair, which is easier and safer. If the problem persists, consider checking for hardware faults or seeking professional technical support.
