If your microphone is not working on Skype, you're likely experiencing frustration during calls—either the other party can't hear you, or your audio cuts out intermittently. These issues are common, especially after Windows or macOS updates, Skype software bugs, or hardware changes. Whether your microphone for Skype is not working at all or is producing poor sound quality, this in-depth guide will help you systematically identify and fix the issue so you can get back to seamless communication.
Check Microphone Permissions for Skype
Microphone access can be blocked by your operating system's privacy settings, especially after major OS updates or Skype reinstallation. When this happens, Skype won’t be able to detect or use your microphone—even if it’s working perfectly in other apps.
On Windows:
Press Windows + I to open Settings.
Navigate to Privacy & Security > Microphone.
Make sure Microphone access is turned On.

Scroll down to the list of apps and confirm Skype has microphone permissions enabled.
On Mac:
Click the Apple menu > System Settings.
Go to Privacy & Security > Microphone.
Ensure Skype is toggled On to allow microphone access.
Select the Correct Microphone in Skype Settings
Even if your mic is functioning properly, Skype may be defaulting to the wrong audio input—such as a disabled virtual microphone or another disconnected device. This is especially common if you've recently connected a new USB headset, webcam, or Bluetooth device.
To select the correct mic in Skype:
Launch Skype and click the three-dot menu > Settings.
Navigate to Audio & Video.
Under the Microphone dropdown, select the correct input device.
Talk into your mic and observe the volume meter—movement indicates the mic is active.
Adjust Microphone Volume and Boost
Your microphone may be working but set too low to capture sound effectively, or software enhancements may be disabled. These subtle misconfigurations can make it seem like the microphone is not working on Skype, even though it's technically functioning.
On Windows:
Right-click the speaker icon in the system tray > select Sounds.
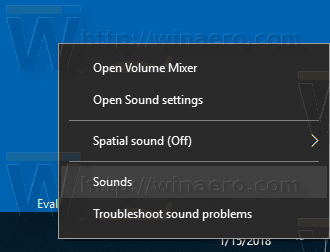
Go to the Recording tab.

Highlight your microphone > click Properties.
Under the Levels tab:
Set the microphone volume to at least 70%.
Increase Microphone Boost if available.
On Mac:
Open System Settings > Sound.
Click the Input tab.
Select your mic and raise the Input volume slider.
Update or Reinstall Audio Drivers
Driver issues are a leading cause of microphone malfunctions, particularly after OS updates, hardware changes, or system crashes. Outdated or corrupt audio drivers can break Skype’s ability to communicate with your mic.
To update drivers manually:
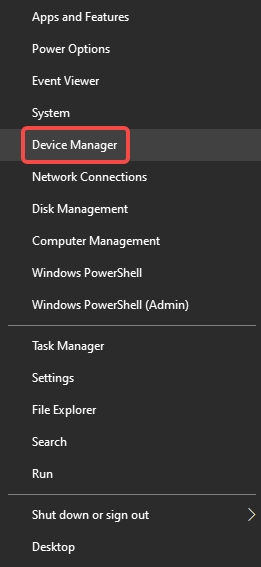
Press Windows + X > choose Device Manager.
Expand Audio inputs and outputs.
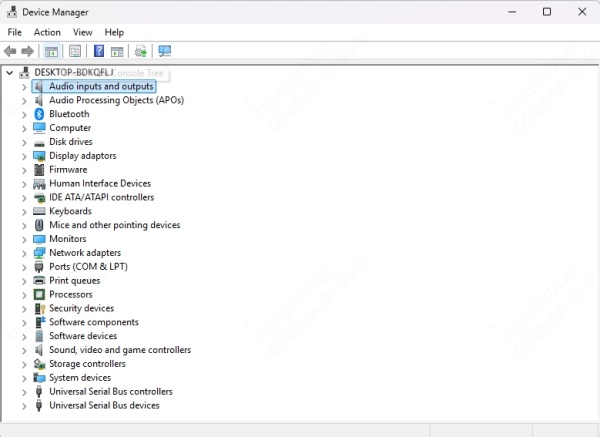
Right-click your microphone > select Update driver.
Choose Search automatically for drivers.
To reinstall:
Right-click your mic in Device Manager.
Select Uninstall device.
Reboot your PC—Windows will reinstall the correct drivers.
Automatically Fix Audio Issues with Driver Talent
Manually updating or reinstalling drivers can be tedious and error-prone—especially if you’re unsure which device or version is compatible with your system. That’s where Driver Talent comes in. This professional-grade driver management tool automatically scans your system for outdated or faulty drivers, including microphone and audio components, and updates them with the latest, manufacturer-approved versions.
Key Features:
One-click automatic driver repair and update.
Supports audio, Bluetooth, USB, and over 500,000 device types.
Fixes no sound, mic not detected, and Skype audio issues instantly.
Lightweight, fast, and user-friendly interface.
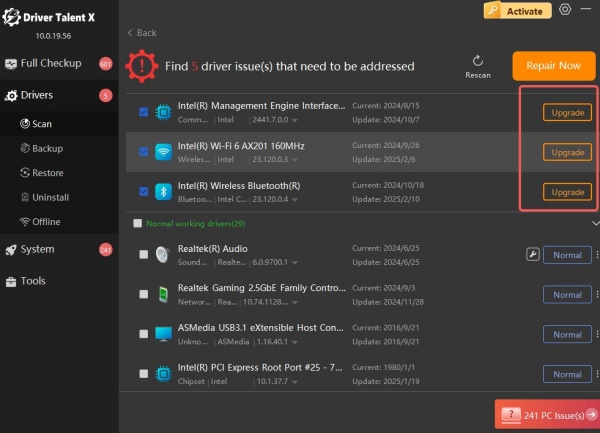
How to Use Driver Talent:
Download and install Driver Talent from the official site.
Launch the software and click Scan.
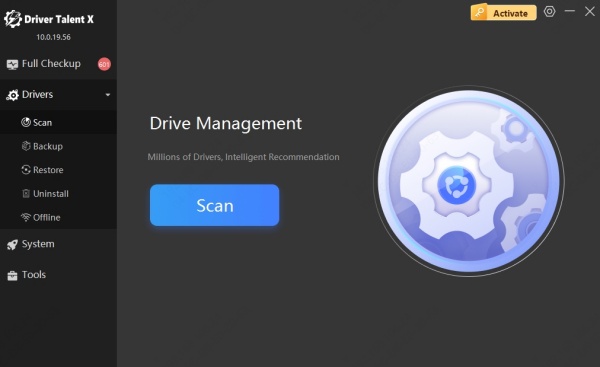
Let it identify faulty audio/microphone drivers.
Click Repair or Update All to fix issues automatically.
Restart your system and relaunch Skype.
Tip: Keep Driver Talent running in the background to prevent future Skype mic issues by ensuring drivers stay up-to-date.
Test Your Microphone in Skype and System Settings
Before diving deeper, it’s crucial to verify whether the issue lies with Skype or your system itself. Performing a test call and input test can help you isolate whether the microphone for Skype not working is due to Skype settings or a system-level problem.
In Skype:
Open Settings > Audio & Video.
Speak into the mic and observe the volume bar.
Click Make a free test call to record and hear your audio playback.
In Windows Sound Settings:
Go to Settings > System > Sound.
Under Input, choose your mic and speak to test response.
Disable Exclusive Mode and Optimize Mic Access
Certain applications can take exclusive control of your microphone, blocking other apps—including Skype—from accessing it properly. Disabling exclusive mode helps free your mic from being locked by other background software, resolving many microphone not working on Skype complaints.
To disable on Windows:
1. Go to Control Panel > Sound > Recording tab.
2. Select your mic > click Properties.
3. Navigate to the Advanced tab.
4. Uncheck:
Allow applications to take exclusive control
Give exclusive mode applications priority
5. Click Apply, restart Skype, and test again.
Update or Reinstall Skype
A buggy or outdated version of Skype can cause unpredictable behavior with your microphone and audio settings. Keeping Skype updated ensures that you benefit from the latest performance improvements, compatibility fixes, and security patches that might resolve your microphone not working for Skype issue.
To update Skype:
Desktop version: Open Skype > Help > Check for Updates.
Microsoft Store version: Launch Microsoft Store > Library > Update all.
To reinstall:
Uninstall Skype from Settings > Apps > Installed Apps.
Restart your PC.
Download and install the latest version from Skype.com.
Close Background Apps and Antivirus Interference
Applications like Zoom, Teams, Discord, and even browsers can conflict with Skype’s access to your mic. Additionally, some antivirus or firewall tools might restrict app-level audio access. To troubleshoot, identify and disable any app or security service that may be interfering with Skype.
Steps to take:
Close all other communication or recording apps.
Temporarily disable your antivirus and test Skype.
Open Firewall settings > Allow an app and ensure Skype is permitted on all networks.
Reset Skype or Create a New Windows Profile
In rare cases, corrupt Skype configurations or a broken user profile can prevent proper microphone detection. Resetting Skype or logging in from a new Windows user account can help isolate profile-specific issues.
Reset Skype on Windows 10/11:
Go to Settings > Apps > Installed Apps > Skype.
Click Advanced options > Reset.
If that doesn’t work, try creating a new Windows user account and test Skype there.
Final Thoughts
When your microphone is not working on Skype, it's essential to approach the issue methodically. From privacy settings and device selection to driver updates and app conflicts, there are many potential culprits—but also reliable fixes. Each method above offers a precise, tested solution to get your microphone back up and running.
For users who want to streamline the troubleshooting process, Driver Talent is a must-have tool to maintain your PC’s audio environment. With automatic driver updates, real-time scanning, and repair capabilities, you can prevent and resolve Skype microphone issues faster and more reliably than ever.
