If you're encountering the "sound service not running" error in Windows 10, you're not alone. This issue can prevent you from hearing system sounds, using headphones, or playing audio through speakers. In this guide, we will walk you through comprehensive solutions to resolve the Windows Audio Service error and restore your sound.
Understanding the “Sound Service Not Running” Error
This error typically appears when the Windows Audio service has stopped or failed to start properly. Users may see a red "X" on the sound icon or encounter messages like:
“Audio services not responding”
“The audio service is not running”
“No audio output device is installed”
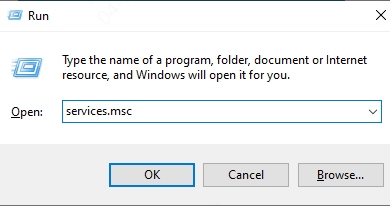
1. Check the Windows Audio Services
One of the most common reasons behind the “sound service not running” error is that the necessary audio services are either disabled or have failed to start. Windows relies on several core services to manage audio playback, and if even one of them malfunctions, it can lead to a complete audio failure. Verifying and restarting these services ensures the system can properly communicate with your sound hardware.
Steps:
Press Win + R, type services.msc, and hit Enter.
In the Services window, locate these services:
Windows Audio
Windows Audio Endpoint Builder
Remote Procedure Call (RPC)
Right-click each service and select Restart.
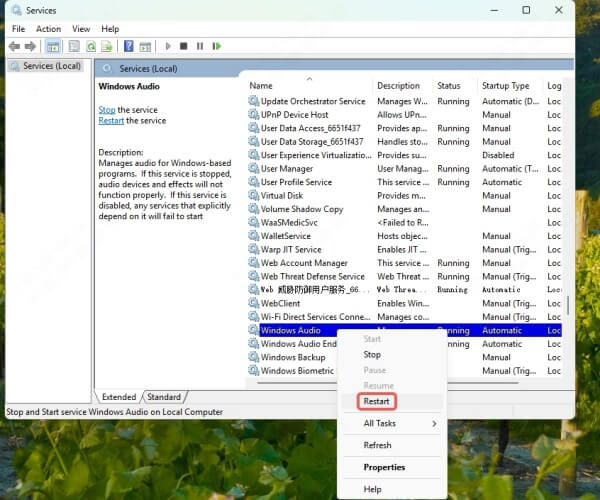
If not running, right-click and choose Start.
Set Startup Type to Automatic by right-clicking > Properties.
2. Use the Windows Troubleshooter
If you’re unsure what exactly is causing the audio service to stop, the built-in Windows Troubleshooter is an excellent tool. It scans your system for potential issues and automatically applies fixes. This method is ideal for beginners or anyone who wants a quick diagnostic and repair tool for audio-related errors.
Steps:
Go to Settings > Update & Security > Troubleshoot.
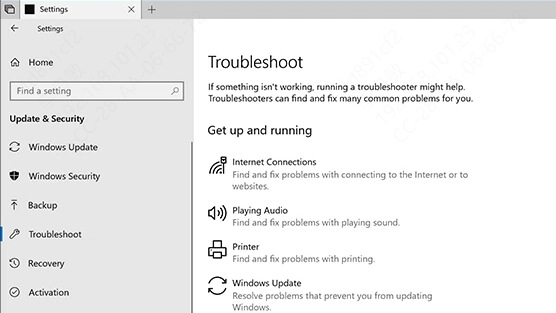
Click Additional troubleshooters.
Select Playing Audio, then click Run the troubleshooter
Follow the on-screen instructions.
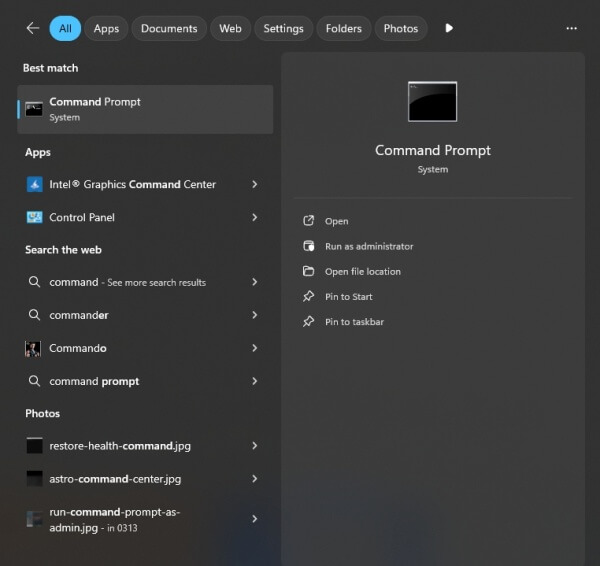
3. Restart Windows Audio via Command Prompt
Sometimes, the standard GUI-based service restart doesn’t fully reset the audio service. Using Command Prompt with administrative privileges can enforce a more direct approach to stopping and restarting Windows audio-related services. This method bypasses any GUI issues and ensures the service is reinitialized at the system level.
Steps:
Type cmd in Start Menu, right-click Command Prompt, choose Run as administrator.
Enter the following commands:
net stop audiosrv
net start audiosrv
Close the window and test your sound.
4. Reinstall or Update Audio Drivers
Corrupted or outdated audio drivers can be a major culprit behind service-related sound problems. If your drivers are malfunctioning, Windows may be unable to communicate with your audio hardware properly. Reinstalling or updating your audio drivers ensures compatibility and functionality with the latest Windows updates and hardware configurations.
Steps to Reinstall:
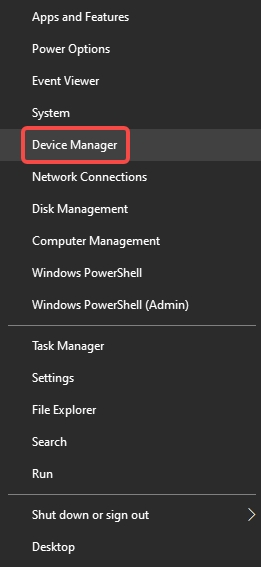
Press Win + X and select Device Manager.
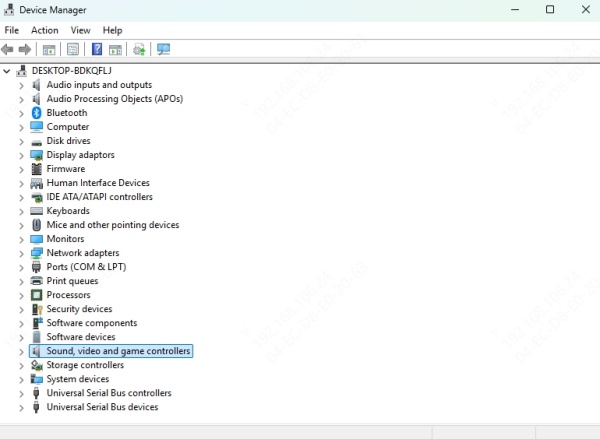
Expand Sound, video and game controllers.
Right-click your audio device (e.g., Realtek Audio) and choose Uninstall device.
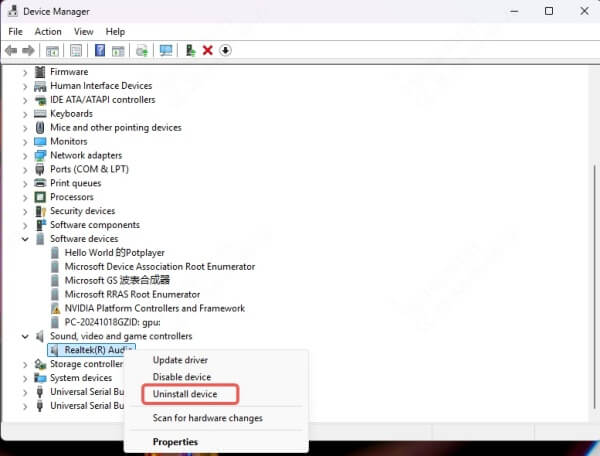
Check Delete the driver software, then click Uninstall.
Restart your computer; Windows will reinstall the driver automatically.
Steps to Update:
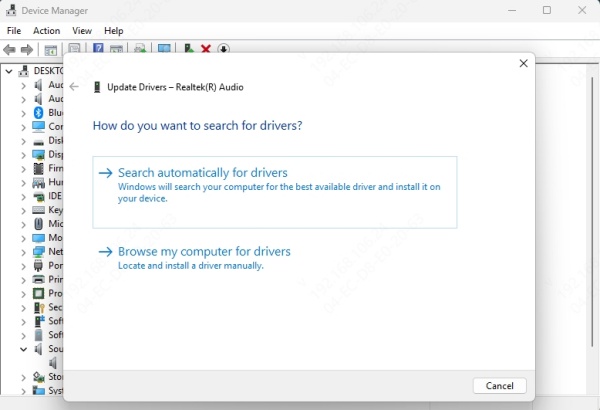
Go back to Device Manager.
Right-click the audio device and select Update driver.
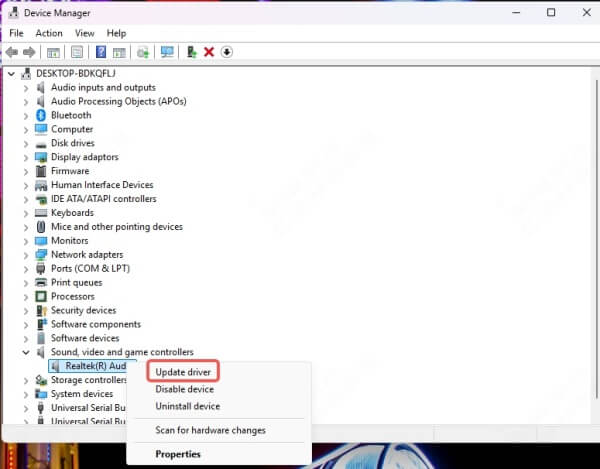
Choose Search automatically for drivers.
5. Use a Dedicated Driver Updater Tool
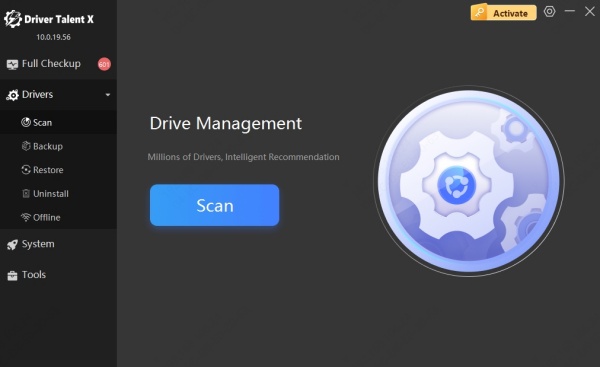
If you're not comfortable manually updating drivers or if Windows fails to find the latest driver, a dedicated tool like Driver Talent X can save time and prevent errors. It automatically identifies outdated or missing drivers, downloads the correct versions, and installs them without hassle—making it a great option for non-technical users or those troubleshooting stubborn audio issues.
Driver Talent X Features:
Auto-detects faulty drivers.
Installs official drivers for your system.
Offers repair options for broken drivers.
Backs up and restores drivers.
How to Use:
Download and install Driver Talent X.
Launch the program and click Scan.
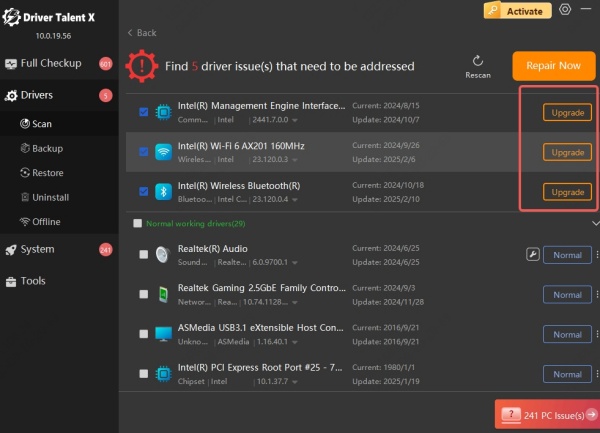
Click Repair or Upgrade next to the audio driver.
Reboot your PC to apply changes.
6. Enable Audio Devices in Control Panel
Even if your drivers and services are functional, your sound output might still be disabled. This can happen due to system changes, third-party software, or user error. Verifying the audio device is enabled and correctly selected as the default ensures that your computer routes sound to the right output device.
Steps:
Right-click the sound icon on the taskbar and select Sounds.
Go to the Playback tab.
Right-click in the blank area and choose Show Disabled Devices.
If your speakers or headphones appear, right-click and choose Enable.
Set the correct device as Default.
7. Check for Windows Updates
System updates often include patches for bugs affecting audio services. If your system is outdated, it might be missing a critical fix that could restore your sound. Ensuring your OS is fully updated can resolve compatibility issues and automatically install enhanced audio support.
Steps:
Go to Settings > Update & Security > Windows Update.
Click Check for updates.
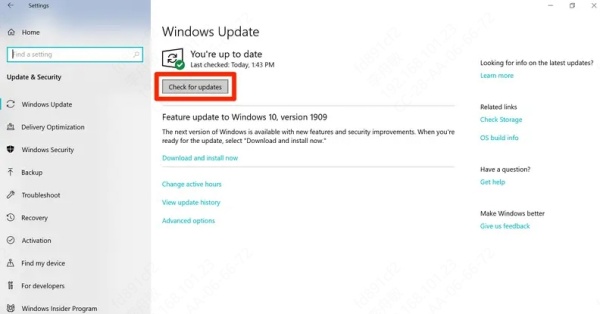
Install all available updates and restart your system.
8. Modify Registry (Advanced Users Only)
For advanced users, a registry tweak can fix service startup issues if a registry entry has been changed due to malware, software bugs, or incorrect configurations. The Windows Registry controls low-level system behaviors, and modifying the AudioSrv key can re-enable sound services at boot.
Warning: Editing the registry can be risky. Create a backup first.
Steps:
Press Win + R, type regedit, and press Enter.
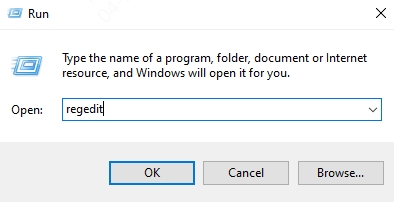
Navigate to: HKEY_LOCAL_MACHINE\SYSTEM\CurrentControlSet\Services\AudioSrv
Check that the Start DWORD value is set to 2.
If not, double-click it and change the value to 2.
Close the registry editor and restart your PC.
9. Create a New User Profile
Sometimes, user accounts get corrupted due to profile-specific settings or permission errors, which can affect system services like audio. Creating a new profile allows you to determine whether the issue is tied to your current user environment or if it's system-wide.
Steps:
Go to Settings > Accounts > Family & other users.
Click Add someone else to this PC.
Create a new user and set it as administrator.
Log into the new account and test the audio.
10. Perform a System Restore
If your audio was working fine recently, and the error appeared after a system change or update, System Restore is a reliable way to roll back to a functional state. It doesn’t affect your personal files but can undo changes to drivers and system settings that triggered the problem.
Steps:
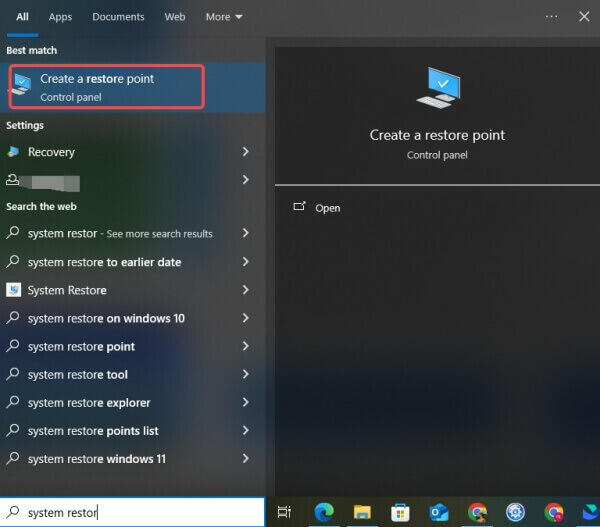
Search for Create a restore point and open it.
Click System Restore and follow the wizard.
Choose a restore point before the audio stopped working.
Let the system roll back and test your audio.
11. Check for Malware or Third-party Conflicts
Malicious software or poorly written third-party applications can interfere with system-level services like audio. Performing a full malware scan and eliminating unnecessary or harmful background processes can help restore service stability and protect future performance.
Steps:
Run a full scan using Windows Defender or a trusted antivirus tool.
Disable unnecessary startup apps using Task Manager.
Uninstall suspicious or recently installed applications that may interfere.
Conclusion
The “sound service not running” error in Windows 10 can be resolved through careful troubleshooting of audio services, drivers, system configurations, and user settings. By following the methods outlined above—from restarting audio services to updating drivers with tools like Driver Talent X — you can restore your audio functionality and avoid future disruptions.
