Experiencing "Unidentified Network" in Windows 11 when using Ethernet or WiFi can disrupt internet access and affect productivity. This issue usually means your device cannot establish a valid IP configuration with the network. Below, we provide a comprehensive and technical breakdown of methods to fix Ethernet unidentified network Windows 11, WiFi unidentified network Windows 11, and any variation of unidentified network in Windows 11.
What Does “Unidentified Network” Mean in Windows 11?
An unidentified network means Windows 11 cannot detect or recognize the current network, usually due to incorrect IP settings, disabled network services, outdated drivers, or firewall conflicts. This can happen on both Ethernet and WiFi connections.
1. Restart Network Adapter and Router
One of the most straightforward ways to fix Ethernet or WiFi unidentified network in Windows 11 is to restart both your network adapter and router. This action refreshes your device’s connection to the network and can resolve temporary communication errors between your PC and router. If the network stack gets stuck or fails to reinitialize correctly, it often results in an unidentified network error.
Steps:
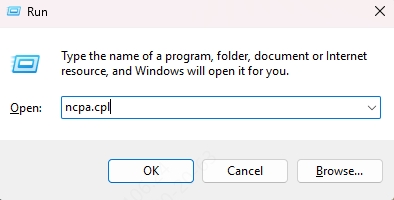
Press Windows + R, type ncpa.cpl, and press Enter.
Right-click on your active Ethernet or WiFi adapter.
Select Disable.
Wait a few seconds, then right-click again and select Enable.
Restart your router/modem and allow it to fully boot.
2. Set a Static IP Address
When your device fails to automatically obtain an IP address from the DHCP server, it may fall into a state of network limbo, resulting in the unidentified network Windows 11 error. Manually assigning a static IP ensures your computer communicates directly with the router using fixed parameters.
Steps:
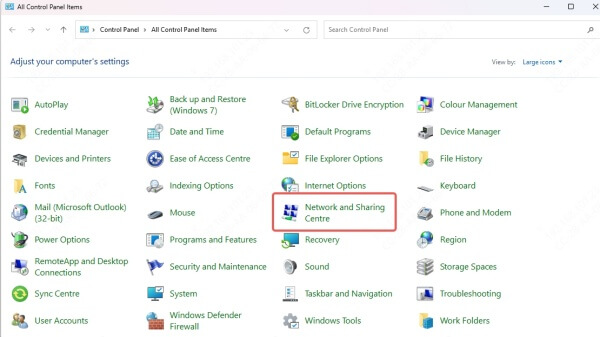
1. Open Control Panel > Network and Sharing Center.
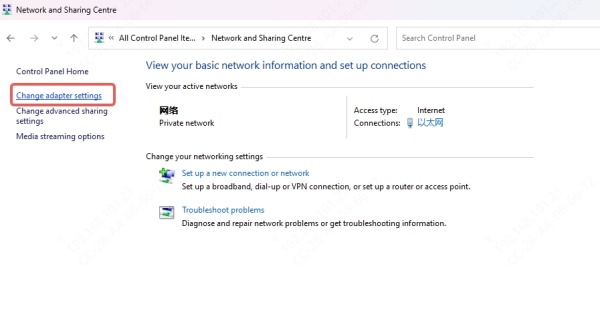
2. Click Change adapter settings.
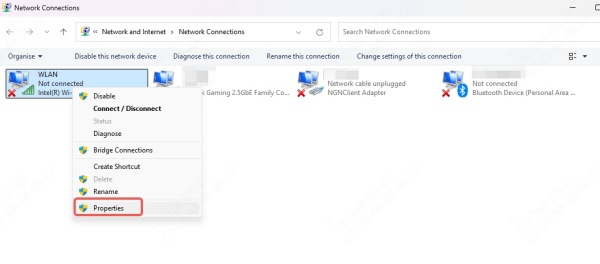
3. Right-click the Ethernet or WiFi connection > Properties.
4. Select Internet Protocol Version 4 (TCP/IPv4) > Properties.
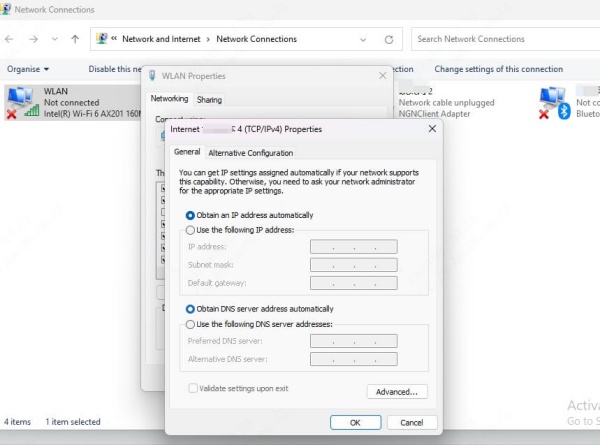
5. Select Use the following IP address and input:
IP address: 192.168.1.50
Subnet mask: 255.255.255.0
Default gateway: 192.168.1.1
6. For DNS:
Preferred DNS: 8.8.8.8
Alternate DNS: 8.8.4.4
7. Click OK and restart the PC.
3. Update Network Adapter Drivers
Outdated, missing, or corrupt network drivers are among the leading causes of network identification issues in Windows 11. These drivers serve as the bridge between your operating system and the network hardware. If this bridge is broken, Windows may be unable to connect or correctly identify the network.
Steps:
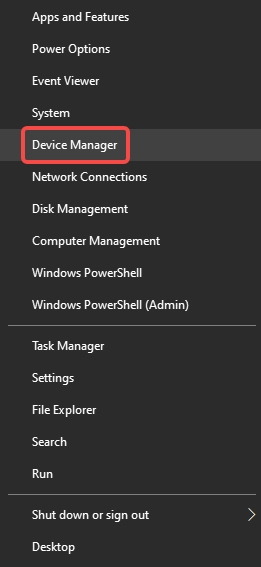
Press Windows + X > Device Manager.
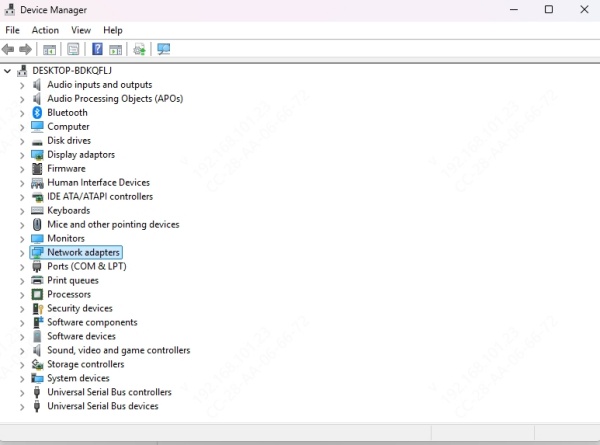
Expand Network adapters.
Right-click your Ethernet or WiFi adapter > Update driver.
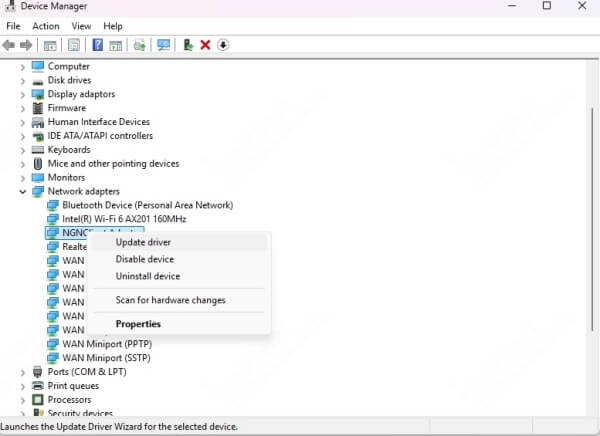
Choose Search automatically for drivers.
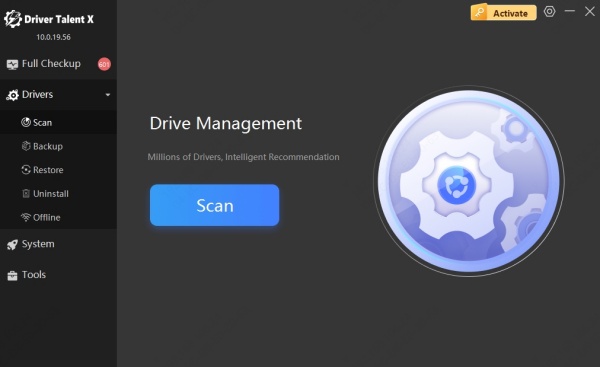
Pro Tip: Use Driver Talent to automate driver updates, resolve compatibility issues, and restore network connectivity with one click.
How to Use Driver Talent
Step 1. Download Driver Talent by Clicking the button below.
Step 2. Go to Driver tab and click Scan.
Step 3. In the result page, click Upgrade to update Network driver.
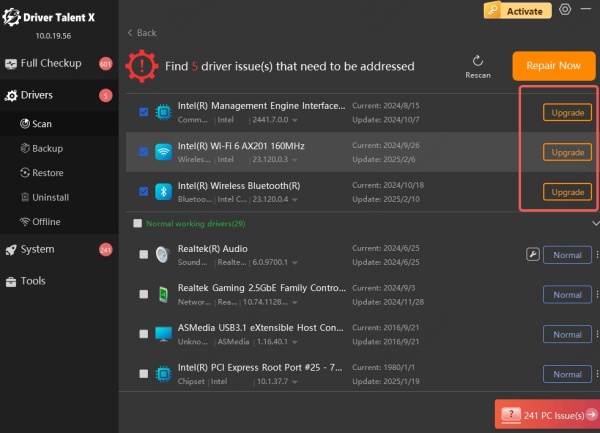
Step 4. Restart your PC to apply the changes.
4. Run Windows Network Troubleshooter
Windows 11 includes built-in diagnostic tools that can detect and fix common network issues automatically. The Network Troubleshooter examines your adapter settings, connectivity status, and system configurations, identifying discrepancies that could be causing the unidentified network problem.
Steps:
Go to Settings > System > Troubleshoot > Other troubleshooters.
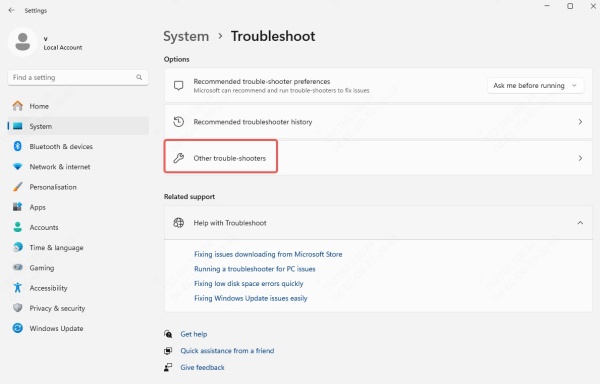
Click Run next to Network and Internet.

Select the adapter showing the unidentified network status.
Follow the on-screen instructions.
5. Disable and Re-Enable TCP/IP Stack
Your TCP/IP stack is the foundational protocol suite for all network communication in Windows. If it becomes misconfigured or corrupted due to malware, incorrect settings, or software conflicts, it may prevent your system from identifying the network.
Steps:
1. Search for cmd, right-click, and select Run as administrator.
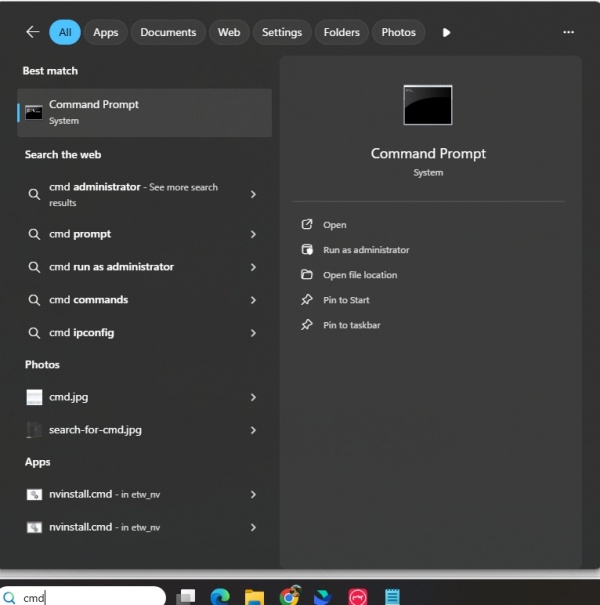
2. Enter the following commands one at a time:
netsh int ip reset
netsh winsock reset
ipconfig /release
ipconfig /renew
ipconfig /flushdns
3. Restart your PC.
6. Disable Fast Startup Feature
Fast Startup in Windows 11 helps reduce boot time by saving system data to a hibernation file. However, this feature can also skip reinitializing critical services, such as network detection processes. Disabling Fast Startup ensures that every time your system boots, it performs a clean initialization of all services and hardware, including those necessary for network identification.
Steps:
Go to Control Panel > Power Options > Choose what the power buttons do.
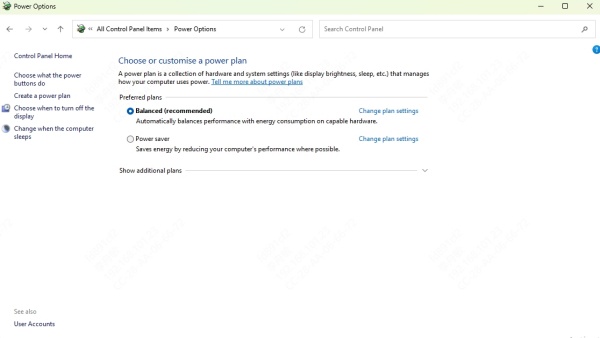
Click Change settings that are currently unavailable.
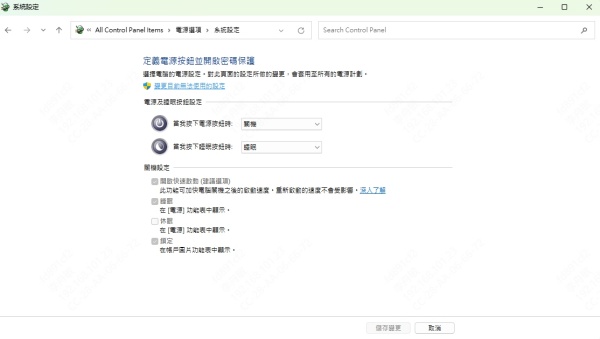
Uncheck Turn on fast startup (recommended).
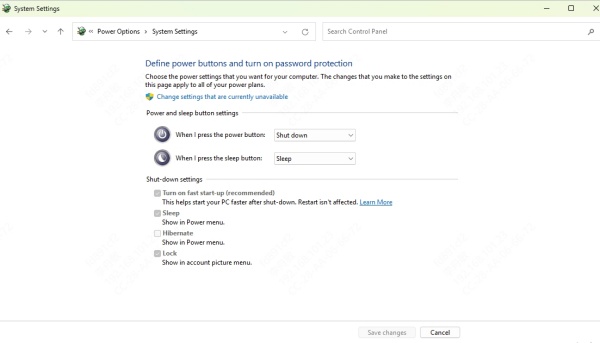
Save changes and restart the computer.
7. Reset Windows Network Settings
If the unidentified network problem persists despite multiple attempts to fix it, a full reset of Windows’ network settings may be necessary. This action will erase all saved connections, adapters, and configurations, essentially giving you a clean slate.
Steps:
Open Settings > Network & Internet > Advanced network settings.
Scroll down and click Network reset.
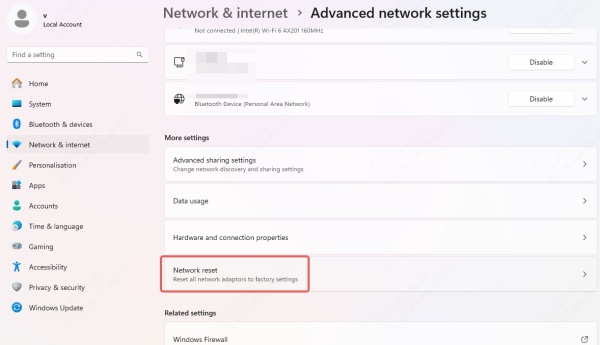
Click Reset now and confirm.
After reboot, you’ll need to reconnect to WiFi or Ethernet. This is particularly effective if you’ve tried other solutions without success.
8. Temporarily Disable Windows Defender Firewall
Firewall settings are designed to protect your system but can occasionally block legitimate connections. If your Windows Firewall mistakenly restricts essential network traffic, your system may fail to recognize the network properly. Temporarily disabling the firewall can help identify whether it's contributing to the unidentified network in Windows 11, especially after updates or configuration changes.
Steps:
Open Control Panel > Windows Defender Firewall.
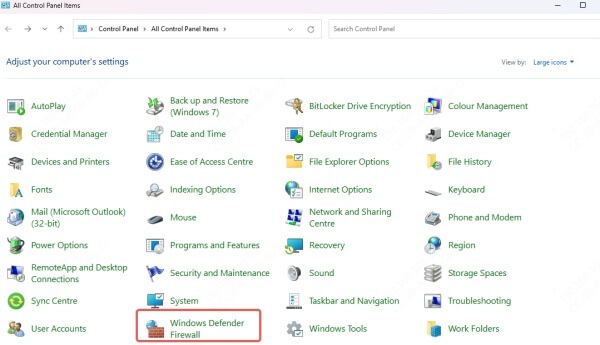
Click Turn Windows Defender Firewall on or off.

Turn off both Private and Public network settings.
Test the connection.
9. Change Network Profile Type to Private
Windows uses different rules for private and public networks. On public networks, features like network discovery and file sharing are disabled by default, which can lead to Windows marking the network as unidentified. Switching the profile type to Private ensures your system treats the network as trusted, allowing background services and protocols to function normally for proper network recognition.
Steps:
Go to Settings > Network & Internet > Ethernet or WiFi.
Click on your network.
Select Private network.
10. Check Network Services Status
Network identification depends on several essential services running in the background. If even one of these is stopped or misconfigured, it can cause your system to display the unidentified network error. Verifying and ensuring these services are active restores full network functionality.
Steps:
1. Press Windows + R, type services.msc, and hit Enter.
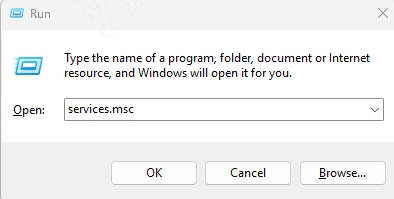
2. Ensure the following services are Running and set to Automatic:
DHCP Client
Network Location Awareness
Network Connections
Network List Service
TCP/IP NetBIOS Helper
WLAN AutoConfig (for WiFi)
3. Right-click each > Properties > Set Startup type to Automatic and start the service if it’s stopped.
Conclusion
Fixing unidentified network Windows 11—whether on WiFi or Ethernet—requires a methodical approach. From resetting the TCP/IP stack to assigning a static IP, each solution targets specific root causes. For users seeking a fast and automated fix, tools like Driver Talent ensure network drivers are always compatible and up to date.
By following the steps outlined above, you can eliminate unidentified network errors and restore full network functionality on your Windows 11 device.
