A wired internet connection is often valued for its stability and speed, but many users still encounter a frustrating issue where the Ethernet cable shows as connected but there is no internet access. This problem can significantly disrupt work, gaming, and browsing activities. This issue may be caused by network configuration errors, outdated or corrupted drivers, router problems, faulty cables, or system-level conflicts. In this comprehensive guide, we'll walk you through effective troubleshooting methods to help you identify the root cause and fix the Ethernet connected but no internet problem.
Check Physical Ethernet Connections
Before diving into complex fixes, we must start with the basics.
Inspect the Ethernet Cable
A damaged or loose Ethernet cable can lead to a connected status without internet access. Replace the cable or test with another device to confirm it's functional.
Verify Port Functionality
Try plugging the Ethernet cable into a different port on your router or switch. A faulty port can result in a no-internet condition despite a connection being recognized.
Restart Router and Modem
Power cycling your modem and router can clear minor glitches. Unplug them for 60 seconds and then reconnect.
Confirm Network Configuration Settings
Misconfigured network settings can result in limited or no internet access, even when the Ethernet cable is properly plugged in. If your system is using a static IP address or custom DNS that doesn't match the router's settings, you'll see a connection without functionality.
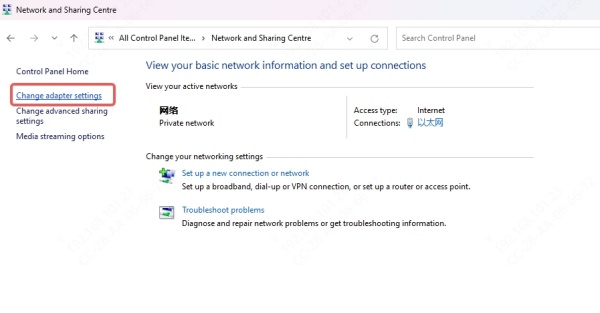
Open Control Panel > Network and Sharing Center
Click on Change adapter settings
Right-click Ethernet, then select Properties
Select Internet Protocol Version 4 (TCP/IPv4) > Properties
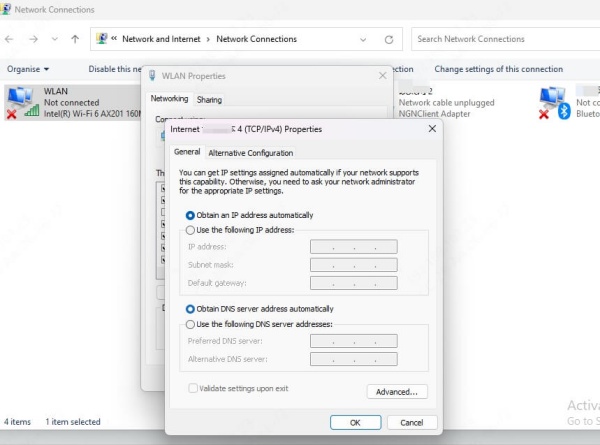
Check Obtain an IP address automatically and Obtain DNS server address automatically
Click OK and restart your system.
Run Windows Network Troubleshooter
Windows comes equipped with a built-in troubleshooter that can diagnose and fix many network-related issues automatically. This tool is designed to identify problems with your adapter, IP configuration, or DNS settings.
Go to Settings > Network & Internet
Click on Status > Network Troubleshooter
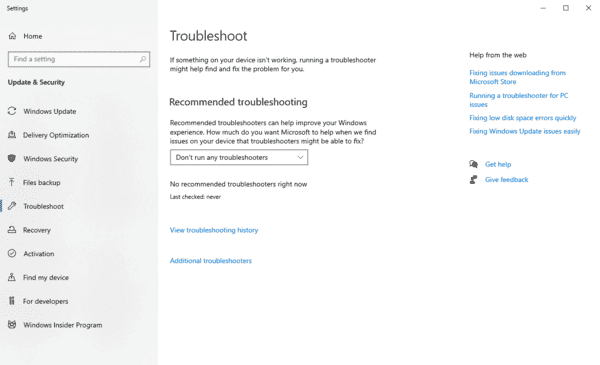
Follow the on-screen instructions
Disable and Re-enable the Ethernet Adapter
Network adapters can occasionally glitch or fall into an error state. Disabling and re-enabling the Ethernet adapter resets its internal state and reinitializes the driver.
Open Control Panel > Network and Internet > Network Connection
Right-click the Ethernet adapter
Click Disable, wait 10 seconds, then Enable
Update or Reinstall Network Drivers
Outdated or corrupted drivers are a leading cause of connection errors in Windows. Your Ethernet connection may appear active, but if the driver is malfunctioning, data won't be transmitted.
Update Drivers Manually
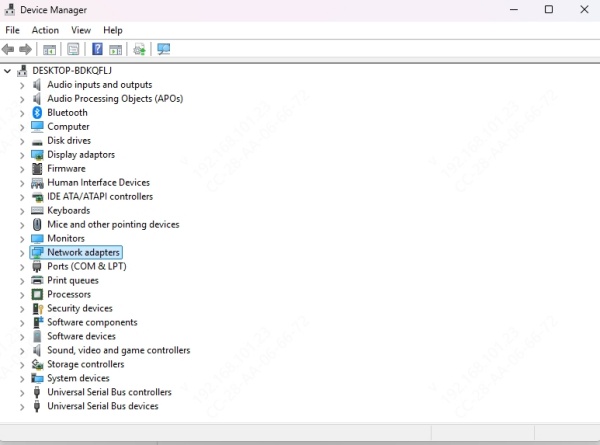
Press Win + X and select Device Manager
Expand Network adapters
Right-click your Ethernet adapter and select Update driver
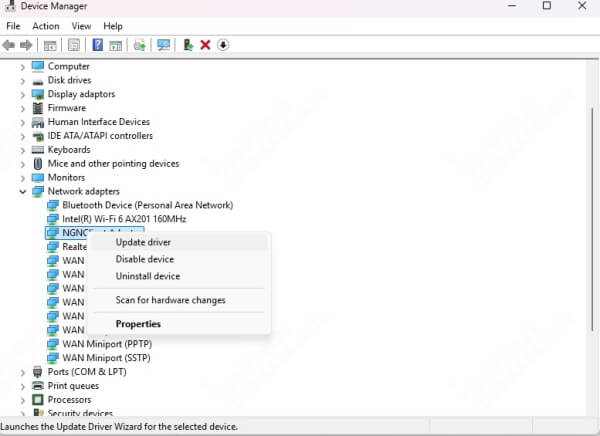
Choose Search automatically for drivers
Use Driver Talent to Update Automatically
If you're unsure of the correct driver or want a hassle-free solution, we recommend using Driver Talent. This professional tool scans your system and automatically updates all outdated, missing, or corrupt drivers.
How to use Driver Talent:
Download and install Driver Talent
Launch the program and click Scan
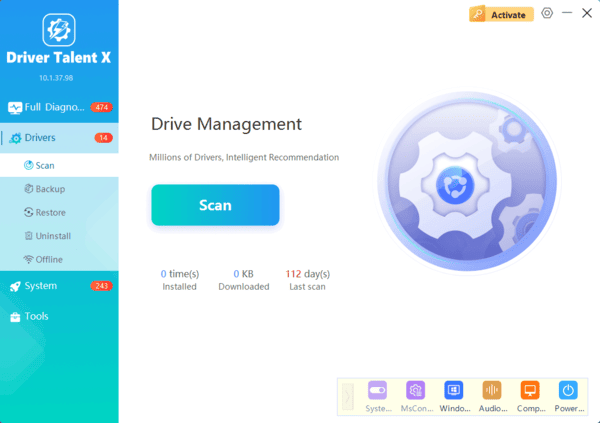
Click Update next to your network adapter
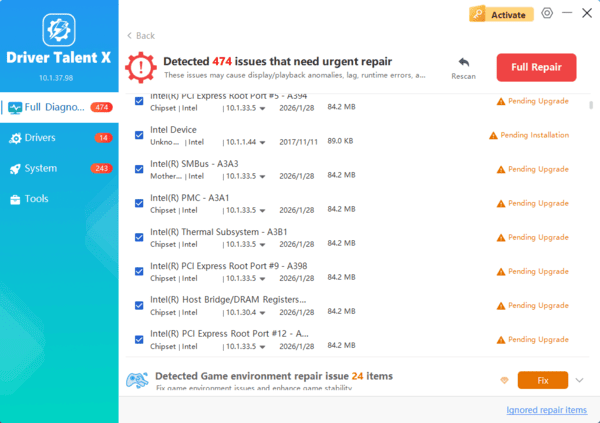
Restart your computer after the update
Check for IP Conflict
When multiple devices on the same network share a single IP address, conflicts occur that can disrupt internet access. If your PC is assigned an IP that's already in use, you may be connected to the network but unable to access the web. Releasing and renewing the IP address clears up these conflicts and prompts your router to assign a fresh IP.
Release and Renew IP Address
1. Open Command Prompt as Administrator
2. Type the following commands one by one:
ipconfig /release
ipconfig /renew
Flush DNS Cache
The Domain Name System (DNS) translates website names into IP addresses. Over time, your system stores DNS data in a local cache to speed up browsing, but this cache can become outdated or corrupted.
Open Command Prompt as Administrator
Type the following command: ipconfig /flushdns
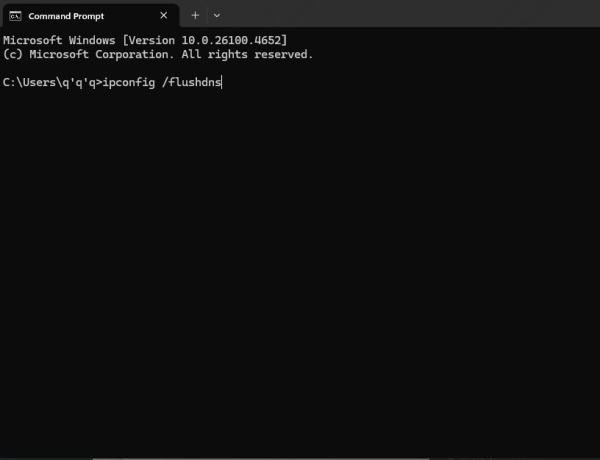
This clears the DNS cache and resolves name resolution issues.
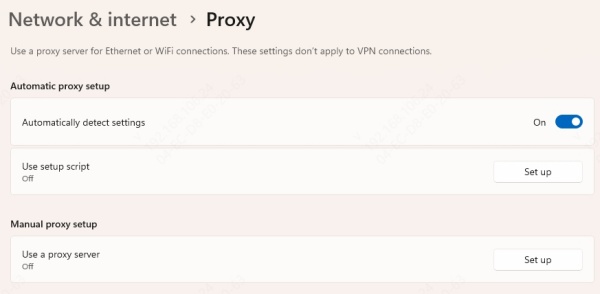
Check Proxy and VPN Settings
A proxy server or VPN can redirect traffic in ways that interfere with standard Ethernet access. If your proxy is misconfigured or your VPN server is offline, your system might recognize the cable connection but fail to reach the internet. Disabling these tools during troubleshooting can isolate the issue and help restore connectivity.
Disable Proxy
Go to Settings > Network & Internet > Proxy
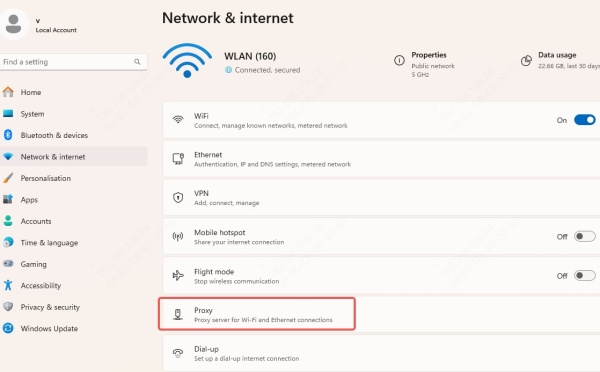
Make sure Use a proxy server is turned off
Disable VPN Temporarily
If you're using a VPN, disconnect it and check if the issue is resolved. Some VPNs interfere with local Ethernet connections, especially on restrictive networks.
Check Router Settings and DHCP
Routers are responsible for assigning IP addresses. If DHCP is disabled, your PC may connect but not receive an IP that allows internet access.
Log into your router's admin interface (usually 192.168.0.1 or 192.168.1.1)
Check if DHCP Server is enabled under LAN settings
If disabled, enable it and restart the router
Temporarily Disable Firewall and Antivirus
Security software can sometimes become too aggressive and block legitimate network activity. If your Ethernet is connected but there's no internet, your firewall or antivirus could be interfering with normal traffic. Temporarily disabling them helps determine if they're the root cause and allows you to make the necessary exceptions.
Temporarily disable your third-party firewall or antivirus software
Check if the internet access is restored
If it works, add your Ethernet connection as a trusted network in your software's settings
Perform a Network Reset
If all else fails, perform a complete network reset to restore default settings.
How to Reset Network Settings in Windows
Go to Settings > Network & Internet > Status
Scroll down and click Network reset
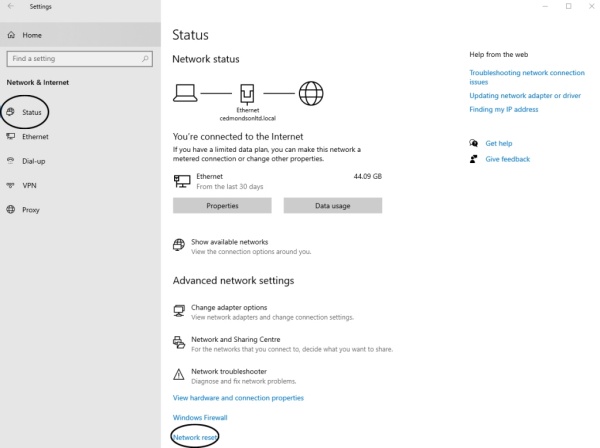
Click Reset now, then restart your PC
This removes and reinstalls all network adapters, restoring them to factory default.
Hardware Issues: When to Replace Components
If none of the above fixes resolve the issue, the problem may be hardware-related.
Faulty Ethernet Port: Try connecting to a different PC or switch
Defective Router: Replace the router or contact your ISP for replacement
Bad Ethernet Adapter: Consider using a USB-to-Ethernet adapter as a workaround
Conclusion
Encountering the "Ethernet cable connected but no internet" error can be frustrating, but it's typically solvable through a structured troubleshooting process. From verifying hardware connections and adjusting IP configurations to updating drivers and resetting the network stack, each method brings you closer to restoring full internet functionality.
