Black ink problems are among the most common issues on HP printers. You may notice that black text is missing, faded, streaky, printing in gray instead of true black, or not printing at all. Sometimes color printing continues to work normally while only black output is affected. In other cases, the printer may display a black cartridge error even when the cartridge is installed correctly. Fortunately, most HP black ink issues are caused by fixable problems such as dried ink, clogged printheads, dirty cartridge contacts, loose cartridges, incorrect print settings, or driver-related communication errors. A step-by-step troubleshooting approach can usually restore normal printing without replacing the printer.
Start With the Basic Checks
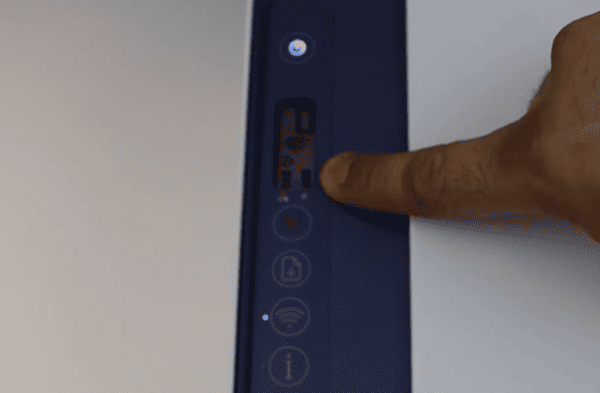
Open the printer access area, remove the cartridge, and reinsert it firmly into the correct slot. A cartridge that is slightly loose or misaligned may still be detected but fail to print black normally
If the cartridge is new, inspect it carefully and make sure all protective tape or sealing material has been removed. This is a very common reason a newly installed black cartridge does not print. Even a small remaining strip can block ink flow or interfere with contact points.
Check the Cartridge Condition
If reinstalling the cartridge does not help, inspect the black cartridge itself. Look for cracks, leaks, dried ink buildup, or any visible damage. A damaged cartridge can fail even if it is recognized by the printer
You should also confirm that the cartridge model is the correct one for your HP printer. Using the wrong cartridge model, an unstable third-party cartridge, or a low-quality refilled cartridge can create black ink issues even when the cartridge physically fits
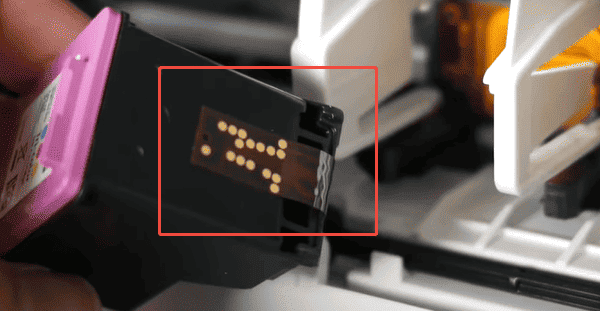
Clean the Cartridge Contacts
Dirty cartridge contacts can interfere with communication between the cartridge and the printer. If the printer cannot read the cartridge correctly, black printing may become inconsistent or stop completely
Remove the black cartridge and gently clean the metal contact points with a soft lint-free cloth. You should also carefully clean the matching contact area inside the printer. After the contacts are dry, reinstall the cartridge and test print again
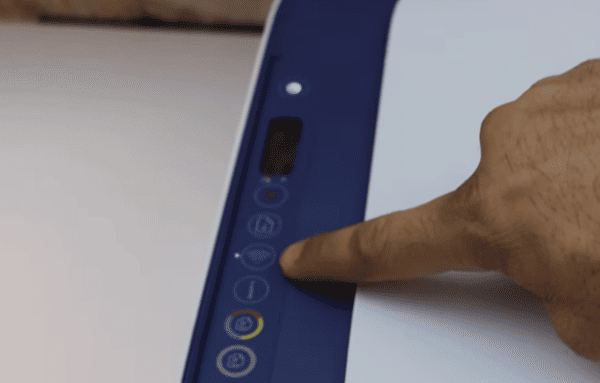
Align the Printhead or Cartridges
If black text prints but looks faded, uneven, or streaky, alignment may help. Many HP printers offer a printhead or cartridge alignment tool in the maintenance settings
Running the alignment process can improve print accuracy and help the printer lay down black ink more evenly. This is a useful step after installing a new cartridge or after cleaning cycles that changed print behavior
Alignment will not fix a totally dead cartridge, but it can improve black print quality when the cartridge is functioning but output looks weak or inconsistent
Check the Print Settings
Open the print preferences on the computer and check the selected quality settings, paper type, and color options
A draft mode setting can make black text appear faded. Some grayscale settings may also use color mixing instead of true black, depending on the printer model and driver behavior
Reinstall the HP Printer Driver
If the printer started having black ink problems after a Windows update or software change, reinstalling the HP printer driver is a good step. Remove the printer from Windows if necessary, install the correct driver for the exact printer model, and then restart the PC.
This is especially useful when the printer's own internal tests look better than print jobs sent from the computer.
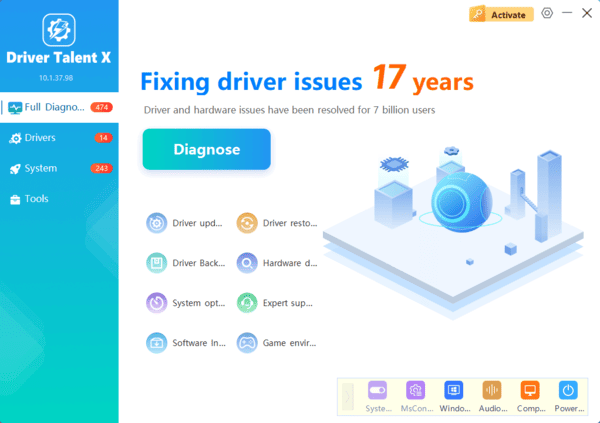
If you want a fast way to check for printer-related driver problems, Driver Talent X can help. Download and install Driver Talent X from the official Driver Talent X website. Open the software, go to the Drivers tab, and click Diagnose to scan the system.
Try Another Black Cartridge
If cleaning, alignment, contact cleaning, and driver repair do not solve the problem, the simplest way to isolate the cause is to try another compatible black cartridge. Even a brand-new cartridge can be defective
If the new cartridge prints normally, the old one was clearly the problem. If the second cartridge fails in the same way, the issue is more likely inside the printer, such as a clogged or damaged printhead or a deeper ink delivery issue
Check for Firmware and HP Software Updates
Some HP printers benefit from firmware or software updates that improve cartridge communication, print quality stability, and maintenance behavior. If your model supports it, check whether an official update is available
Install updates carefully and then test black printing again. This is not the first fix to try, but it can help when the issue started after a software conflict or when the printer has recurring cartridge behavior problems

Conclusion
Most HP printer black ink issues are caused by a few common problems: loose or defective cartridges, dried ink, clogged nozzles, dirty contacts, wrong print settings, or driver-related communication issues. The best troubleshooting order is simple. First check the cartridge installation and condition. Then clean the contacts, run the printer cleaning utility, align the print system, and review the print settings.
If the issue continues, reinstall the printer driver and use Driver Talent X to repair HP printer drivers along with related USB and system drivers if needed. If a second black cartridge also fails, the remaining cause is more likely to be a printhead or internal printer hardware problem rather than the cartridge itself.
