Scanners are widely used in both office and home settings for tasks such as document scanning and image conversion. However, many users experience issues where the scanner is not recognized or fails to function properly. Don't worry—this article will guide you step by step on how to correctly download and install the latest scanner driver to quickly restore your device's functionality.
Why Do You Need to Update Your Scanner Driver?
Drivers act as the bridge between your hardware device and the operating system. If the driver is:
Not installed
Outdated
Incompatible with your system
Corrupted by viruses or other programs
...the scanner may not be recognized, may fail to start, or show error messages.
Therefore, keeping your driver up to date is essential.
How to Identify the Correct Driver for Your Scanner Model
Before downloading, first confirm your scanner's model and operating system version:
1. Check Your Scanner Model
Look at the label on the scanner or its packaging.
Go to Control Panel > Devices and Printers to find the connected device name.
2. Confirm Your Operating System
Press Win + R, type "winver", and check your current Windows version (e.g., Windows 10, Windows 11).
Methods to Download and Install Scanner Drivers
Method 1: Use Driver Management Software (Recommended for Beginners)
If you're unsure of your scanner model or unfamiliar with manual driver installation, using a tool like Driver Talent X is a convenient and safe option. It saves time and helps avoid incorrect driver downloads or installation errors.
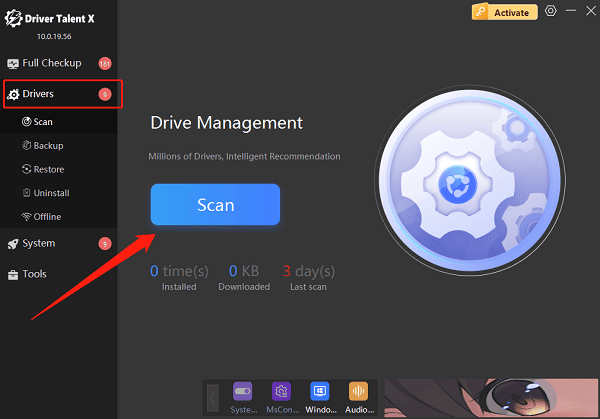
Click the download button to get the latest version of Driver Talent X, install and launch the software.
Go to the "Drivers" tab and click "Scan" — the tool will automatically detect all driver statuses.

Locate your scanner in the scan results and click "Upgrade".
Restart your computer after the update to ensure the driver takes effect.
Pros: Easy operation, one-click updates
Best for: General users unfamiliar with manual installations
Method 2: Download from the Manufacturer's Website (Recommended for Accuracy)
Visit the official website of your scanner brand (e.g., Canon, HP, Epson, Brother).
Navigate to the "Support" or "Drivers & Downloads" page.

Enter or select your product model.
Choose the driver version that matches your operating system.
Download and run the installer, following the on-screen instructions.
Pros: Latest official version, strong compatibility
Note: Manufacturer sites can be complex and slow for beginners to navigate
Method 3: Update via Device Manager
Right-click This PC, select Manage > Device Manager.
Find your scanner (usually under "Imaging Devices" or "Unknown Devices").
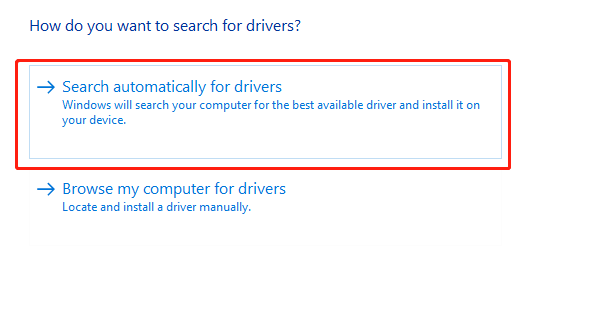
Right-click the device and choose "Update Driver".
Select "Search automatically for drivers".

Limitation: May not find the latest version or incorrectly report that the best driver is already installed.
What to Do After Installation
Restart your computer to ensure the driver loads properly.
Go to Control Panel > Devices and Printers and confirm your scanner is ready.
Open a scanning tool (such as Windows Scan or the manufacturer's software) to test if the scanner works normally.
FAQ: Common Issues
Q: What if the driver fails to install?
A: Try uninstalling the old driver, disable antivirus temporarily, then reinstall. Alternatively, use Driver Talent X to fix driver issues.
Q: Scanner stopped working after a Windows update?
A: Windows updates can sometimes break driver compatibility. Reinstall the latest driver.
Q: How do I remove old drivers?
A: In Device Manager, right-click the device > Uninstall Device > Check "Delete the driver software for this device".
With the right steps, anyone can update their scanner driver with ease. Whether you prefer manual downloads, a driver tool, or using Device Manager, the key is to ensure the driver matches your device and installs correctly. If you want a one-click solution to all driver problems, Driver Talent X is your reliable assistant.
