The FAULTY_HARDWARE_CORRUPTED_PAGE blue screen error, also known as stop code 0x12B, occurs when Windows detects corruption in a protected memory page. Although the name suggests a hardware failure, the issue can also be caused by outdated or damaged drivers, corrupted system files, unstable overclocking, storage problems, or outdated BIOS firmware. This guide covers practical troubleshooting methods to help identify the cause and fix FAULTY_HARDWARE_CORRUPTED_PAGE errors, including driver updates, memory testing, system repairs, drive checks, BIOS updates, and clean boot troubleshooting.
Fix 1: Update or Reinstall Drivers
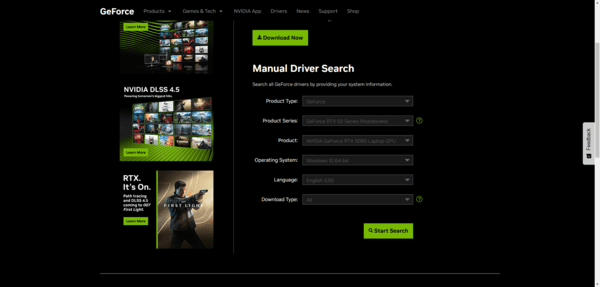
For NVIDIA GPU drivers, download the latest driver from NVIDIA's official support site. Select Custom installation and check the clean installation option to replace existing driver files entirely.
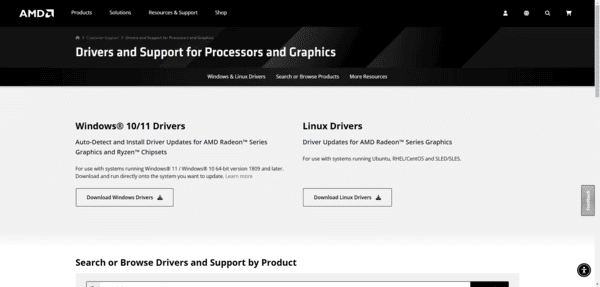
For AMD GPU drivers, run AMD Cleanup Utility first to remove all existing AMD components, then install the latest driver from AMD's official support site.
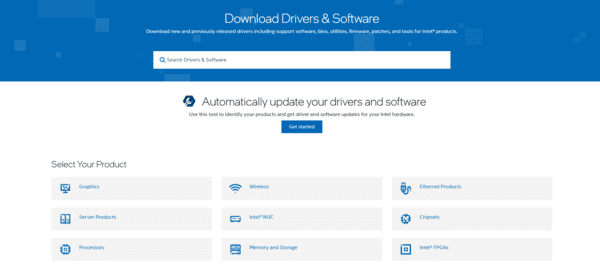
For Intel integrated graphics, download the driver from the laptop manufacturer's support site for the most stable OEM version.
Restart after each driver update and monitor whether the BSOD recurs.
Fix 2: Update All Drivers Automatically with Driver Talent X
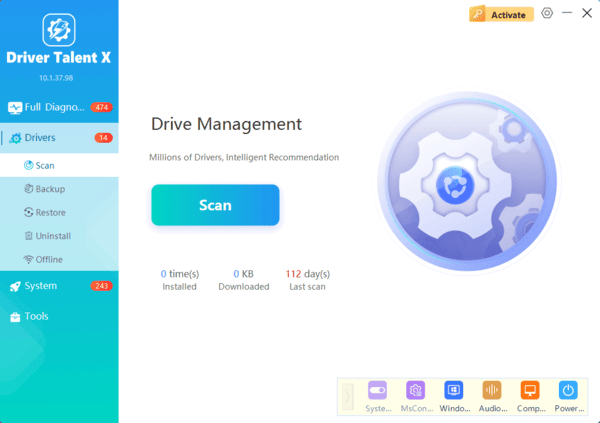
When the specific problem driver is unclear from the crash file name, or multiple drivers may be contributing, Driver Talent X scans all hardware in a single pass and identifies outdated or incompatible drivers across GPU, chipset, and storage controller categories
Fix 3: Run Windows Memory Diagnostic
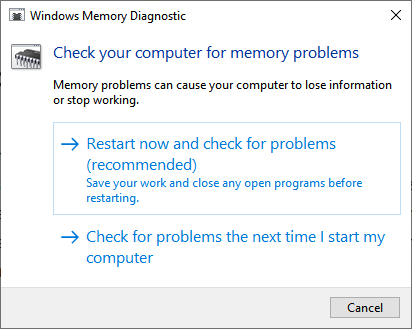
Press the Windows key, search for Windows Memory Diagnostic, and select Restart now and check for problems. The PC restarts and runs a memory test automatically. Results appear in the notification area near the taskbar after the next login
For a more thorough test, create a bootable MemTest86 drive and boot from it. MemTest86 runs outside Windows and performs a comprehensive extended test. Allow it to complete at least one full pass
Fix 4: Run System File Checker and DISM
Open Command Prompt as administrator
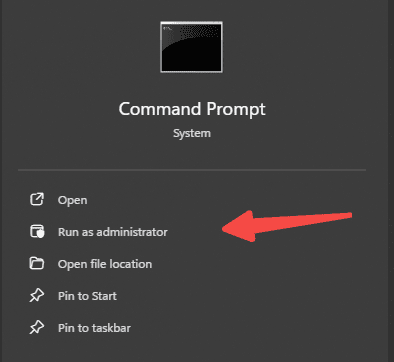
Press the Windows key, type cmd, right-click Command Prompt, and select Run as administrator. Run the following command:
sfc /scannow
Wait for the scan to complete. If SFC reports corrupted files it could not repair, run the following command next:
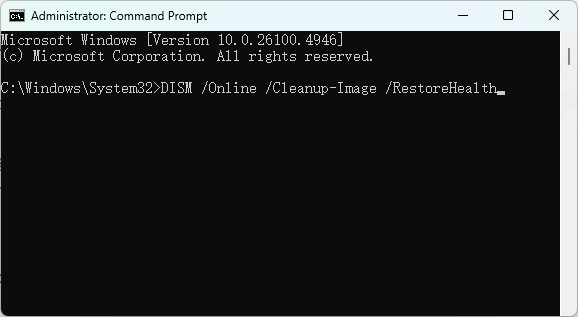
DISM /Online /Cleanup-Image /RestoreHealth
After DISM completes its repair process, run sfc /scannow again. Restart after both scans finish and monitor for BSOD recurrence
Fix 5: Check and Repair the Drive
A failing SSD or HDD with developing bad sectors corrupts memory pages when Windows reads data from affected sectors into RAM during normal operation. This is a hardware cause that no driver or software fix addresses.
Open Command Prompt as administrator and run the following command, replacing C with the system drive letter if different:
chkdsk C: /f /r /x
If the volume is in use, Windows prompts to schedule the scan at next restart. Confirm and restart. Allow the scan to complete — it runs before Windows loads and checks every sector on the drive
Fix 6: Update BIOS and System Firmware
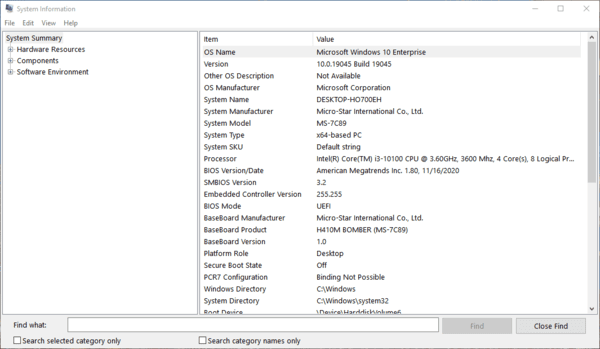
Check the current BIOS version. Press Win + R, type msinfo32, and press Enter. The BIOS Version/Date row in the System Information window shows the installed version
Go to the motherboard or laptop manufacturer's support page and check for BIOS updates for the specific model. Download the latest version and follow the manufacturer's installation instructions precisely
After the BIOS update, re-enter BIOS setup and confirm memory settings are correct. If XMP or EXPO profiles were enabled before the update, re-enable them after confirming the system is stable at default settings first
Fix 7: Disable Overclocking
Restart and enter BIOS setup. Restore all CPU frequency, core ratio, and voltage settings to Auto or stock values. Disable XMP or EXPO memory profiles and run the RAM at its JEDEC default speed and voltage. Save with F10 and exit
For GPU overclocking, open the overclocking tool being used — MSI Afterburner or similar — reset all frequency and voltage values to stock, and click Apply
Restart and monitor. If crashes stop at stock settings, overclocking is confirmed as the cause. Reintroduce overclocking settings incrementally with stability testing between each change
Fix 8: Uninstall Recently Installed Software or Updates
Go to Settings, then Apps, and sort the list by install date. Uninstall any application installed in the days before the crashes began — particularly system utilities, antivirus software, VPN clients, driver utilities, and RAM optimization tools
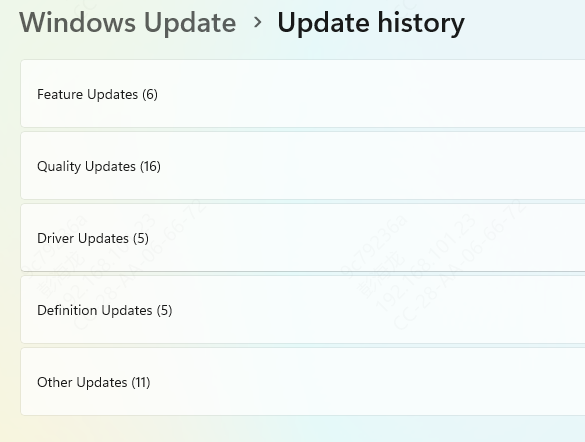
If crashes began after a Windows Update, roll it back. Go to Settings, then Windows Update, then Update history, then Uninstall updates. Remove the most recent cumulative update and restart
Fix 9: Perform a Clean Boot
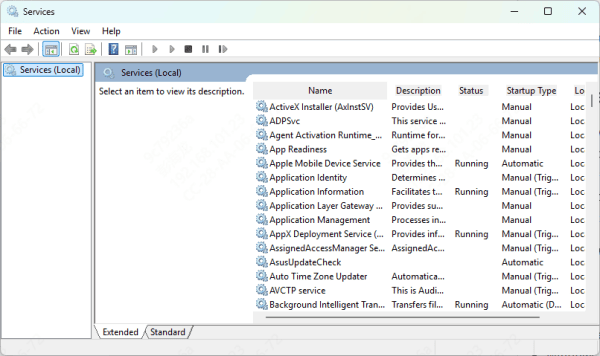
Press Win + R, type msconfig, and press Enter. Go to the Services tab. Check "Hide all Microsoft services" and click Disable all. Go to the Startup tab, click Open Task Manager, and disable all startup items. Restart
If the BSOD stops occurring during the clean boot, a disabled service is the cause. Re-enable services in small groups, restarting after each, until the crash returns. The last group enabled identifies the conflicting service. Uninstall or update the specific application within that group
Frequently Asked Questions
Does FAULTY_HARDWARE_CORRUPTED_PAGE always mean hardware failure?
No. Stop code 0x12B can also result from corrupted drivers, damaged Windows files, unstable overclocking, incompatible software, or outdated firmware.
How can I determine whether faulty RAM causes the error?
Run Windows Memory Diagnostic or perform an extended test with MemTest86. Any detected errors may indicate faulty RAM, unstable memory settings, or a damaged motherboard slot.
Can XMP or EXPO cause FAULTY_HARDWARE_CORRUPTED_PAGE?
Yes. An unstable memory profile can corrupt data and trigger the error. Disable XMP or EXPO, restore default BIOS settings, and test the computer again.
Conclusion
FAULTY_HARDWARE_CORRUPTED_PAGE is caused by either software factors — drivers, system file corruption, recently installed applications — or hardware factors including RAM, a failing drive, and overclocking. The crash file name on the blue screen is the fastest diagnostic clue: GPU driver files point to Fix 1, ntoskrnl.exe points to Fix 3 and Fix 7, and storage driver files point to Fix 5. Driver Talent X provides automated scanning and repair across all driver categories when the specific problem driver is unclear. For cases where software fixes don't stop the crashes, testing RAM and checking drive health confirm or rule out the hardware causes.