Laptop Wi-Fi connection problems are common and can occur after Windows updates, driver changes, network configuration errors, or temporary hardware conflicts. When a laptop cannot connect to Wi-Fi, the issue is often related to disabled adapters, outdated network drivers, incorrect settings, or router communication problems rather than hardware failure. This guide explains how to troubleshoot and fix laptop Wi-Fi issues by checking connections, resetting network settings, updating drivers, and optimizing wireless configurations.
Preliminary Checks
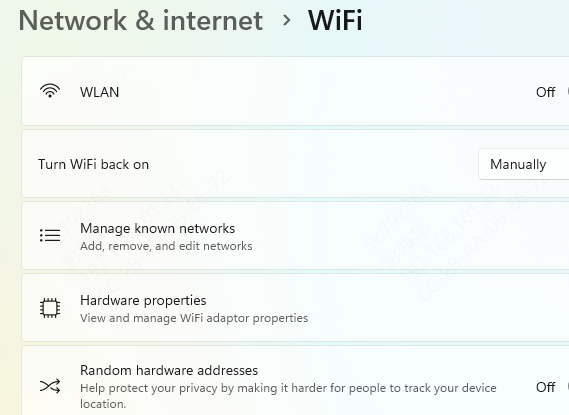
Wi-Fi Toggle: Press the laptop's Wi-Fi function key or check Settings → Network & Internet → Wi-Fi to ensure wireless is turned on
Airplane Mode: Make sure airplane mode is disabled
Router Status: Verify that your Wi-Fi router is powered on and functioning
Test Other Devices: Attempt to connect another device to the same network. If the second device also fails, the problem is likely with the router or internet service
Restart Devices
Laptop: Close all apps and perform a restart
Router/Modem: Power cycle by unplugging for 30 seconds, then plug back in
Test the Wi-Fi connection again. Often, a simple restart fixes temporary network glitches
Forget and Reconnect to Wi-Fi Network
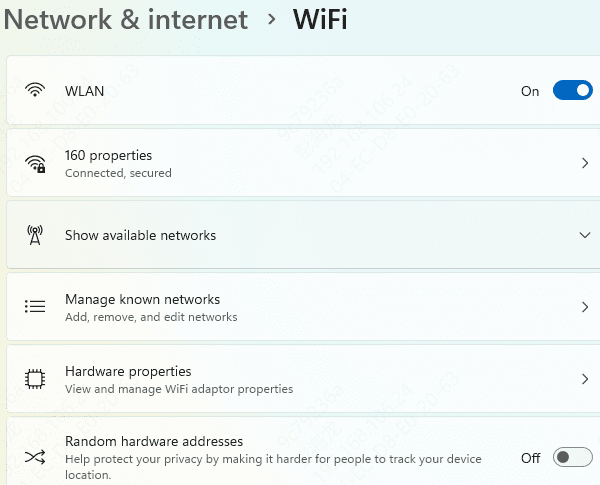
Go to Settings → Network & Internet → Wi-Fi → Manage known networks
Select the problematic network and click Forget
Reconnect by selecting the network and entering the password
This ensures a clean connection without cached settings interfering
Update Network Drivers
Update Drivers via Device Manager
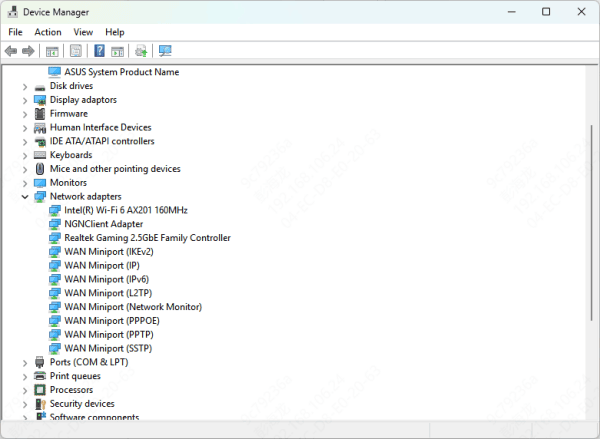
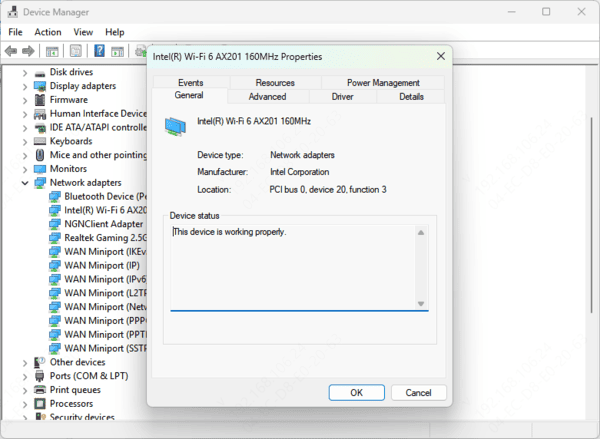
Press Win + X → Device Manager
Expand Network adapters
Right-click your Wi-Fi adapter → Update driver → Search automatically
Restart your laptop after the update
Update Using Driver Talent X
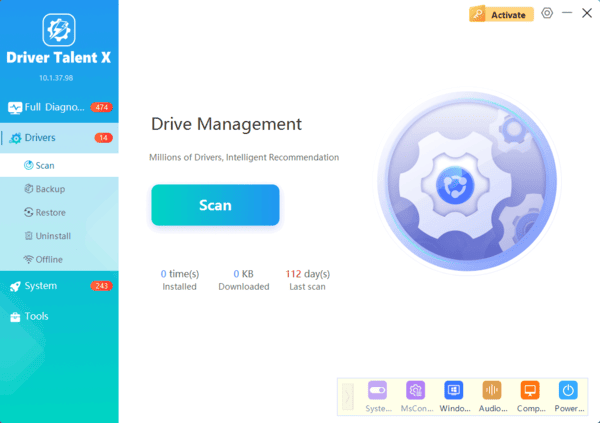
Download and install Driver Talent X from the official website
Launch the software and run a full system scan
Locate Wi-Fi, Ethernet, and network drivers in the results
Click Repair or Update All
Restart your laptop to apply updates
Reset Network Settings
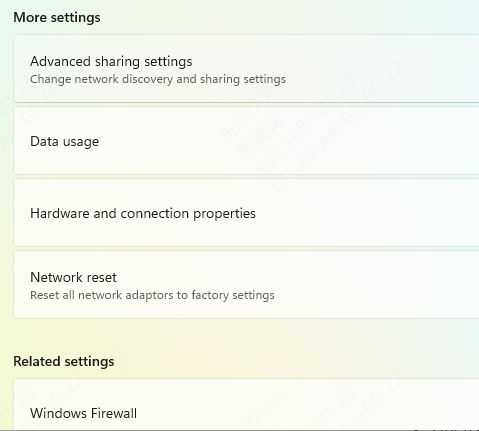
Open Settings → Network & Internet → Advanced network settings → Network reset → Reset now
Alternatively, open Command Prompt as Administrator and run:
ipconfig /flushdns
ipconfig /release
ipconfig /renew
netsh winsock reset
Restart your laptop after performing a network reset
Check Firewall and Security Software
Temporarily disable Windows Defender Firewall
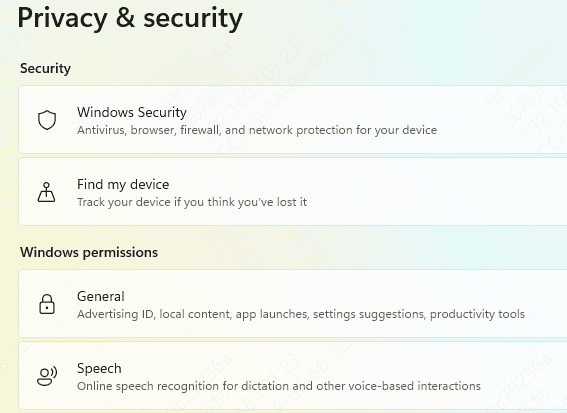
Settings → Update & Security → Windows Security → Firewall & network protection → Disable
If using a third-party antivirus, temporarily disable it
Test the Wi-Fi connection
If successful, create an exception for your Wi-Fi adapter or network to allow permanent access
Verify Router Settings
Confirm SSID and password are correct
Change Wi-Fi band: switch between 2.4 GHz and 5 GHz to test compatibility
Ensure DHCP is enabled to automatically assign IP addresses
Update router firmware if an update is available
Advanced Troubleshooting
Test another network to confirm if the problem is device-specific
Check BIOS/UEFI: Ensure the internal Wi-Fi card is enabled
Rollback Drivers: If the issue appeared after a recent driver update, revert to the previous version
Consider using a USB Wi-Fi adapter as a temporary solution if the internal card is faulty
Conclusion
Laptop Wi-Fi issues on Windows are rarely permanent hardware problems. By following these steps—preliminary checks, restarting devices, reconnecting networks, updating drivers, resetting network settings, and verifying router configurations—most users can resolve connectivity problems.