When an NVIDIA driver refuses to update, repeatedly running the same installer usually does not solve the underlying problem. Old driver remnants, an incorrect GPU package, Windows compatibility issues, damaged system files, or software conflicts can all interrupt the installation and produce errors such as "NVIDIA Installer Failed." Fortunately, most update failures can be resolved without reinstalling Windows. This guide covers several practical ways to repair an NVIDIA driver installation, including removing problematic drivers, downloading the correct package, checking Windows components, and using Driver Talent X to detect and repair driver-related issues automatically.
Common Causes of NVIDIA GPU Driver Update Failures
Corrupted or incomplete previous driver installations
Incompatible drivers after Windows updates
Insufficient permissions during installation
Conflicts with antivirus or security software
Leftover files from older NVIDIA drivers
Outdated chipset or system drivers
Fix 1: Clean Reinstall NVIDIA GPU Drivers
If standard updates fail, performing a clean reinstall can eliminate corrupted files.
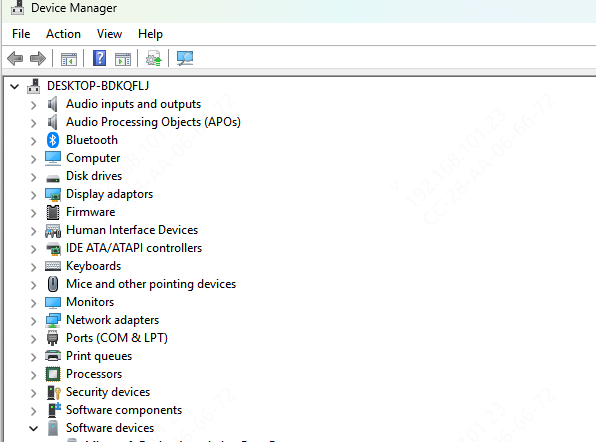
Open Device Manager.
Expand "Display adapters", right-click your NVIDIA GPU and select "Uninstall device".
Check the option to delete the driver software if available.
Restart your PC.
Reinstall the NVIDIA driver using Driver Talent X or the official NVIDIA installer.
Fix 2: Download NVIDIA Drivers from Official Sources
Manual installation ensures you get the correct driver version for your GPU.
Identify your NVIDIA GPU model: Check Device Manager or System Information.
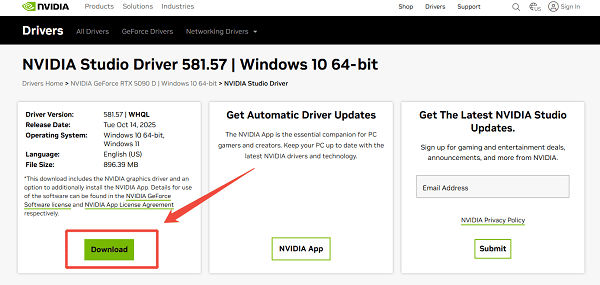
Visit the NVIDIA driver download page: Select your GPU series and Windows version.
Download the latest stable driver: Choose between Game Ready or Studio drivers as needed.
Run the installer as administrator: Follow on-screen instructions carefully.
Restart your system: Reboot to complete installation.
Fix 3: Install NVIDIA Drivers Using Device Manager
Device Manager can install drivers automatically, though it may not always provide the latest version.
Right-click Start and open Device Manager.
Expand "Display adapters", right-click the NVIDIA GPU and select "Update driver".
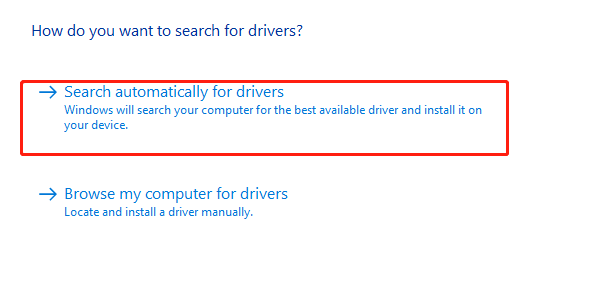
Choose "Search automatically for drivers".
Restart your PC if prompted.
Fix 4: Disable Antivirus and Background Applications
Security software can interfere with driver installation.
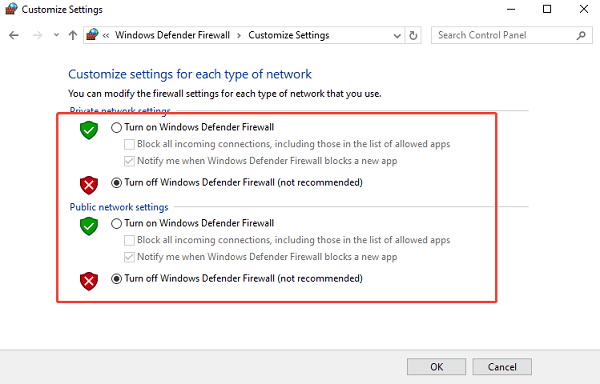
Temporarily disable antivirus or Windows Defender Firewall protection.
Close unnecessary background programs.
Disconnect from the internet if needed during installation.
Re-enable antivirus after installation.
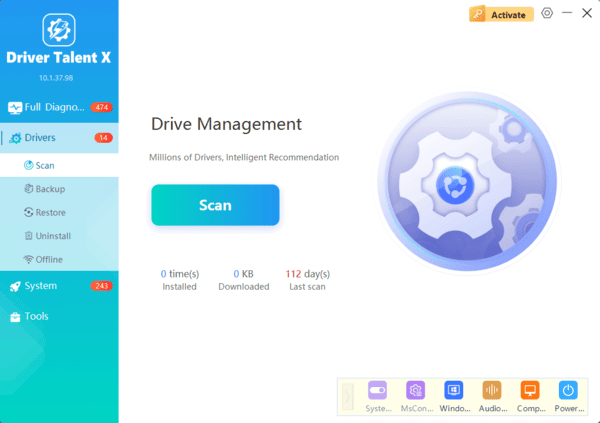
Update NVIDIA GPU Drivers with Driver Talent X
Driver Talent X is a reliable tool designed to fix driver update failures by automatically identifying your NVIDIA graphics card and installing the correct driver for your Windows version.
How to Prevent NVIDIA Driver Update Failures
Always install drivers compatible with your Windows version.
Avoid installing beta drivers unless necessary.
Keep chipset and system drivers up to date.
Restart your PC after every driver update.
Conclusion
NVIDIA GPU driver update failures can disrupt performance and stability, but they are usually easy to fix with the right approach. Starting with Driver Talent X provides the safest and most efficient solution by automatically installing compatible NVIDIA drivers.
Clean reinstalls, manual downloads, Device Manager updates, and system-level fixes offer additional ways to resolve the issue. By following this guide, you can fix NVIDIA GPU driver update failures and keep your system running smoothly.