If the NVIDIA app will not open or its in-game overlay is missing, unresponsive, or unable to record gameplay, the problem may be caused by stopped NVIDIA services, corrupted cache files, damaged graphics drivers, disabled overlay settings, or conflicts with other background programs. In some cases, outdated Windows components or GPU-related issues can also interfere with normal NVIDIA app functionality. This guide explains several practical ways to restore the NVIDIA app and overlay, including restarting NVIDIA services, checking overlay settings, reinstalling NVIDIA software, closing conflicting applications, updating graphics drivers with Driver Talent, clearing cache files, installing Windows and Visual C++ updates, and checking the GPU for possible hardware problems.
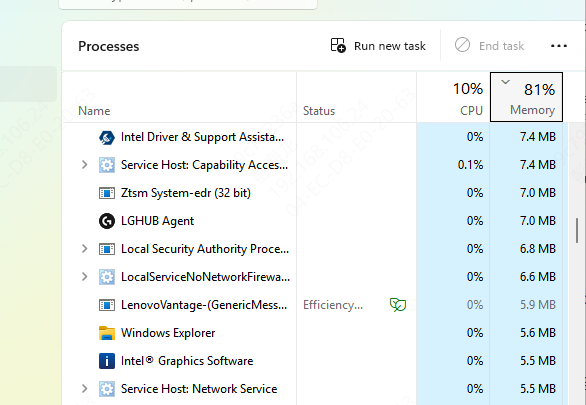
1. Restart NVIDIA Services
Press Ctrl + Shift + Esc to open Task Manager.
Navigate to the Services tab.
Locate the following services:
NVIDIA Display Container LS
NVIDIA LocalSystem Container
NVIDIA Telemetry Container
Right-click each service and select Restart.
2. Enable In-Game Overlay in GeForce Experience
Open GeForce Experience.
Click the gear icon (Settings) in the upper-right corner.
Under General, find In-Game Overlay.
Make sure the switch is turned On.
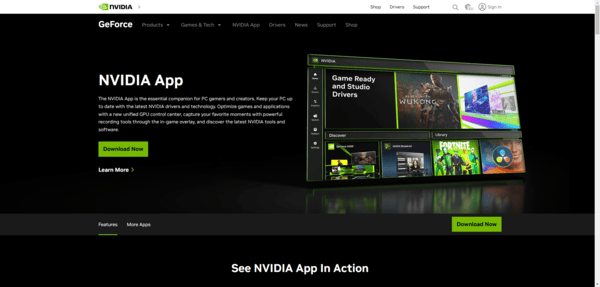
3. Reinstall NVIDIA App and GeForce Experience
Press Win + R, type appwiz.cpl, and press Enter.
Locate and uninstall:
NVIDIA Graphics Driver
NVIDIA GeForce Experience
NVIDIA HD Audio/PhysX (if needed)
Restart your PC.
Download the latest version of GeForce Experience from NVIDIA's official website.
4. Disable Conflicting Third-Party Applications
Open Task Manager with Ctrl + Shift + Esc.
End background tasks that may include:
Discord
Steam Overlay
OBS Studio
MSI Afterburner
Try launching GeForce Experience overlay again.
5. Update Graphics Drivers
Outdated or corrupt GPU drivers are one of the most common causes behind the NVIDIA app not working or overlay issues. A clean and up-to-date driver installation can resolve these problems swiftly.
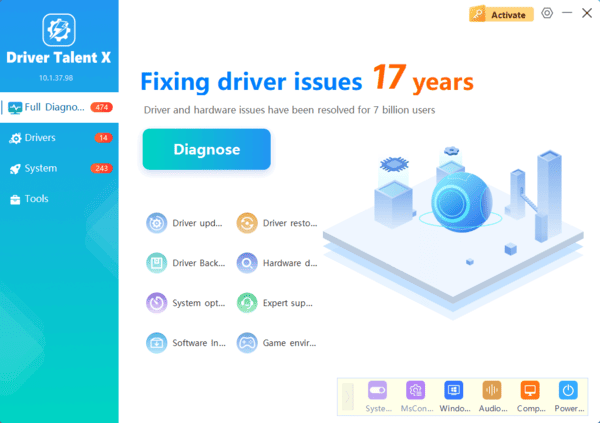
Driver Talent is a professional-grade driver management tool that automatically detects outdated or broken GPU drivers and installs the most compatible versions. It eliminates manual search errors and ensures a flawless driver update process.
6. Set NVIDIA App to Use the High-Performance GPU
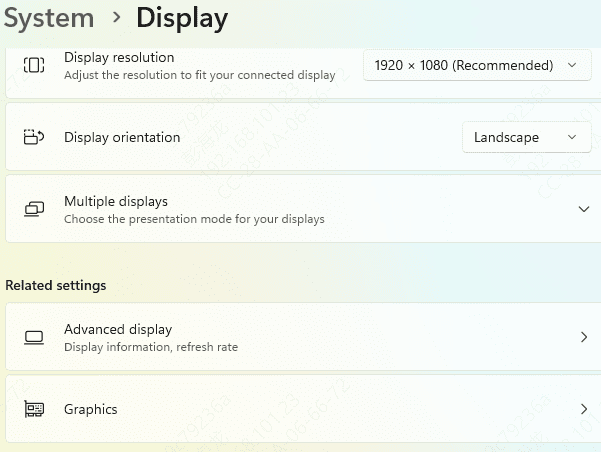
Right-click your desktop and choose Display settings.
Scroll down and click Graphics settings.
Browse for the NVIDIA app or GeForceExperience.exe.
Set it to use the High-performance NVIDIA processor.
Click Save and restart your PC.
7. Clear NVIDIA App Cache Files
Press Win + R, type %ProgramData% and hit Enter.
Delete the folder NVIDIA Corporation.
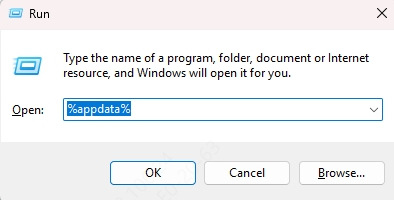
Navigate to %AppData% and delete NVIDIA and NVIDIA Corporation folders.
Reboot your PC.
9. Update Windows and Visual C++ Redistributables
Go to Settings > Windows Update and install all available updates.
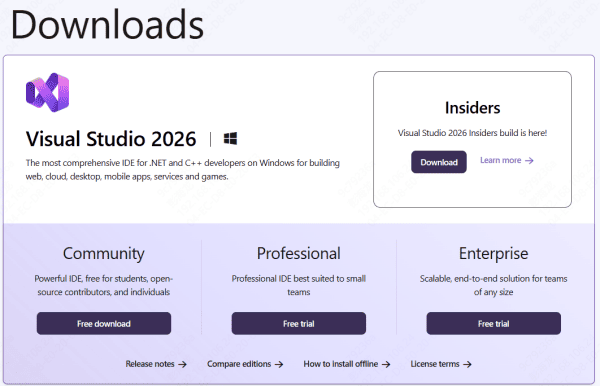
Download and install the latest Visual C++ Redistributables from Microsoft.
10. Check for GPU Hardware Issues
Use HWMonitor or GPU-Z to monitor GPU temperature and usage.
Test your GPU with FurMark or 3DMark for stability.
If frequent crashes occur, consider reseating the GPU or testing it in another system.
If hardware issues are suspected, professional diagnosis or warranty service may be necessary.
Conclusion
Resolving the NVIDIA app not working or overlay not showing issue requires a combination of software maintenance, driver updates, and system checks. Driver Talent streamlines the process of repairing or updating drivers, ensuring your system runs with maximum GPU compatibility. We recommend scanning your system regularly with Driver Talent to avoid future issues and maintain peak performance.