The HP DeskJet 2700 is a compact all-in-one inkjet printer designed for home users, offering convenient wireless printing, scanning, and copying features. While setting it up on Windows 10 or Windows 11 is usually simple, installing the correct driver is essential for full functionality. Without the proper driver, Windows may fail to detect the printer, or some features such as scanning and wireless printing may not work correctly. In this guide, we'll cover three reliable methods to download and install the HP DeskJet 2700 driver, along with solutions for common driver installation issues.
Method 1: Download Drivers from HP's Official Website
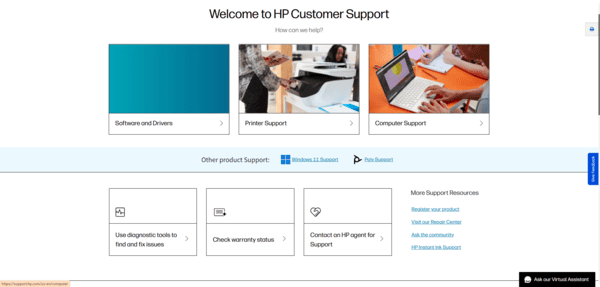
Step 1. Go to HP SUPPORT in your browser. In the search bar, type HP DeskJet 2700 and press Enter
Step 2. Select your specific model from the results. The 2700 series includes several variants such as the 2710, 2720, 2723, and 2724. Choose the one that matches the model number printed on your printer
Step 3. On the product support page, HP will attempt to detect your operating system automatically. If it doesn't, manually select Windows 10 or Windows 11 from the dropdown, 64-bit edition
Step 4. Look for the HP DeskJet 2700 series Full Feature Software and Driver in the driver list and download it
Step 5. Run the downloaded installer file as administrator. The setup wizard will ask whether you want to connect via USB or wireless network.
Method 2: Install Drivers Using Driver Talent X
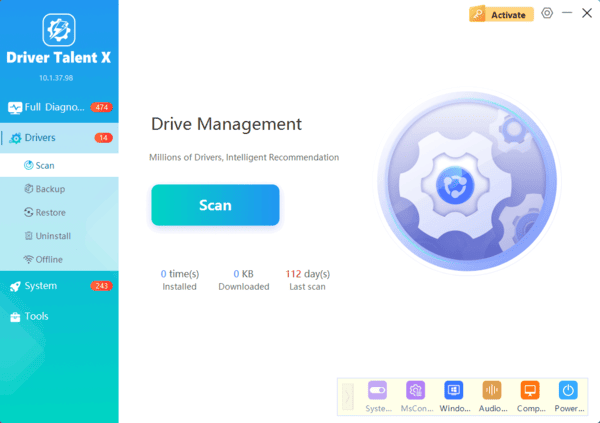
When the HP installer fails, throws an error midway through, or when a Windows update has corrupted an existing driver installation, Driver Talent X provides a faster and more dependable alternative.
Method 3: Windows Update
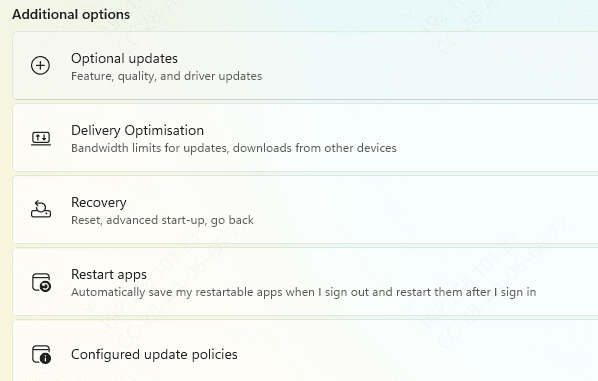
Windows 10 and 11 include a basic HP DeskJet 2700 driver through Windows Update. Go to Settings, then Windows Update, and click Check for Updates. After the scan completes, look for View optional updates. Open the Driver updates section, select the HP printer driver if listed, and click Download and install
This installs the basic print driver only. Scanning will not work, ink levels will not display, and wireless setup will not be available. Use this approach only if you need a temporary print-only solution and plan to install the full feature package later
How to Set Up Wireless Printing
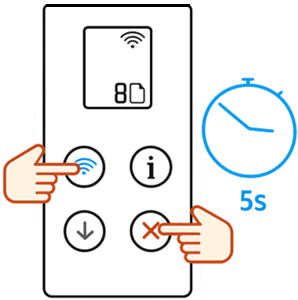
On the printer, press and hold the Wireless button until the wireless light begins blinking. This puts the printer into wireless setup mode.
On your PC, open the HP Smart app and click Add Printer. Follow the on-screen steps to connect the printer to your WiFi network
Alternatively, if your router supports WPS, press the WPS button on the router and then immediately press the Wireless button on the printer
Fixing Common Installation Problems
Printer not detected during installation: confirm the USB cable is firmly connected before launching the installer, or confirm both the printer and PC are on the same WiFi network for wireless setup. A PC on 5GHz and a printer on 2.4GHz will not see each other during setup.
Printer shows as offline after installation: go to Settings, then Devices, then Printers and scanners. Click the HP DeskJet 2700 and select Open queue. Click the Printer menu at the top and uncheck Use Printer Offline. The status should update to Ready within a few seconds.
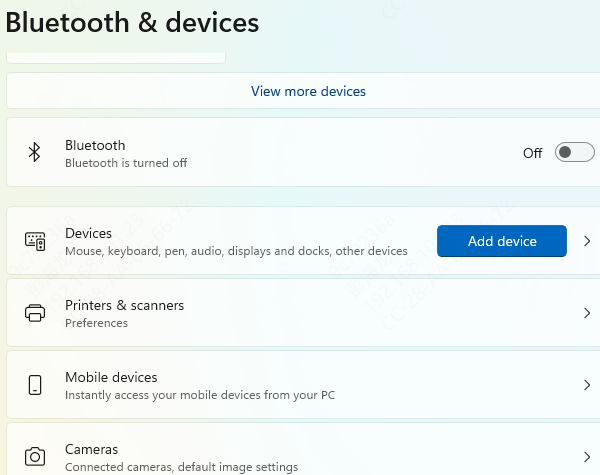
Scanner not working after installation: this almost always means the basic driver was installed rather than the full feature package. Uninstall the current HP software through Settings and Apps, remove the printer from Devices and Printers, restart the PC, and reinstall using Method 1 with the full feature package selected.
How to Uninstall and Reinstall the Driver Cleanly
If the printer is producing persistent errors, a clean reinstall is more effective than updating over an existing broken installation.
Step 1. Go to Settings, then Apps. Search for HP and uninstall all HP printer-related software entries
Step 2. Go to Settings, then Devices, then Printers and scanners. Select the HP DeskJet 2700 and click Remove device
Step 3. Restart the PC to clear any remaining driver files from memory
For a complete installation with all features working, download the full feature software and driver from HP's official support website. If the official installer fails or a Windows update has broken the existing driver, Driver Talent X identifies your printer hardware automatically and installs the correct driver without a setup wizard. Windows Update alone installs a basic print-only driver and is not sufficient for users who need scanning or wireless configuration.