Many Windows 11 users encounter the frustrating problem of their NVIDIA graphics card not being detected, especially on high-performance devices that rely on both integrated and dedicated GPUs. When Windows fails to recognize the NVIDIA GPU and switches to integrated graphics, gaming performance and graphics-intensive tasks can be significantly affected. In this guide, we'll provide effective solutions to restore NVIDIA GPU detection, fix related driver issues, and bring back full graphics performance on Windows 11.
Enable NVIDIA GPU in Device Manager
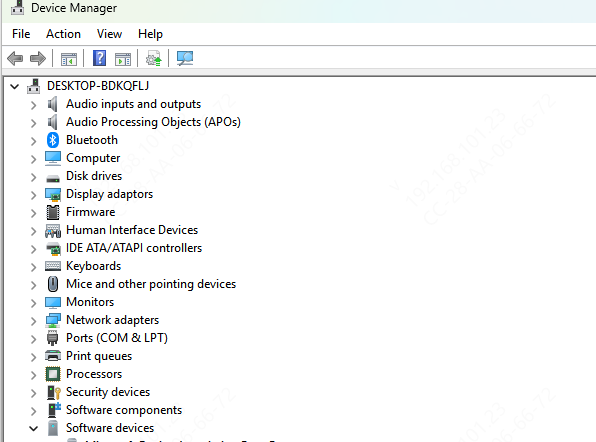
Press Win + X, select Device Manager.
Expand Display adapters.
Look for your NVIDIA graphics card. If you see a downward arrow, it's disabled.
Right-click on the NVIDIA device and choose Enable device.
Scan for Hardware Changes
In Device Manager, click on Action > Scan for hardware changes.
This forces Windows 11 to re-detect all connected devices.
Check again under Display adapters for the NVIDIA card.
Update or Reinstall NVIDIA Drivers
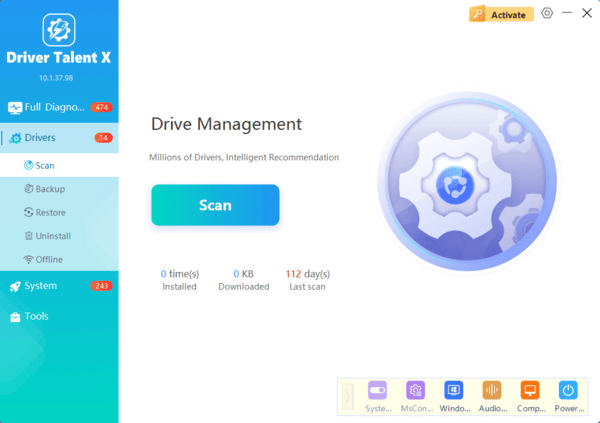
Use Driver Talent for Fast and Accurate Driver Fixes
We recommend using Driver Talent to handle all driver-related problems. This powerful utility automatically detects missing or corrupted drivers and installs the most compatible versions for your hardware.
Install the NVIDIA Graphics Driver from the Official Website
Visit the NVIDIA Driver Download page.
Select your GPU model, OS version, and download the latest Game Ready or Studio Driver.
Run the installer and choose Custom Installation.
Check the box for Clean Installation to overwrite faulty files.
Restart your system.
Enable Discrete GPU in BIOS (If Available)
Restart your Surface and press Volume Up + Power until the Surface logo appears.
Enter the UEFI Firmware Settings.
Look for an option like Graphics Configuration or Switchable Graphics.
Set the preference to Discrete Graphics or dGPU only, if available.
Save and exit BIOS.
Check NVIDIA Control Panel Settings
Right-click on the desktop and select NVIDIA Control Panel.
Navigate to Manage 3D Settings.
Under the Global Settings tab, select High-performance NVIDIA processor.
Click Apply.
To apply settings per app:
Go to Program Settings tab.
Select the target app and assign the NVIDIA GPU.
Run the Hardware and Devices Troubleshooter
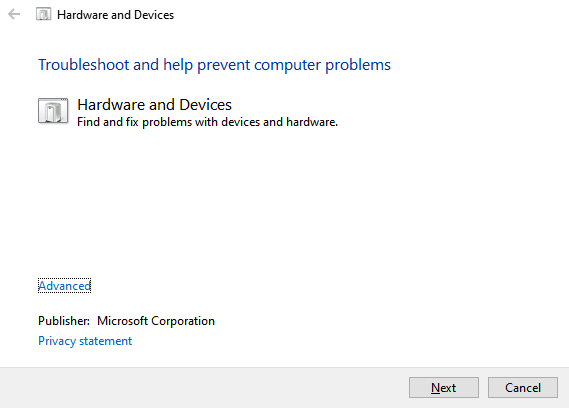
Press Win + R, type: msdt.exe -id DeviceDiagnostic
Hit Enter and follow the prompts.
Apply any recommended fixes.
Update Windows 11 to the Latest Version
Go to Settings > Windows Update.
Click Check for updates.
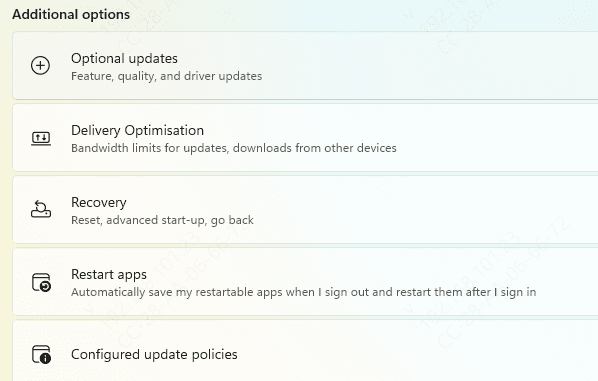
Install all available updates and reboot your device.
After updating, check if the NVIDIA GPU is recognized again.
Use System File Checker and DISM
Run System File Checker (SFC):
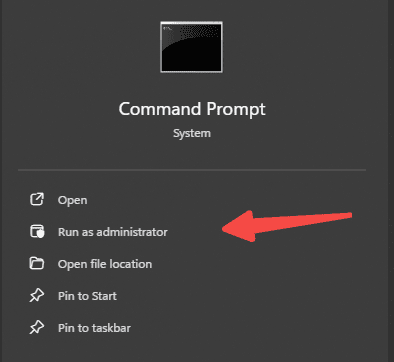
Open Command Prompt as Administrator.
Type: sfc /scannow
Let it complete and reboot your system.
Run DISM Tool:
In the same elevated Command Prompt, type: DISM /Online /Cleanup-Image /RestoreHealth
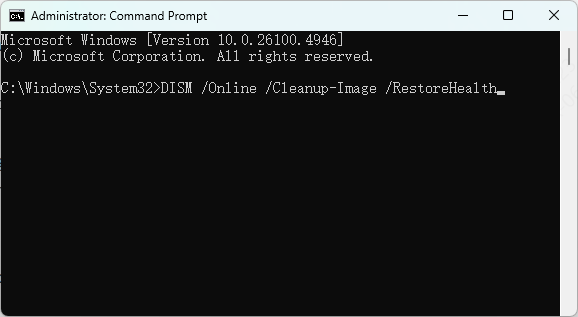
Wait until the operation completes.
These commands ensure the core Windows 11 components are intact.
Reset or Reinstall Windows 11 (Last Resort)
Navigate to Settings > System > Recovery.
Click Reset this PC.
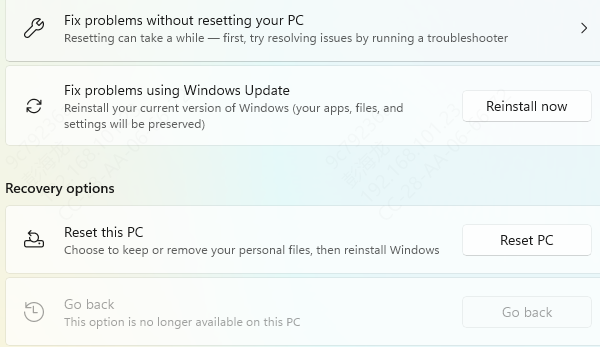
Choose Keep my files or Remove everything depending on your preference.
Prevent Future Detection Issues
Avoid force-stopping Windows Update.
Always perform clean installations of major driver updates.
Keep a backup of your Surface Pro's recovery image.
Conclusion
The issue of NVIDIA graphics card not detected in Windows 11 Surface Pro can be deeply frustrating, but it's usually solvable with a methodical approach. Whether it's a BIOS setting, outdated driver, or missing system component, we've covered every solution in detail. For a quicker and more reliable fix, Driver Talent remains our top recommendation — streamlining driver detection and updates while eliminating compatibility concerns.