This article explains why a printer may not show up in Windows and provides 6 fixes, including checking the printer connection, updating the printer driver automatically with Driver Talent X, verifying that the Print Spooler service is running, manually adding the printer, setting it as the default device, and adjusting firewall or security software settings.
Why Is the Printer Not Showing Up in Windows?
Before jumping into the solutions, let's take a look at some common causes:
Improper printer connection (USB, WiFi, or Bluetooth issues)
Printer driver is missing or corrupted
Windows printing services are not running
The printer is not set as the default device
System updates or permission settings are preventing detection
Step-by-Step Fix: Make Your Printer Show Up Again
1. Check Printer Connection
USB Connection: Make sure the USB cable is securely plugged into both the printer and the PC. Try a different USB port if needed.
Wireless Connection: Ensure both the printer and the computer are connected to the same WiFi network. Restart your router if necessary.
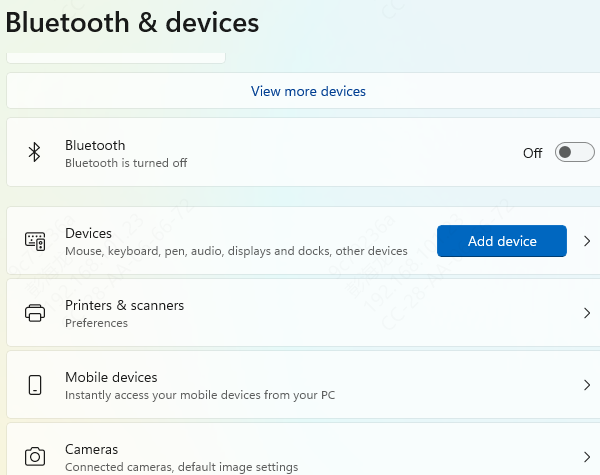
Bluetooth Connection: Go to Settings > Bluetooth to confirm the device is paired and connected properly.
2. Update Printer Driver
Outdated or corrupted drivers are a common cause of printer detection failure. Keeping your drivers up to date can often resolve the issue.
It's recommend to use a professional driver management tool like Driver Talent X to scan and update drivers automatically, saving time and avoiding installation errors.
Download and install the latest version of Driver Talent X.
Launch the software and go to the Drivers tab. Click "Scan" to check all driver statuses.
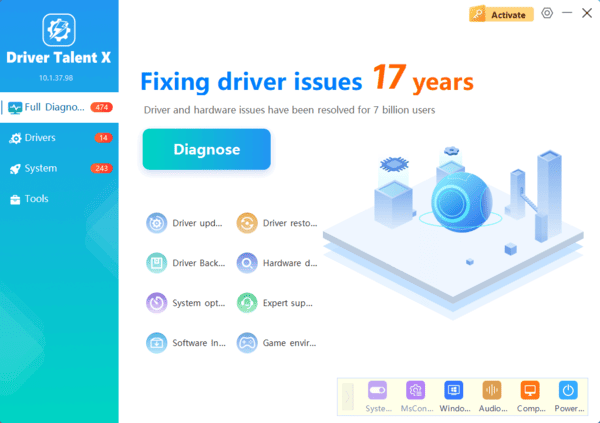
Find your printer driver in the results and click "Upgrade".
Restart your computer after the update for the changes to take effect.
3. Check Printer Services Status
Press Win + R, type "services.msc", and hit Enter.
In the list of services, locate "Print Spooler" and "Device Install" Service.

If either is not running, right-click and choose "Start".
To ensure they always start with Windows, right-click each service, choose Properties, set Startup Type to "Automatic", then click Apply and OK.
4. Manually Add the Printer
Open Control Panel > Devices and Printers.
Click "Add a printer".
Follow the prompts to install a local or network printer.
If the system doesn't detect your printer, click "The printer I want isn't listed", and manually enter the printer's IP address or shared network path.
5. Set the Printer as Default
Press Win + I to open Settings.
Go to Control Panel > Hardware and Sound > Devices and Printers.

Find your printer, right-click, and select "Set as default printer".
6. Check Firewall and Security Software Settings
Sometimes antivirus software or the firewall may block printer detection. Try the following:
Temporarily disable the firewall.
Add the printer as a trusted device in your security software.
Use the Windows Network Troubleshooter to identify issues.

While a printer not showing up in Windows might seem frustrating, the issue is often related to connection settings or driver problems. By following the step-by-step guide above, you can resolve most cases efficiently.
If you want a faster fix for driver-related issues, we highly recommend using Driver Talent X, which offers a one-click solution for all driver problems. If none of the methods work, consider contacting the printer manufacturer or seeking professional technical support for further diagnostics.
