When your printer stops working or behaves erratically, the issue is often related to outdated or corrupted drivers. One of the most effective solutions is to reinstall the driver for your printer. In this guide, we’ll show you how to reinstall printer drivers across all major platforms — Windows 10/11 — to restore your printer's functionality with minimal hassle.
Part 1. Why Reinstalling the Printer Driver is Important
Your printer driver acts as the communication bridge between your computer and the printer. If it's outdated, incompatible, or corrupt, your printer may:
Fail to respond
Display error messages
Print blank pages
Misinterpret print jobs
Reinstalling ensures the driver is fresh, compatible, and properly configured to match your system.
Part 2. Backup Important Printer Settings Before Reinstallation
Before starting the reinstallation process, consider backing up printer preferences such as default paper size, custom profiles, or network settings.
Open Control Panel > Devices and Printers
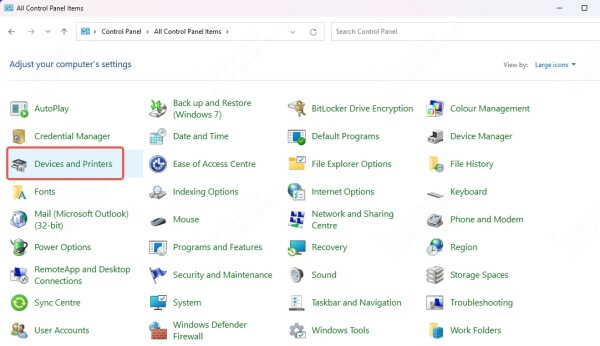
Right-click your printer and select Printing Preferences
Note down any custom configurations
Part 3. How to Uninstall Printer Driver on Windows 10/11
Before reinstalling your printer driver, it is crucial to completely remove the existing driver and associated software from your system. This clean removal helps prevent conflicts and ensures that the fresh installation works smoothly without legacy issues. The following step-by-step process will guide you through safely uninstalling your printer driver on Windows 10 or Windows 11.
Step 1: Disconnect the Printer
Unplug the USB cable or disconnect the printer from the network.
Step 2: Remove the Printer
Go to Settings > Devices > Printers & scanners

Select your printer, then click Remove device
Step 3: Uninstall Driver via Device Manager
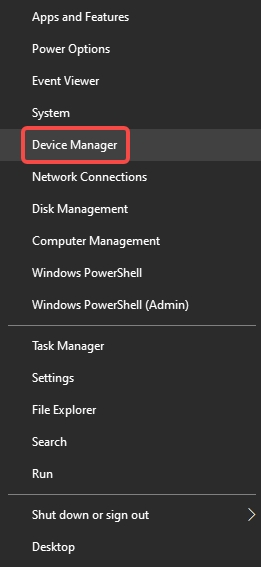
Right-click the Start Menu, then select Device Manager
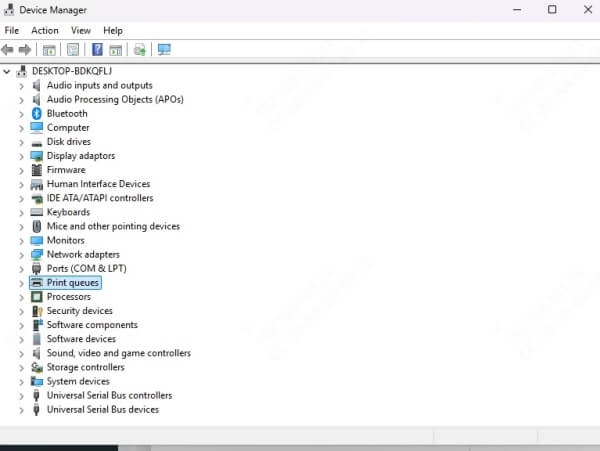
Expand Printers or Print queues
Right-click your printer model and choose Uninstall device
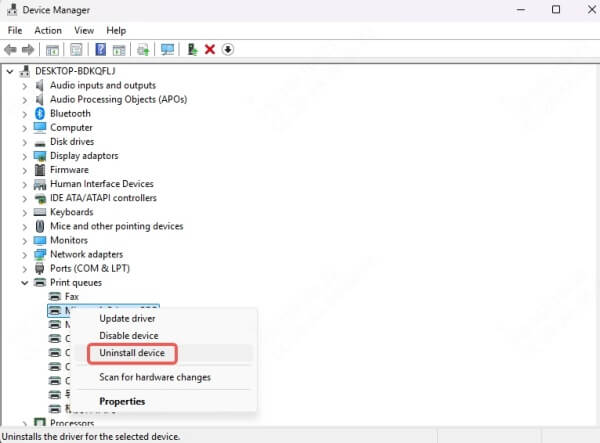
Check Delete the driver software for this device, if available
Click Uninstall
Step 4: Delete Driver Packages (Optional but Recommended)
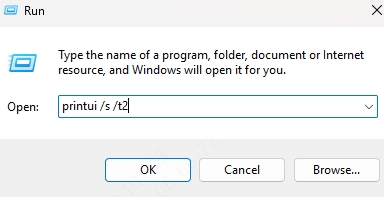
Press Windows + R, type printui /s /t2, and press Enter
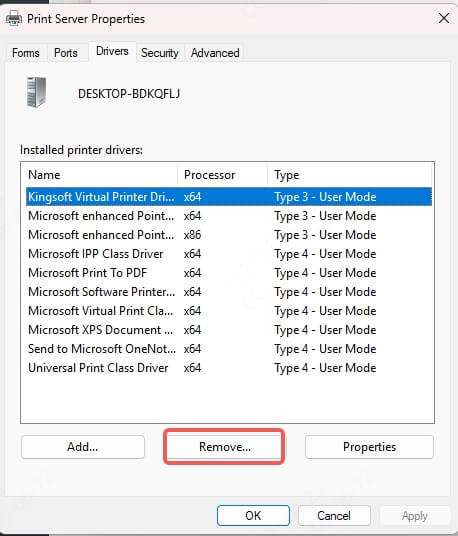
In the Printer Server Properties window, find your driver
Select and click Remove > Remove driver and driver package
This fully clears any residual files that might conflict with a new installation.
Part 4. How to Reinstall Printer Driver on Windows 10/11
Once the previous driver has been thoroughly removed, the next critical step is to reinstall the correct, updated driver for your printer. Proper reinstallation ensures optimal printer performance, compatibility with your system, and access to the latest features and bug fixes. Below are two effective methods to reinstall your printer driver on Windows 10 and Windows 11.
Method 1: Reinstall Automatically via Windows Update
Reconnect your printer (USB or Wi-Fi)
Windows will automatically attempt to install the appropriate driver
Check progress under Settings > Devices > Printers & scanners
Method 2: Install Manually via Manufacturer Website
Visit your printer manufacturer's official website (e.g., HP, Canon, Epson, Brother)
Navigate to the Support or Drivers section
Enter your printer model
Download the latest driver for your version of Windows (10 or 11, 32-bit or 64-bit)
Run the installer and follow on-screen instructions
Tip: Always choose “Full Driver and Software Package” for the most features.
Automatically Update or Reinstall Printer Drivers Using Driver Talent X
If you're not comfortable manually handling drivers, consider using a trusted tool like Driver Talent X to simplify the process.
Driver Talent X Features:
Detects outdated or missing printer drivers
Installs official drivers from verified sources
Backup and restore options
One-click reinstall functionality
Steps to Use Driver Talent X:
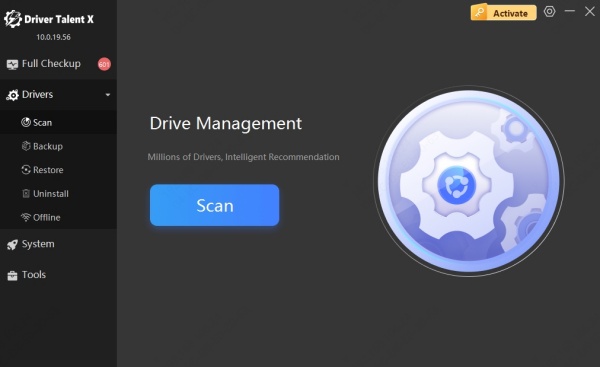
Download and install Driver Talent X

Launch the app and click Scan
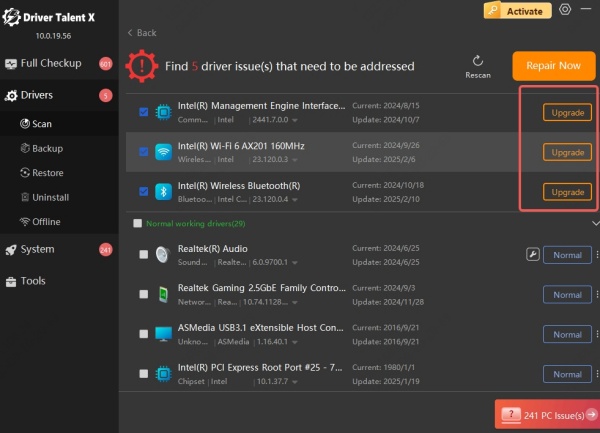
You can find your printer driver in the results and click Upgrade.
Note: You can also use Driver Talent X to uninstall your printer driver in the Uninstall feature. Then click Scan again. It will detect missing driver and you can reinstall it then.
Restart your PC to apply changes
Conclusion
Reinstalling your printer driver is a reliable way to fix connectivity issues, printing errors, or performance lags. Whether you’re using Windows or macOS, the process is straightforward when done correctly. For a hassle-free experience, tools like Driver Talent X offer smart automation and peace of mind. Try Driver Talent X for free now!
