Keeping your Dell D3100 docking station drivers up to date is essential for ensuring smooth and reliable performance across all connected devices, including external monitors, USB peripherals, and network connections. When drivers become outdated, users may experience issues such as no display output, unresponsive USB ports, or devices not being recognized properly. In this guide, we'll walk you through the most effective methods to update your Dell D3100 docking station drivers, helping you restore full functionality and ensure stable, seamless connectivity.
Method 1: Updating Drivers via Dell Support Website
Step 1: Visit the Dell Support Website
Open your browser and go to the official Dell Support website
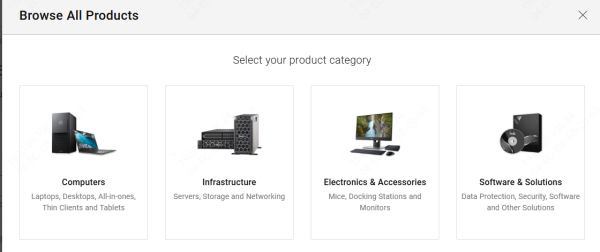
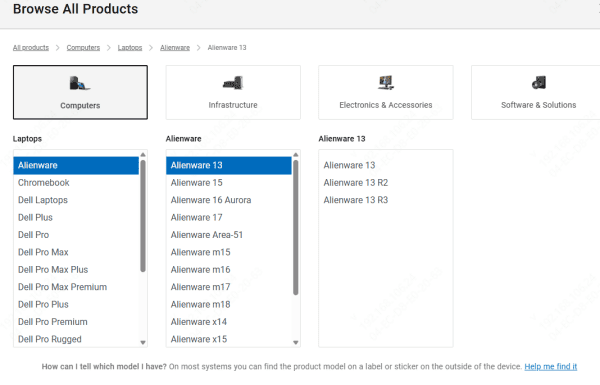
Step 2: Enter Your Service Tag or Select Your Model
Enter your Dell D3100's service tag or manually select your model from the website to get the right drivers
Step 3: Navigate to the "Drivers & Downloads" Section
Once you've selected the product, go to the Drivers & Downloads section
Step 4: Choose Your Operating System
Select the operating system that you are using (Windows 10, Windows 7, etc.)
Step 5: Download the Latest Drivers
Look for the latest drivers for the Dell D3100 docking station under the USB, Display, Ethernet, and Audio sections
Download the necessary drivers
Method 2: Using Driver Talent X
If you'd rather automate the process, you can use Driver Talent X, which scans your system and installs the latest drivers for you.
Step 1: Download and Install Driver Talent X
Go to the Driver Talent X website and download the installer
Run the installer and follow the on-screen instructions
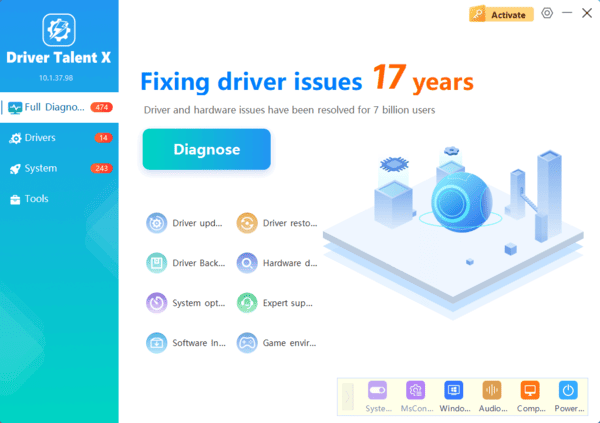
Step 2: Run a System Scan
Once installed, open Driver Talent X and navigate to Drivers → Scan
This will analyze your system for outdated or missing drivers
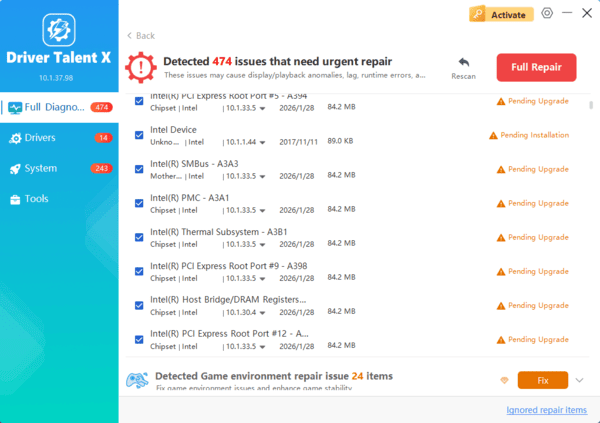
Step 3: Select the Drivers to Update
Once the scan is complete, a list of outdated or missing drivers will be shown
Select the drivers for your Dell D3100 docking station, including video, USB, and Ethernet drivers
Step 4: Repair Now
Click Repair Now to download and install the latest drivers
Step 5: Restart Your System
After the installation is complete, restart your system to apply the updates
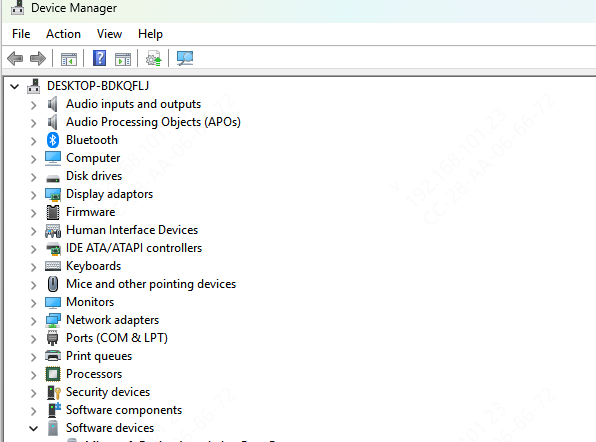
Method 3: Updating Drivers Through Device Manager
Device Manager in Windows can also be used to update the drivers for your Dell D3100 docking station.
Press Win + X and select Device Manager from the list
Expand the Universal Serial Bus Controllers section to find your Dell D3100 docking station. You may also check the Display Adapters section for video drivers
Right-click on the device and select Update driver
Choose Search automatically for updated driver software. Windows will search for
After the driver update is complete, restart your computer to finalize the installation
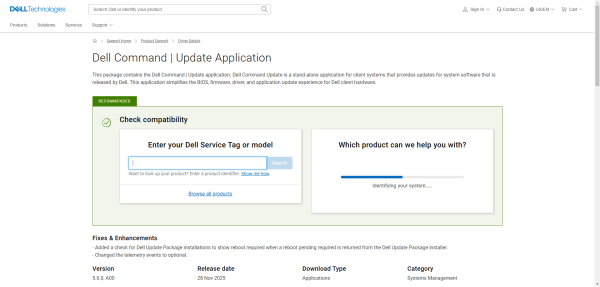
Method 4: Using Dell Command | Update Tool
Go to the Dell Command | Update page and download the tool
Run the installer and follow the instructions to complete the setup
Once the tool is installed, open it and click on Check for Updates
The tool will list the available updates. Select Install All to download and install the latest drivers
Once the updates are installed, restart your system to apply the changes
Troubleshooting Tips for Dell D3100 Docking Station Driver Issues
No Display on External Monitor: Ensure that the monitor is properly connected to the docking station. Try switching between HDMI and DisplayPort. Also, check the display settings on your laptop
USB Devices Not Recognized: Try connecting USB devices directly to the laptop to rule out docking station issues. Ensure that the USB drivers are up to date
Ethernet or Audio Not Working: Update Ethernet and audio drivers. Also, check the device settings to make sure the docking station is selected as the default audio or network source

Conclusion
Updating the drivers for your Dell D3100 docking station ensures that you get the best performance and reliability from your device. Whether you choose to manually update your drivers through Dell's support website, use Dell Command | Update, or opt for an automated solution like Driver Talent X, keeping your drivers up to date will help maintain the stability and compatibility of your docking station. Regularly check for driver updates to avoid issues and ensure seamless connectivity for all your peripherals.
