An ASUS gaming computer that won't turn on can be worrying, especially if it was working normally before. In some cases, pressing the power button does nothing at all, while in others the fans spin briefly and stop, or the lights turn on but there is no display. Sometimes the system appears completely dead, while in other cases it powers on but fails during startup. The key is to identify what "not turning on" actually means—whether it's a full power failure, a no-display issue, or repeated boot looping. Once the symptom is correctly identified, troubleshooting becomes much more straightforward.
Disconnect Unnecessary Devices
If the basic power checks do not solve the problem, disconnect everything that is not required to start the PC. Remove external drives, USB devices, controllers, printers, webcams, and extra accessories. Leave only the monitor, keyboard, and power connected
A faulty USB device can sometimes prevent normal startup or create confusing power behavior. If the system starts normally after removing extra devices, reconnect them one at a time until the faulty one is identified
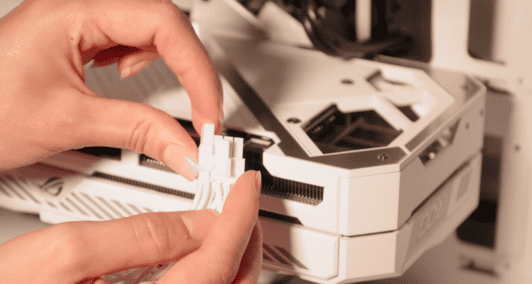
Check the Power Button and Front Panel Connection
This is especially likely after cleaning, upgrading hardware, or moving the PC. A loose front panel cable is much easier to fix than replacing a motherboard or power supply, so it should always be checked early.
Reseat the RAM
Loose or unstable RAM is one of the most common reasons a gaming PC powers on but does not boot properly. Turn the system off completely, disconnect power, and reseat the memory sticks firmly
After that, try booting with only one RAM stick installed. If the system still does not start, test each stick individually in the recommended slot. This can help identify whether one memory module or one motherboard slot is causing the problem
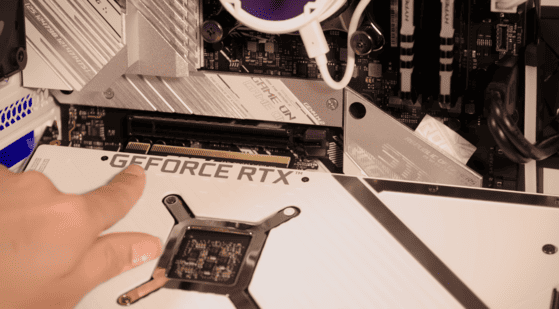
Reseat the Graphics Card
If your ASUS gaming computer has a dedicated GPU, reseat it carefully. Remove the graphics card, reinstall it fully into the PCIe slot, and make sure any required PCIe power cables are connected properly
A loose graphics card can cause the system to power on but show no image. The same is true if the PCIe power connectors are not fully seated. In a gaming PC, this is one of the most common reasons the fans spin and lights come on but nothing appears on the screen
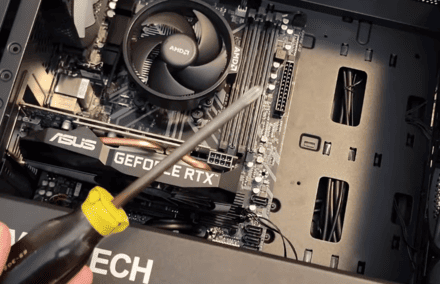
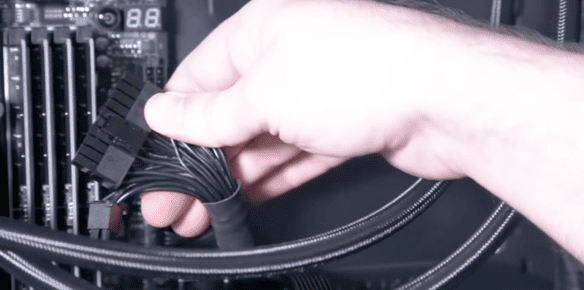
Check Motherboard and CPU Power Cables
Inside the case, check both the main 24-pin motherboard power cable and the CPU power cable near the processor socket. The 24-pin connector supplies general board power, while the CPU connector is essential for startup
If the CPU power cable is loose or missing, the system may show partial power behavior such as lights or fan movement but never actually boot. This is a very common mistake after building, upgrading, or cleaning a PC
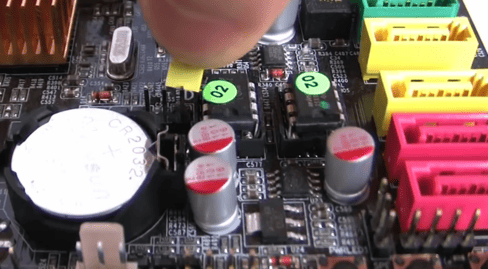
Clear CMOS or Reset BIOS
A corrupted BIOS setting can prevent normal startup, especially after overclocking, memory tuning, or failed configuration changes. Clearing CMOS resets the motherboard settings to default and can bring the system back if the problem is configuration-based rather than hardware-based
If your motherboard supports a clear CMOS button or jumper, use that method according to the ASUS instructions. In some cases, temporarily removing the CMOS battery also works, but only if you are comfortable doing it correctly
Check for PSU Failure
A bad power supply can create a wide range of misleading symptoms. The PC may look dead, or it may briefly power on and shut off, or motherboard lights may appear even though there is not enough stable power to actually boot
High-performance ASUS gaming systems are especially sensitive to PSU issues because the GPU and CPU draw much more power than an ordinary office PC. If you have access to another known-good compatible power supply, testing with it can save a lot of time
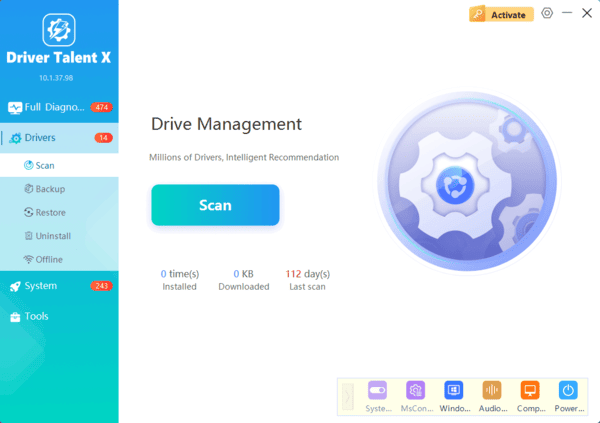
When Driver Talent X Can Help
If your ASUS gaming computer powers on but shows no display only after Windows begins to load, or if the issue started after a graphics update and the machine can still reach Safe Mode or another display sometimes, then the problem may be driver-related rather than pure hardware failure.
In that case, after you recover access to Windows, you can use Driver Talent X to check whether damaged graphics, chipset, or motherboard-related drivers are contributing to the startup display failure. Download and install Driver Talent X from the official Driver Talent X website, open the Drivers tab, and click Diagnose to scan the system
Review the results for graphics drivers, chipset drivers, and other core system drivers. Click Full Repair to fix the affected items, then restart the PC and test startup again. This is most useful when the computer does turn on, but the problem appears during the Windows loading stage rather than at total power-on
Conclusion
Most ASUS gaming computers that will not turn on are affected by a few common causes: power delivery problems, loose RAM, loose GPU connections, front panel wiring issues, BIOS settings, or failed hardware such as the PSU or motherboard. The best troubleshooting order is simple. Start with wall power, cable, monitor, and PSU switch checks. Then disconnect extra devices, reseat RAM and GPU, inspect the power cables, and use the motherboard debug indicators to narrow the fault.
