Learn how to safely update an ASUS motherboard BIOS using EZ Flash, BIOS FlashBack, or AI Suite. This guide covers BIOS version checks, USB preparation, essential safety precautions, driver readiness, and troubleshooting for failed updates, boot problems, and post-update system instability.
Why Update ASUS Motherboard BIOS?
Updating the BIOS can provide several benefits:
Fix CPU or RAM compatibility issues
Improve system stability and boot reliability
Add support for new hardware
Fix firmware bugs and security vulnerabilities
Improve performance for specific components
However, BIOS updates should only be done when necessary and following correct procedures.
How to Check Your Current ASUS BIOS Version?
Press Windows + R, type "msinfo32", and press Enter.
Locate "BIOS Version/Date" in the System Information window.
Compare it with the latest BIOS version available on the ASUS support website.
Method 1: Update BIOS Using ASUS EZ Flash Utility
This is the safest and most commonly recommended method.
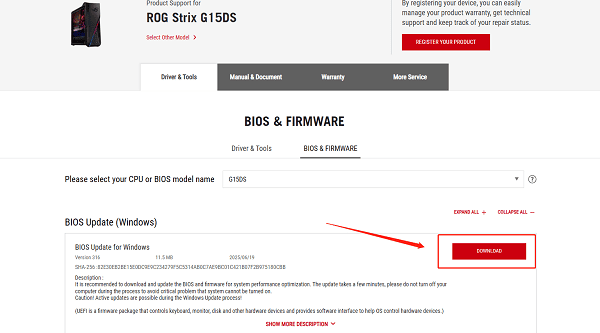
Go to the ASUS Support website.
Search for your exact motherboard model.
Download the latest BIOS file for your model.
Extract the BIOS file to a USB flash drive formatted in FAT32.
Restart your PC and press "Delete" or F2 to enter BIOS.
Navigate to Tools > ASUS EZ Flash Utility.
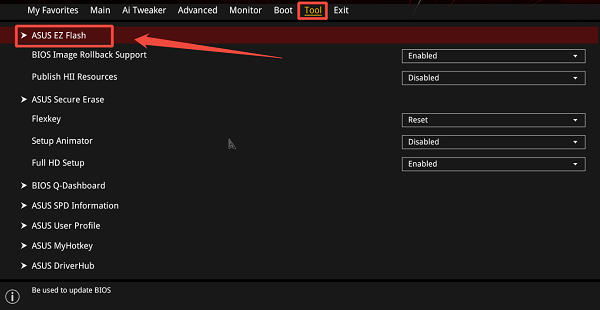
Select the BIOS file from the USB drive.
Confirm the update and wait for completion.
The system will reboot automatically after the update.
Do not power off the system during this process.
Method 2: Update BIOS Using ASUS BIOS FlashBack
This method works even if the system cannot boot.
Download the correct BIOS file from ASUS support.
Rename the BIOS file according to ASUS instructions.
Copy it to a FAT32 USB drive.
Insert the USB drive into the dedicated BIOS FlashBack port.
Press and hold the BIOS FlashBack button until the LED blinks.
Wait until the flashing process completes.
Method 3: Update BIOS Using ASUS AI Suite
Some ASUS boards support BIOS updates directly in Windows.
Install ASUS AI Suite from the ASUS support site.
Launch the software and open the "EZ Update" section.
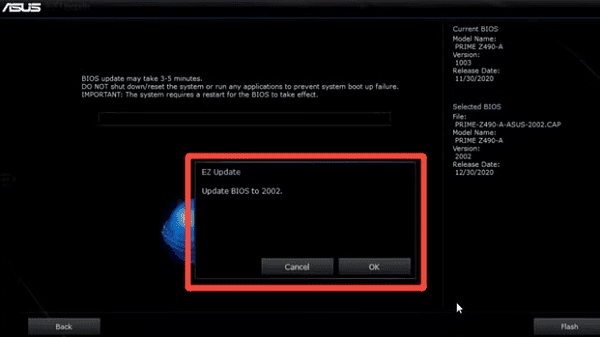
Select "Update BIOS" from Internet or File.
Follow on-screen instructions to complete the update.
Restart your PC when prompted.
Ensure no background programs are running during this process.
Check Drivers
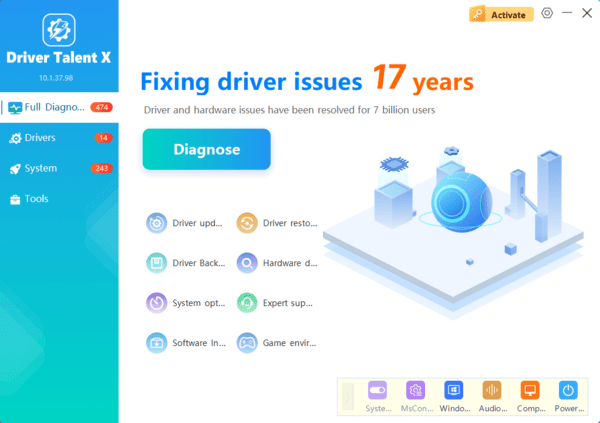
Outdated chipset, storage, or management engine drivers can cause BIOS update failures or boot issues. Driver Talent X helps ensure your system environment is stable before proceeding.

Fixing Common BIOS Update Issues
BIOS Update Failed
Ensure drivers are fully updated using Driver Talent X
Use a different USB flash drive
Confirm the BIOS file matches your motherboard model
PC Not Booting After BIOS Update
Reset CMOS by removing the motherboard battery temporarily
Use BIOS FlashBack to restore a previous BIOS version
Check RAM compatibility and reseat memory modules
System Instability After Update
Load Optimized Defaults in BIOS
Check for newer BIOS revisions addressing stability issues
Important BIOS Update Tips
Always connect your PC to a stable power source.
Avoid updating BIOS during storms or unstable power conditions.
Never interrupt the BIOS update process.
Back up important data before updating.