The Dell WD19 docking station is an essential tool for expanding your laptop's connectivity, allowing you to connect multiple displays, USB devices, and network peripherals. However, when the Dell WD19 driver is not recognized, it can cause frustrating issues such as unresponsive ports or failure to detect connected devices. This problem is often caused by missing, outdated, or incorrectly installed drivers. In this guide, we'll walk you through effective troubleshooting steps and solutions to fix the "Dell WD19 driver not recognized" issue and restore full docking station functionality.
Step 1: Check Device Manager
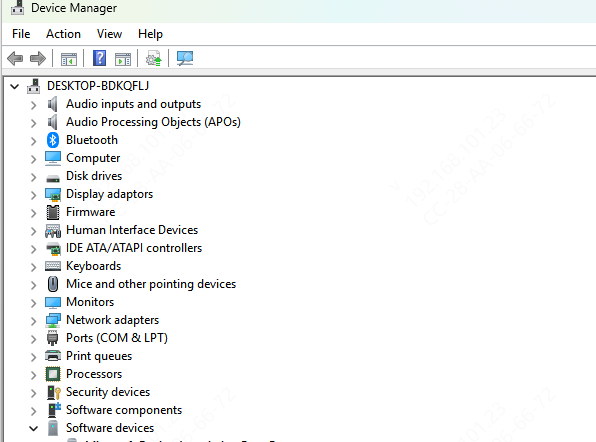
Open Device Manager: Right-click the Start button and select Device Manager
Locate the Dell WD19: Look for the docking station under Universal Serial Bus Controllers or Display Adapters. The Dell WD19 may appear as a USB device or a display adapter
Update or Reinstall the Driver: Right-click on the Dell WD19 entry and select Update Driver
Step 2: Download and Install the Latest Drivers
If the driver isn't automatically detected or updated, manually downloading the latest drivers from Dell's website can often fix the issue.
Visit Dell's Support Website
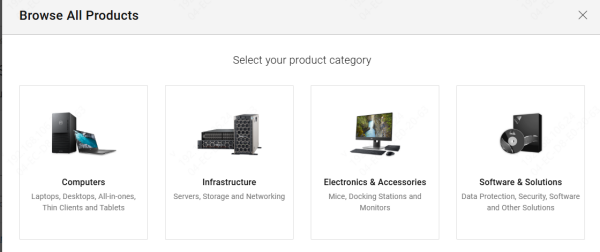
Go to Dell's official Support page
Enter the Dell WD19 model or your system's service tag to find the drivers for your docking station
Download the Latest Drivers
Find and download the latest drivers and firmware for the Dell WD19, ensuring they are compatible with your operating system
Install the Drivers
Run the downloaded installer and follow the on-screen instructions to install the updated drivers.
Restart Your System
After installation, restart your system to finalize the driver update
Step 3: Use Driver Talent X for Automated Driver Updates
For a quicker and more reliable solution to fix the "Dell WD19 driver not detected" issue, Driver Talent X can automatically scan, repair, and update all relevant drivers, including those for your Dell WD19 docking station.
Download and Install Driver Talent X
Visit the official website to download Driver Talent X and install it on your system
Follow the on-screen instructions to complete the installation process
Launch the Software and Run a Scan
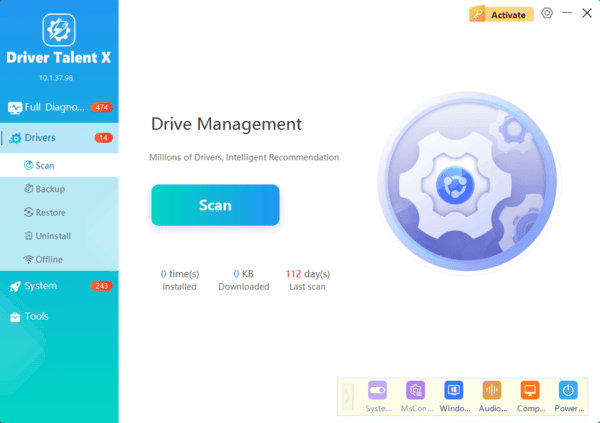
Open Driver Talent X and go to Drivers → Scan
The software will perform a deep scan of your system to detect outdated, missing, or corrupted drivers, including the Dell WD19 docking station drivers

Update Drivers
After the scan is complete, click on Repair Now or Update
Driver Talent X will automatically download and install the latest, compatible drivers for your Dell WD19 docking station
Restart Your PC and Test
Once the drivers are updated, restart your PC
Test the docking station by reconnecting it to your system and checking if the issue has been resolved
By using Driver Talent X, you ensure that your Dell WD19 docking station and other devices always have the latest, most compatible drivers. This helps prevent future detection issues and guarantees optimal performance, so you can focus on your work without worrying about connectivity problems.
Step 4: Use Dell Command | Update Tool
Dell Command | Update is a helpful tool for automatically detecting and updating drivers.
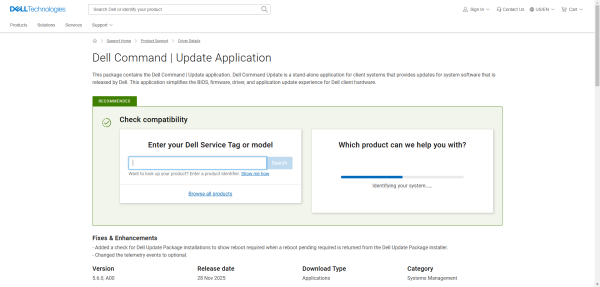
Download Dell Command | Update: If you haven't already installed Dell Command | Update, download it from the official Dell website
Run the Tool: Open the tool and let it scan your system for outdated drivers
Update Drivers: The tool will list any outdated drivers, including those for the Dell WD19 docking station. Allow the tool to update the drivers automatically
Step 5: Use Windows Update
Windows Update may offer necessary updates for drivers, including those for your Dell WD19 docking station.
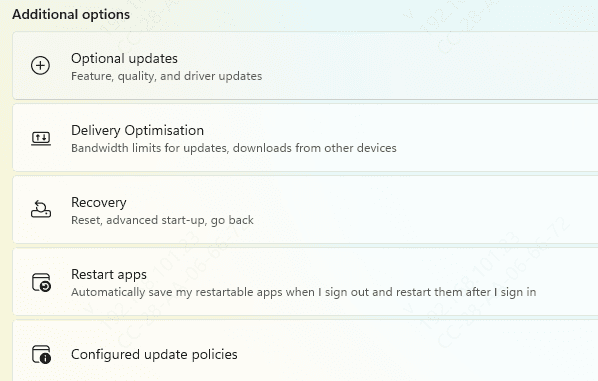
Open Windows Update: Go to Settings > Update & Security and click Check for Updates
Install Optional Updates: Check for any optional updates that may include drivers for your docking station and install them
Step 6: Reset USB Controllers
If the docking station still isn't detected, resetting your USB controllers can sometimes resolve the issue.
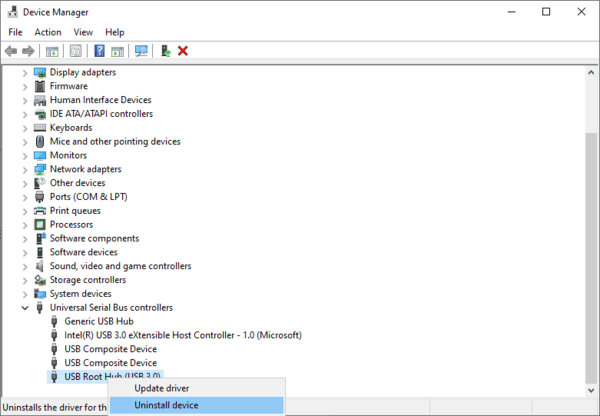
Open Device Manager
Again, open Device Manager
Expand Universal Serial Bus Controllers
Find all entries for USB Root Hub and right-click on each one
Uninstall USB Root Hubs
Select Uninstall and restart your computer. Windows will automatically reinstall the USB drivers
Conclusion
By following the steps in this guide, you should be able to resolve the issue of your Dell WD19 docking station driver not being recognized. Keeping drivers updated, ensuring correct installation, and using tools like Driver Talent X are key to maintaining the proper functionality of your docking station.
