If you're using an HP camera or built-in HP webcam, installing the correct driver is essential for proper performance. The camera driver enables your system to communicate with the hardware, allowing features like video calls, photo capture, and recording to work smoothly. Outdated, missing, or corrupted drivers can lead to issues such as a black screen, the camera not being detected, or poor video quality. In this guide, we'll show you how to download and install the correct HP camera driver for Windows 11, using both manual and automatic methods to help you get your camera working properly again.
Method 1: Download HP Camera Drivers Automatically
The quickest and most user-friendly approach is to use a driver update tool like Driver Talent X, which automates the entire process for you.
Download and Install Driver Talent X
Click the "Download" button to get the software package. After the download completes, install it on your Windows 11 laptop where the hp camera is not functioning properly.
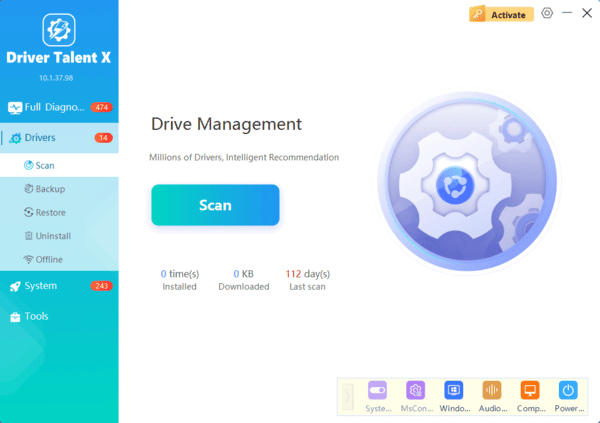
Run a System Scan
Launch the program and select Scan. Driver Talent X will analyze your device's camera, imaging drivers, USB controllers, chipset components, and any system modules that may affect camera performance.
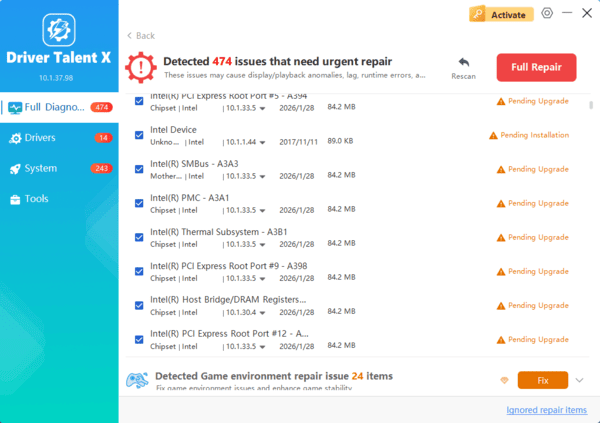
Update the Required Drivers
After the scan, click "Repair Now" or "Update." The tool will automatically download and install the correct HP camera driver along with any related components essential for camera functionality.
Restart Your Computer
Reboot your laptop to ensure the newly installed drivers are fully applied.
Method 2: Downloading from HP Official Support Page
This method involves manually downloading the correct driver from HP's official website, which is the safest and most reliable source.
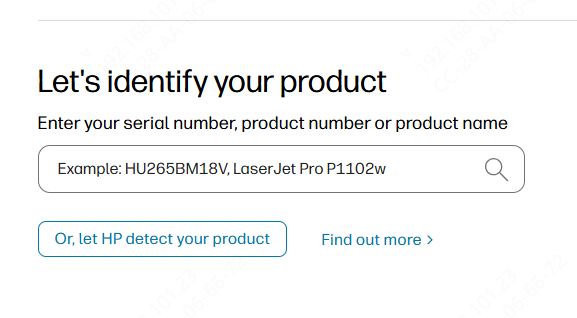
Go to HP's Support Page(www.hpsmart.com)
Search for Your Device--Select Your Windows Version
Choose your version of Windows 11 (e.g., 64-bit) to ensure compatibility.
Download the Driver
Install the Driver
After the file is downloaded, open it and follow the on-screen instructions to install the driver. Restart your computer after installation to complete the process.
Method 3: Using Windows Device Manager to Download Drivers
Windows Device Manager can automatically search for and install camera drivers for you.
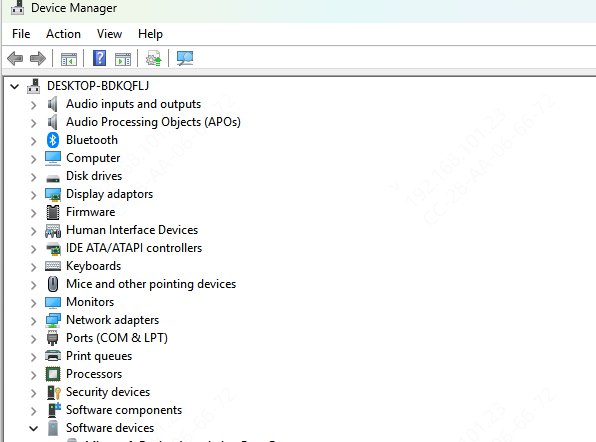
Open Device Manager: Right-click the Start button and choose Device Manager
Find the Camera: Expand Imaging Devices to locate your camera. If it's missing, check under Other Devices
Update the Driver: Right-click the camera → Update Driver → Search automatically for updated driver software. Windows will install the correct driver
Restart Your PC: Reboot to apply the update
Verify Installation: Open the Camera app or a video-calling tool to confirm the camera works. If the screen is black or the camera isn't detected, further troubleshooting may be needed
Conclusion
Updating and installing the correct HP camera driver for Windows 11 ensures that your camera works properly and maintains compatibility with your operating system. Whether you prefer to download the driver manually from HP's official support page, use Device Manager, or rely on HP Support Assistant, the process is simple and straightforward.
Regularly updating your camera driver is a good practice, especially after a major Windows update, to prevent issues like camera malfunctions or poor video quality. By following the methods in this guide, you can easily keep your HP camera running smoothly and troubleshoot any issues that may arise.
