When using an Epson printer, the driver serves as an essential bridge between the printer and your computer. Whether it's the first-time setup of a new device or troubleshooting printing errors and missing features, properly downloading and installing the latest driver is critical.
This guide will walk you through how to get the correct Epson printer driver, and the step-by-step process for installation and updates — helping you configure your device easily and improve printing efficiency.
1. Why Need to Update Epson Printer Driver?
Many users encounter the following issues during printing:
The printer is not recognized
Print commands fail or get stuck in the queue
Garbled text or abnormal color output
Scanning, wireless printing, or other features not working
These problems are often caused by missing, outdated, or incompatible drivers. Installing the latest driver can resolve most functionality and compatibility issues, while also improving system stability.
2. How to Download Epson Printer Drivers?
Method 1: Use Driver Talent for One-Click Update
For users unfamiliar with manually downloading and installing drivers, using a driver management tool can greatly improve update efficiency.
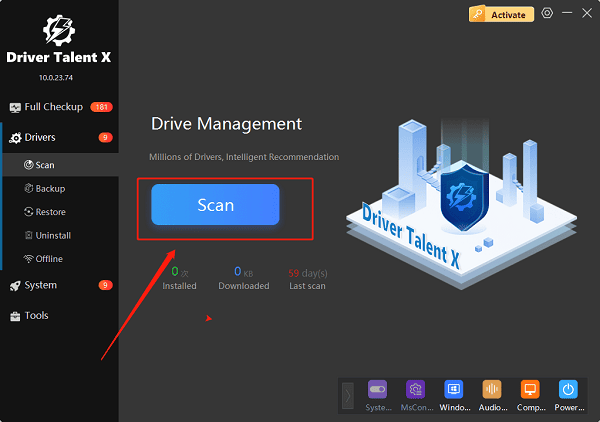
It's recommend to use Driver Talent X tool, which can automatically detect, download, and install the most compatible drivers for your device. It's simple to use and highly efficient.
Click the Download button to get the latest version of Driver Talent X, then install and launch the software.
Go to the "Drivers" tab and click "Scan". The software will automatically check the status of all drivers on your computer.

In the scan results, find the printer driver and click "Install" or "Upgrade".
Once the update is complete, restart your computer to ensure the driver is applied successfully.
Method 2: Download from the Official Website
Step 1: Visit the Epson Official Website
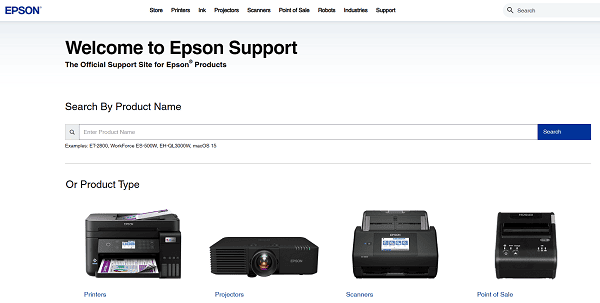
Open your browser and go to the Epson website: https://epson.com
Step 2: Search for Your Printer Model
Click "Support" > "Printers", enter your printer model (e.g., L3250, L3110, WF-M5399, etc.), and click search.

Step 3: Select Your Operating System
On the printer support page, choose your current operating system version (e.g., Windows 11, Windows 10 64-bit, Windows 8 32-bit, etc.) to ensure driver compatibility.
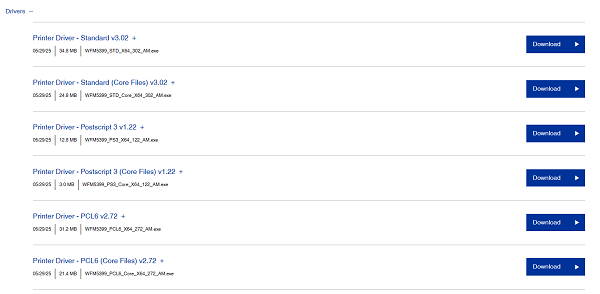
Step 4: Download the Driver
Find the "Drivers and Software" section, then click the "Download" button to save the driver file to your computer.

3. How to Install the Epson Printer Driver
Double-click the downloaded .exe driver file.
Click "Next" and agree to the license agreement when prompted.
The installation wizard will automatically detect your printer and complete the installation.
Restart your computer to apply changes and activate the driver.
4. How to Update Epson Drivers
If you already have an older version installed, here are your options to update:
Revisit the Epson website, download the latest version, and install it over the old one.
If you want to save time and avoid incorrect driver versions, it's recommended to use Driver Talent X, which will automatically detect and update your drivers with one click.
5. Frequently Asked Questions (FAQ)
Q1: The printer still won't connect after driver installation.
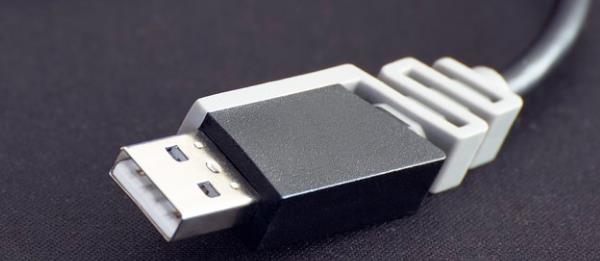
A: Check if the USB or network connection is working. Try using a different port or cable. You can also uninstall the old driver in Device Manager and reinstall it.

Q2: I can't find my printer model on the Epson website.
A: Make sure you've entered the full and correct model number. If you still can't find it, use Driver Talent to detect and repair the missing driver.
Q3: Why can't I print in color?
A: Check the driver's Color Management settings to ensure you haven't selected Grayscale or Black & White Only mode.
By following the steps above, you can successfully download and install your Epson printer driver, ensuring your device works properly on Windows systems. If you still encounter issues, visit the Epson Support page or contact technical support for further assistance.
