If your Epson printer is not working properly on Windows 11, the problem may be caused by a missing, outdated, or incompatible printer driver. Driver issues can lead to problems such as the printer not being detected, failed print jobs, unavailable scanning functions, or connection errors. Installing the correct Epson printer driver can restore normal communication between your printer and PC and ensure access to all supported features. This guide explains two practical ways to download and install Epson printer drivers on Windows 11.
Why You Need the Right Epson Driver?
A printer driver is a small piece of software that allows your Windows 11 PC to communicate with your Epson printer. Without the correct driver, your computer won't be able to "see" or control the printer. Installing the right driver ensures:
Full Functionality: You can access all printer features, from high-quality printing to scanning and faxing.
Stability: It prevents common issues like printing errors, paper jams, and connectivity problems.
Compatibility: It ensures your printer works perfectly with the latest version of Windows.
Method 1: The Official Epson Support Website
This is the standard and most direct way to get your drivers, but it requires you to know your exact printer model.
Step 1: Find Your Printer Model
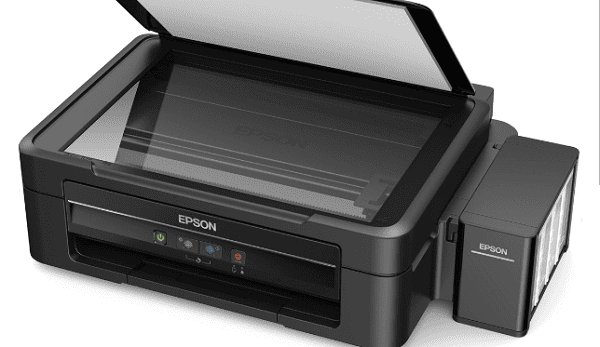
Before you begin, find the exact model number of your Epson printer. It's usually printed on the front or top of the device.
Step 2: Download the Driver
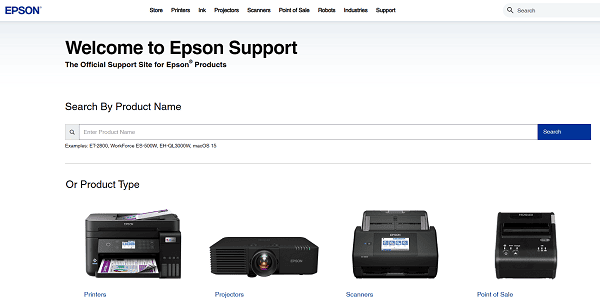
Visit the official Epson Support website.
Enter your printer model number into the search bar.
On your printer's support page, select Windows 11 from the operating system dropdown menu.
Download the recommended driver package.
Step 3: Install the Driver
Double-click the downloaded file and follow the on-screen instructions.
Be sure to connect your printer to your PC with a USB cable or connect it to your network when prompted.
The installer will guide you through the final setup steps.
Method 2: Recommended Way to Update with Driver Talent X
For a quick, hassle-free solution that works for all your devices, Driver Talent X is an excellent choice. This professional driver updater automates the entire process, making it safer and more convenient than manual updates.
Step 1: Scan for Outdated Drivers
Once you install and launch Driver Talent X, the program takes care of the rest.
Launch Driver Talent X and click "Scan".
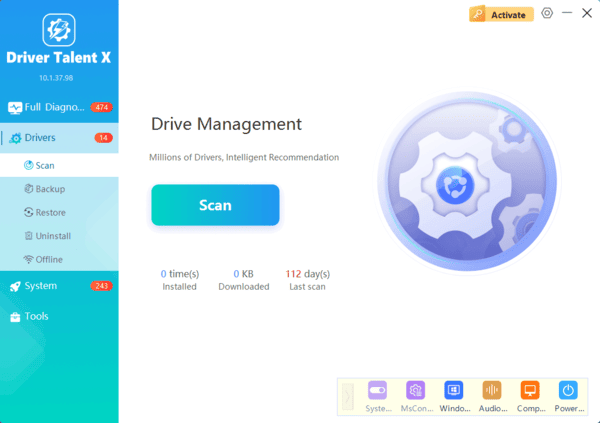
The software will automatically scan your entire computer to detect the status of all your hardware drivers, including your Epson printer driver.
Step 2: Update with One Click
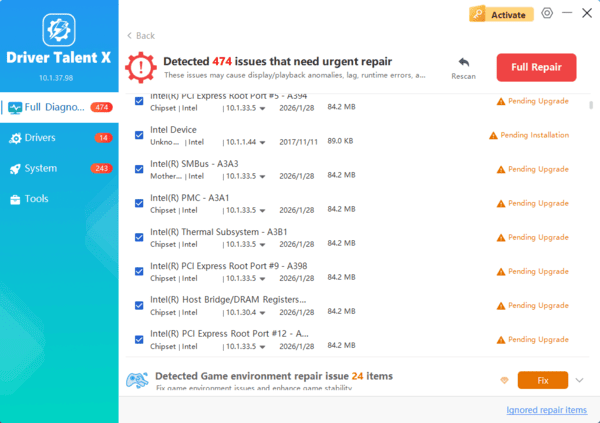
After the scan, you'll get a clear list of all outdated drivers.
In the scan results, find your Epson printer. If an update is available, simply click the "Upgrade" button next to it.
Driver Talent X will automatically download and install the latest, most compatible driver for you.
Frequently Asked Questions
Why does Windows 11 detect my Epson printer but not print?
The driver may be corrupted, the wrong printer port may be selected, or the print queue may be stuck. Reinstall the driver and clear pending print jobs.
Should I install both the Epson printer and scanner drivers?
Yes, if you use a multifunction Epson printer. The printer driver controls printing, while the scanner driver enables scanning features in Epson and Windows applications.
What should I do if no Windows 11 driver is listed for my Epson printer?
Check whether Epson provides a compatible Windows 10 driver or a universal driver. You can also use Windows Update to search for a basic compatible driver.
Conclusion
Keeping your Epson printer driver updated is crucial for flawless performance on Windows 11.
While you can always use the official Epson support site, the easiest and most reliable way to manage your printer driver—and all your PC's drivers—is with a tool like Driver Talent X.
It simplifies the entire process, ensuring your printer works perfectly without any of the hassle.