Corrupted files on a Windows PC can cause many annoying problems. A document may refuse to open, a video may not play, a program may crash when loading a file, or Windows may start showing errors. Sometimes only one file is affected. In other cases, the problem points to a bigger issue with the drive, system files, or hardware. The good news is that corrupted files are not always permanently lost. In many cases, you can fix the file, restore an older copy, repair Windows, or solve the system problem that caused the corruption in the first place.
Restore From Backup First
If you have a backup, restoring a clean copy is usually the safest and fastest solution. Check OneDrive, File History, an external drive, or any other backup location you use. If the file is a document, also check whether the app has an autosave or recovery version
This method is often better than trying to repair a badly damaged file directly. If a clean recent version exists, it can save a lot of time
Repair Windows System Files
System file repair can restore protected Windows files that have become corrupted. This does not directly repair personal files such as photos or Word documents, but it can fix the operating system if system corruption is causing wider instability
If the normal repair scan does not fully solve the problem, use a deeper Windows image repair and then run the system file scan again. This combination often works better when Windows components are damaged at a deeper level
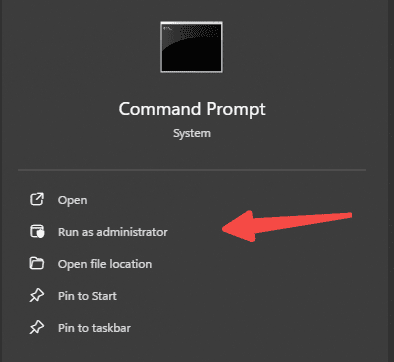
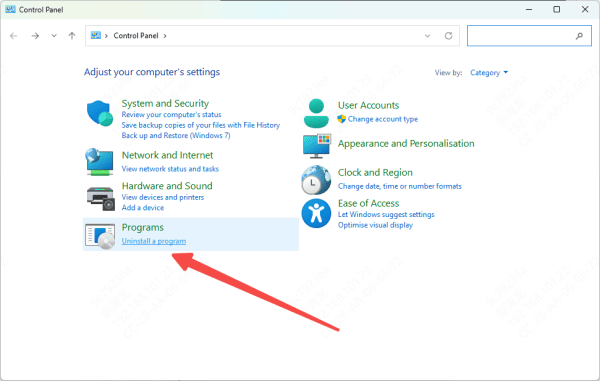
Repair or Reinstall the Program
Sometimes the file is not the real problem. The application that opens it may be broken. This can happen with Office files, PDFs, images, videos, and project files used by editing software
If one specific app crashes whenever you open a file, but the file works on another PC or in another viewer, repair or reinstall the app. This is a simple step, but it is often missed
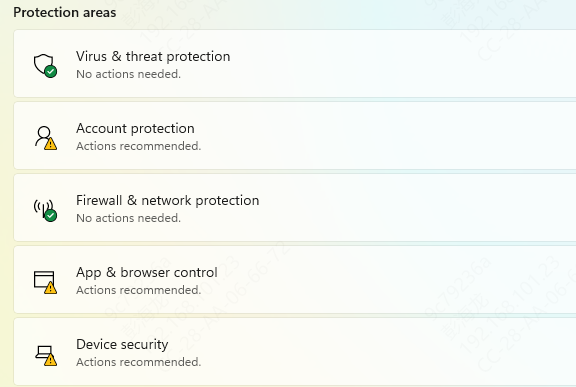
Scan for Malware
Malware can damage files, rename them, block access to them, or corrupt system components in the background. If file corruption appeared together with strange system behavior, pop-ups, unexpected slowdowns, or missing files, run a full security scan
It is important to clean the system before doing major recovery work. Otherwise, even restored files may become damaged again
Check RAM and Hardware Stability
If files keep becoming corrupted for no clear reason, RAM should be checked. Faulty memory can damage data while it is being written or read. This kind of problem may look like random software failure, but the real cause is hardware instability
Storage hardware should also be considered. A failing SSD, HDD, or loose internal connection can repeatedly damage files. If corruption affects many different file types and keeps returning after repairs, hardware testing becomes necessary
Update System Drivers
Drivers can also contribute to file corruption, especially if the issue involves storage communication. Outdated or damaged chipset drivers, SATA drivers, NVMe drivers, USB storage drivers, or motherboard controller drivers can interfere with normal data transfer and drive stability.
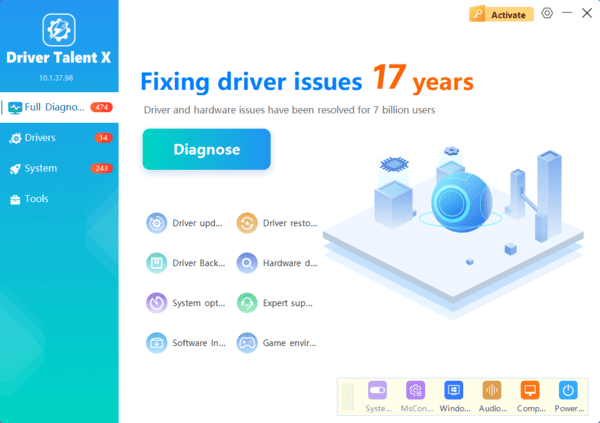
Use Driver Talent X
If you want a faster way to check driver-related problems, you can use Driver Talent X
Download and install it. After opening the software, go to the Drivers tab and click Diagnose to scan the system
When the scan is complete, review the results and look for storage drivers, chipset drivers, USB controller drivers, and other system drivers that may affect file transfers and device stability. Click Full Repair to repair the affected drivers
Use Previous Versions or Backup Copies
If a file is still damaged, check whether Windows has a previous version available. Some systems keep older copies through File History or restore points. If that option is available, you may be able to recover a working version quickly
If no previous version exists, go back to cloud storage, external backup, or another archive. For seriously corrupted files, restoring a clean copy is often more practical than trying to repair the damaged version repeatedly
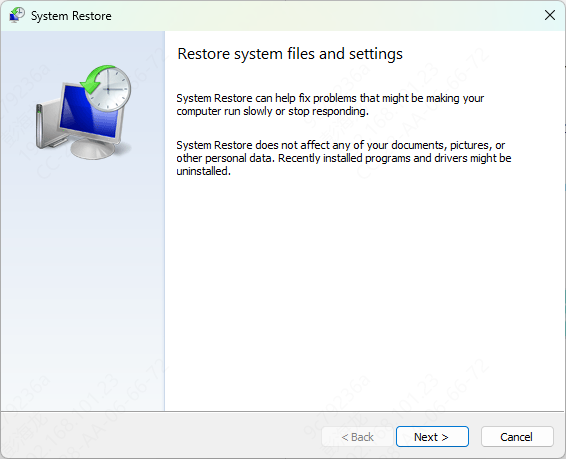
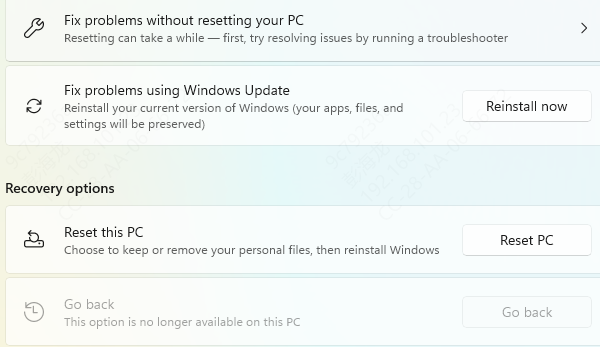
When Windows Needs Bigger Repair
If many files are corrupted and Windows remains unstable, a larger repair may be needed. Startup Repair, an in-place repair install, or resetting Windows can help when the operating system is too damaged for smaller fixes
These are later-stage solutions, not first steps. If possible, back up important files before using them. If the drive itself is failing, focus on saving data first
Conclusion
Start by checking the scope of the problem and restoring from backup if possible. Then repair Windows system files, check the drive, scan for malware, test hardware stability, and update related drivers. If driver instability is involved, Driver Talent X can help repair storage and chipset drivers more quickly.
