The audio function in laptops is an essential part of daily office work, entertainment, and learning. However, some users may encounter situations where the audio stops working properly, significantly affecting the user experience.
This article analyzes the common causes of laptop audio issues and offers a variety of effective solutions to help you quickly restore normal sound output.
I. Common Causes of Laptop Audio Not Working
1. Driver Issues
Corrupted, outdated, or incompatible audio drivers are among the main reasons why audio fails to function properly.
2. Windows Audio Service Not Running
If the Windows Audio service is not enabled or has stopped unexpectedly, the system may be unable to output sound.
3. Hardware Malfunctions
Faulty speakers, loose headphone jacks, or internal circuitry issues can cause audio problems.
4. Incorrect Volume or Output Settings
Muted system volume, very low sound levels, or incorrect output device selection can result in no sound.
5. Conflicts with Third-Party Software
Some applications or antivirus software may interfere with the normal operation of audio services.
II. How to Fix Laptop Audio Not Working
Method 1: Update the Audio Driver
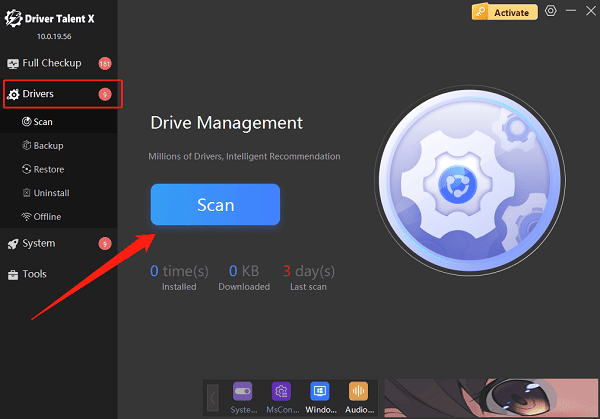
Driver issues are a primary cause of audio failure. It's recommend to use the Driver Talent X driver management tool, which automatically detects, downloads, and installs the most compatible drivers for your device.
Click the Download button to get the latest version of Driver Talent X.
After installation, open the software and go to the Drivers tab, then click "Scan".

Once the scan is complete, locate the audio driver in the results and click "Upgrade".
Restart your laptop to apply the updated driver.
Method 2: Check Volume and Output Device
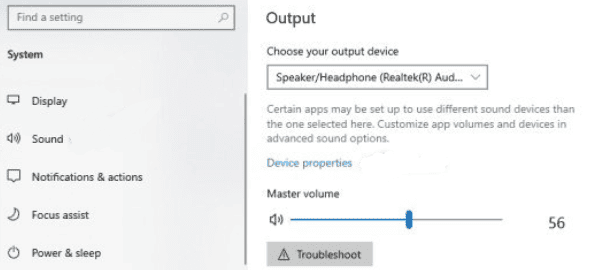
Ensure the system is not muted and the volume is set to an appropriate level.
Click the speaker icon on the bottom-right taskbar and verify that the correct output device (speakers or headphones) is selected.

If using external speakers or headphones, check that the connection is secure.
Method 3: Restart Windows Audio Services
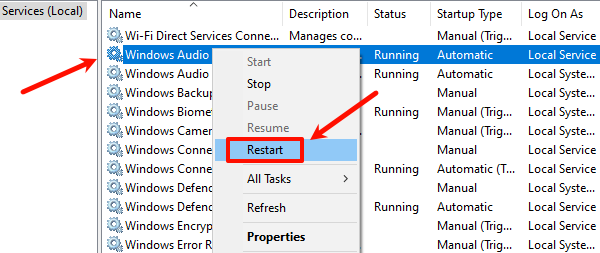
Press Win + R, type "services.msc", and press Enter.
Find "Windows Audio" and "Windows Audio Endpoint Builder" in the list.
Right-click each and select "Restart".

Make sure their startup type is set to "Automatic".
Click "Apply" and "OK" to save the settings.
Method 4: Check for Third-Party Software Conflicts
Temporarily disable antivirus software and firewalls to rule out interference.
Close any audio recording or processing software and test the sound again.
Method 5: Inspect Hardware Issues
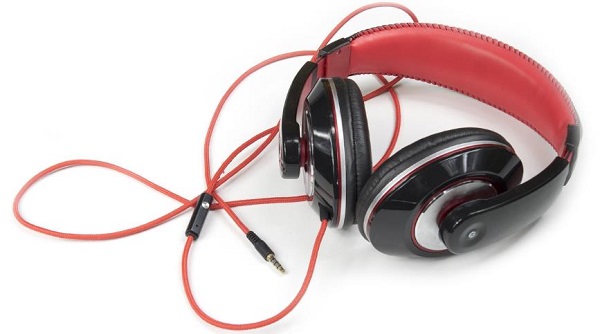
Try connecting headphones or external speakers to determine if the issue is with the built-in speakers.

Check for debris or loose connections in the headphone jack.
If a hardware issue is suspected, contact professional repair services.
III. Frequently Asked Questions (FAQ)
Q1: What if my laptop has sound but the microphone isn't working?
A: Check that the mic isn't muted and the right device is enabled. Update the driver or try an external mic if needed.
Q2: What should I do if the sound card is missing from Device Manager?
A: It may be a driver or hardware issue. Update or reinstall the driver; if that fails, check the hardware.
Q3: What if audio still doesn't work after updating the driver?
A: Rollback the driver or use System Restore. Also check for updates and make sure audio services are running.
Laptop audio issues are common but typically easy to fix. By checking audio settings, restarting audio services, or updating drivers, most users can quickly restore sound.
Hope this guide helps you resolve your audio problems and enjoy clear, high-quality sound again. If the issue persists, consider seeking help from a professional technician.
