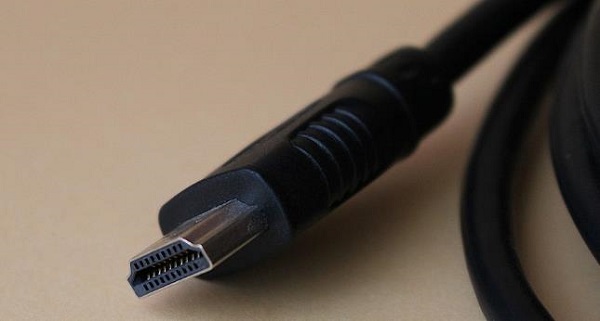
HDMI is an audio and video transmission interface that can simultaneously output high-definition video and high-quality audio to TVs, monitors, or sound systems.
However, many Windows users may encounter an issue where the display works normally via HDMI, but there is no sound output.
Don't worry! This article will analyze the common causes of HDMI no sound issues and provide 7 practical solutions to help you quickly restore HDMI audio output functionality.
1. Common Causes of HDMI No Sound
HDMI audio device not set as the default playback device
Outdated, corrupted, or incompatible graphics/audio drivers
Poor connection or faulty HDMI cable
Display device does not support audio output
Incorrect Windows sound settings or muted audio
System updates or third-party software conflicts
BIOS or hardware settings limiting audio output
2. 7 Effective Fixes
Method 1: Check Playback Device Settings
Right-click the volume icon at the bottom right of the taskbar and select "Sounds".
In the "Playback" tab, locate the device labeled "HDMI", "Digital Audio (HDMI)", or your monitor's model.
Right-click this device and choose "Set as Default Device".
Click "Apply" and restart the related application or your system.
Tip: If the HDMI audio device shows as "Not plugged in", ensure the cable is properly connected and restart the device.
Method 2: Update Audio Drivers
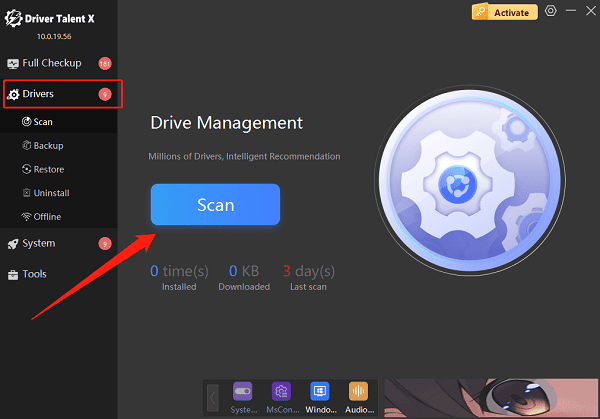
Outdated or corrupted drivers, or incompatibility with the OS, are common reasons for HDMI no sound. It is recommended to use Driver Talent X, which saves time and avoids the risk of downloading or installing incorrect drivers.
Click the download button to get the latest Driver Talent X, install and launch it.
Select the "Drivers" tab and click "Scan" to let the software detect all drivers on your computer.

Locate the audio driver in the scan results and click "Upgrade".
Restart your computer after updating to ensure the drivers take effect.
Method 3: Try Changing HDMI Port or Cable
Connect the HDMI cable to another HDMI port on your motherboard or dedicated graphics card.
Avoid using HDMI adapters or extension cables.
Replace with a confirmed working HDMI cable to rule out hardware damage.

Method 4: Enable Audio Format Compatibility
In "Playback Devices", select the HDMI output device and click "Properties".
Switch to the "Supported Formats" tab and check common formats such as "Dolby Digital", "DTS Audio", etc.
Apply the settings and test audio output.
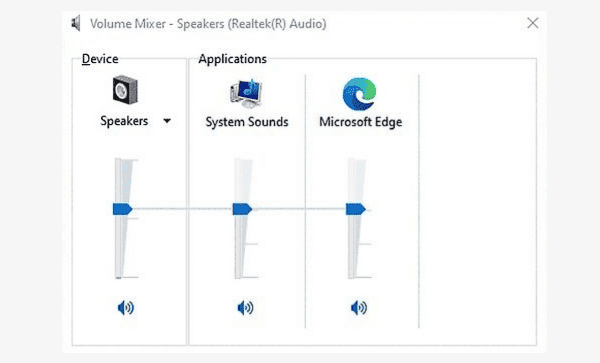
Method 5: Check System Volume and Mute Status
Ensure the system is not muted.
Verify that the volume is not set to zero.

Check whether the current media player or video is muted.
Method 6: Uninstall and Re-detect Audio Device
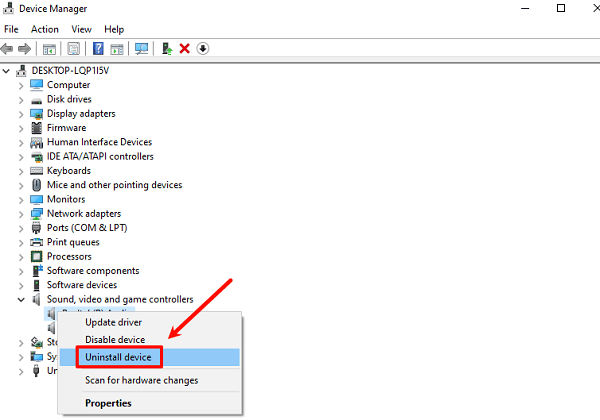
Press Win + X and select "Device Manager".
Expand "Sound, video and game controllers".
Right-click the HDMI audio device (e.g., Intel Display Audio or NVIDIA High Definition Audio) and select "Uninstall device".

Restart your computer; the system will automatically reinstall the driver.
Method 7: Update Windows or Roll Back Updates
Go to "Settings > Update & Security > Windows Update" to check for available updates.
If HDMI audio loss occurred after an update, uninstall the related patch in "Update History" or use the "System Restore" feature to revert to a previous state.
3. Additional Suggestions
Make sure your display device (TV or monitor) supports audio playback and is not muted.
Avoid using Bluetooth headphones or other audio devices simultaneously when connected via HDMI.
Use online audio testing sites to quickly verify if HDMI is outputting sound.
Though HDMI no sound issues on Windows may seem complicated, most users can easily resolve them by identifying the cause and following the methods above. Whether it's playback device settings, driver updates, or cable checks, a step-by-step approach will restore audio output.
We highly recommend using the professional driver tool Driver Talent X to detect and fix driver issues with one click, ensuring your HDMI audio and video transmission works flawlessly!
