You connect a USB to HDMI adapter to your PC and monitor, but nothing happens — no signal, no display output, or Windows fails to detect the external screen. In some cases, the monitor powers on but only shows a blank screen. Unlike standard HDMI connections, USB to HDMI adapters rely on additional drivers and software components to create a display output. Problems with drivers, compatibility, power, or system settings can prevent the adapter from working correctly. In this guide, w'’ll explain the common causes behind USB to HDMI adapter issues and provide step-by-step solutions to restore your external display connection.
Identify the Adapter Chip and Install the Correct Driver
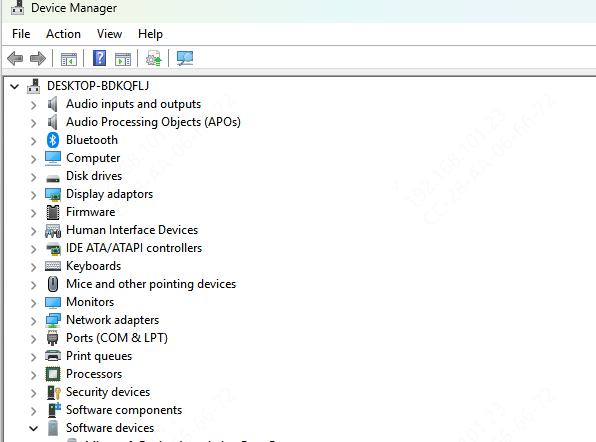
Plug in the USB to HDMI adapter. Press Win + X and open Device Manager. Look under Universal Serial Bus controllers and Display adapters for any entry labeled Unknown Device or USB Display Adapter
Right-click the unknown entry and select Properties. Go to the Details tab and change the property dropdown to Hardware IDs. The string shown here contains the vendor ID and product ID that identifies the chip
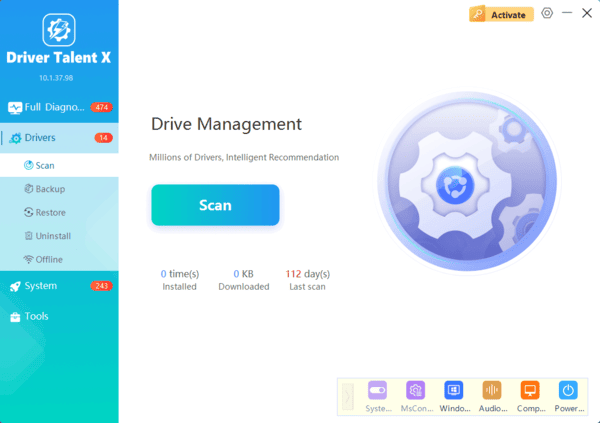
Rather than manually looking up this hardware ID and navigating vendor download pages, Driver Talent X handles this automatically. Connect the adapter and click Scan
Driver Talent X reads the hardware ID directly from the system and identifies the correct USB graphics driver for the specific chip in your adapter. Click Download to install it. Restart and reconnect the adapter to test
Try a Different USB Port
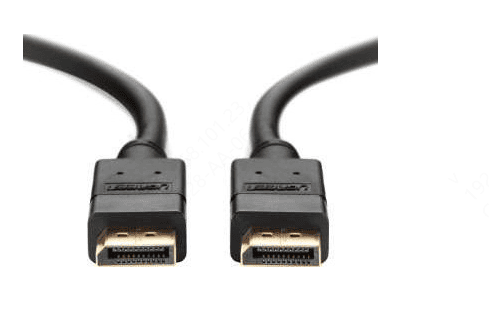
Move the adapter to a USB 3.0 or USB 3.1 port. These are usually identified by a blue plastic tab inside the port or a small SS (SuperSpeed) label next to it. On desktops, use a port directly on the rear panel rather than the front panel, as rear ports connect directly to the motherboard and provide more stable power delivery
For USB-C to HDMI adapters, confirm that the specific USB-C port on your laptop supports video output. Not all USB-C ports do, even on the same laptop
Ports that support DisplayPort Alt Mode or Thunderbolt are marked with a small DisplayPort or lightning bolt symbol next to the port. If the USB-C port you're using has no such symbol, it likely carries data and power only, with no video signal capability
Check Display Settings in Windows
Right-click the desktop and select Display settings. Scroll down to the Multiple displays section and click Detect. If the second display appears in the layout, click on it and set the Multiple displays option to Extend these displays or Duplicate these displays as needed
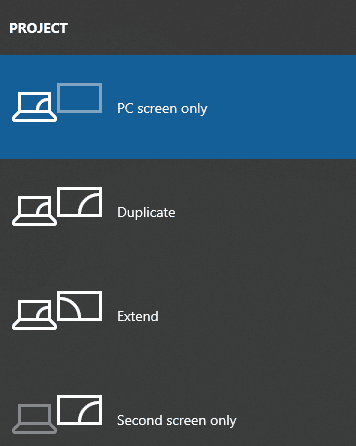
Alternatively, press Win + P to open the projection panel on the right side of the screen. Select Extend, Duplicate, or Second screen only depending on your preference
Disable USB Selective Suspend
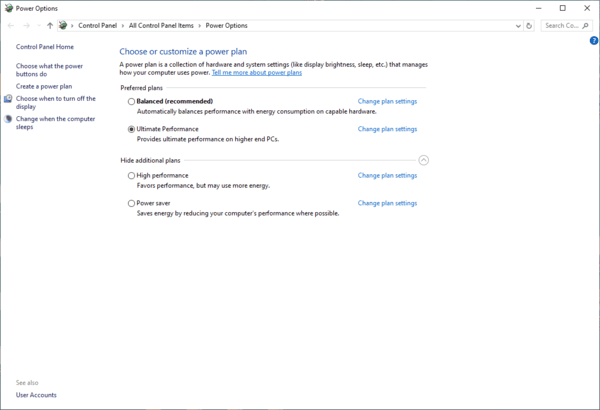
Open the Control Panel and go to Power Options. Click Change plan settings next to your active power plan, then click Change advanced power settings. Expand USB settings, then expand USB selective suspend setting
Change the value to Disabled. Apply and restart
This fix is especially relevant if the external display works initially but disconnects after the laptop sits idle, or if the monitor loses signal when resuming from sleep
Test with a Different Cable and Monitor
If the adapter works on another PC, the issue is isolated to the driver or USB port configuration on the original machine
If the adapter produces no signal on any PC, the adapter hardware itself is defective and needs to be replaced
USB to HDMI adapters require a USB graphics driver to function — without it, no monitor will ever receive a signal. Installing the DisplayLink driver from displaylink.com resolves the issue for most adapters. For adapters using other chips, Driver Talent X identifies the hardware ID and installs the correct driver automatically without requiring manual research into the adapter's specific chip vendor.