Installing a new ink cartridge in your HP printer is usually a quick and easy process, but doing it incorrectly can lead to problems such as poor print quality, cartridge recognition errors, or printing failures. Before replacing the cartridge, it is important to confirm that you are using the correct ink model and that your printer is properly prepared. This step-by-step guide will show you how to safely install an HP printer ink cartridge and troubleshoot common issues that may occur after replacement.
Step 1: Essential Preparations for Ink Installation
Before you begin, make sure you have the right materials and your printer is ready.
Purchase the Correct Cartridges: All HP printers use specific ink cartridge models. Check your printer's manual or the inside of its cartridge access door to find the correct number (e.g., HP 67, HP 61, HP 950). It's highly recommended to use genuine HP ink to ensure compatibility and quality.
Power On the Printer: Turn on your HP printer. Wait for the printer to become idle and silent before proceeding.
Open the Cartridge Access Door: Open the cartridge access door on the front of the printer. The carriage will automatically move to the center of the printer. Wait for it to stop moving completely before you continue.
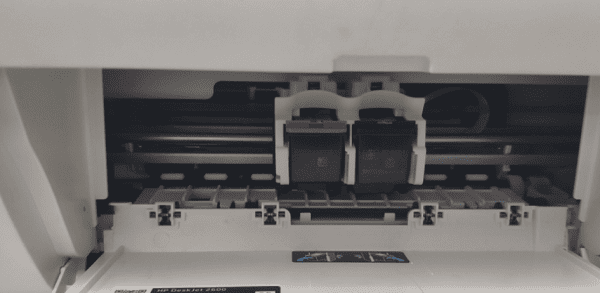
Step 2: Install the Ink Cartridges
Follow these steps carefully to remove the old cartridge and install the new one.
Remove the Old Cartridge:
Gently push down on the old black or tri-color cartridge to release it.
Pull the cartridge out of its slot.
Set the old cartridge aside for recycling.
Prepare the New Cartridge:
Take the new cartridge out of its packaging.
Carefully remove the plastic tape covering the nozzles and contacts. Do not touch the copper-colored electrical contacts or the ink nozzles.
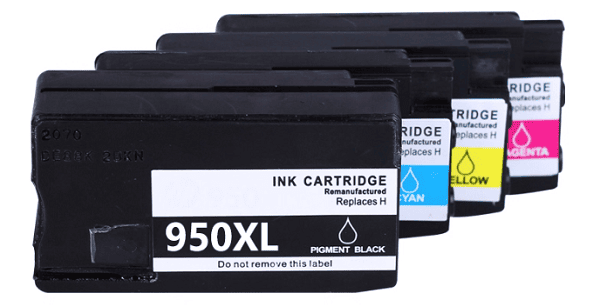
Install the New Cartridge:
Hold the new cartridge with the nozzles facing the printer.
Slide the new cartridge into its empty slot until it snaps firmly into place.
Close the cartridge access door. The printer will begin an alignment process.
Troubleshooting: What to Do If Your Printer Still Has Issues
Sometimes, a printer might not work correctly even with new cartridges. This can happen if a driver is corrupted or outdated, preventing the printer from recognizing the new ink or displaying correct ink levels.
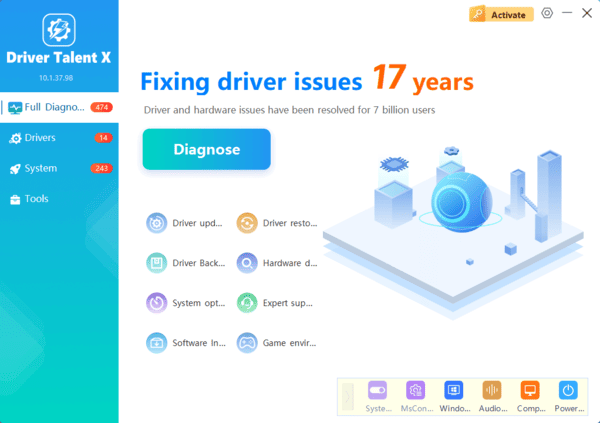
To fix this, you can use Driver Talent X to ensure all your system drivers are in top shape.
Conclusion
Installing ink in your HP printer is a quick and simple process. By following the correct physical steps and ensuring your printer drivers are up-to-date with Driver Talent X, you can ensure a flawless printing experience.