If your HP printer refuses to print, it can bring your work or personal tasks to a frustrating halt. Even when the printer shows "Ready" or appears connected, nothing may come out on paper. This guide provides a step-by-step approach to troubleshoot and fix the problem, ensuring your HP printer works reliably again.
Understanding the Problem
Print jobs getting stuck in the queue
Blank pages or partially printed documents
The printer appearing online but not responding
Error messages like "Cannot Connect" or "Printer Offline"
Common causes
Connectivity problems (USB, Wi-Fi, or network issues)
Outdated, missing, or corrupted drivers
Low ink or toner
Incorrect printer settings
Hardware issues, such as paper jams or faulty cartridges
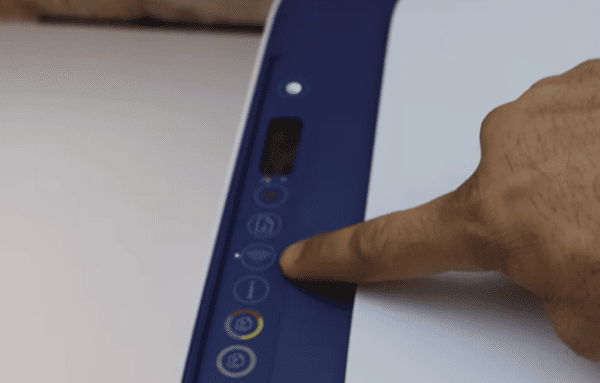
Step 1: Check Printer Power, Connections, and Supplies
Power: Make sure the printer is turned on and displaying no critical error lights
Connections: USB: Ensure cables are firmly connected to both printer and computer
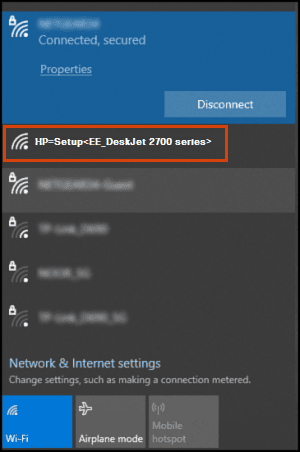
Wireless: Confirm the printer is connected to the correct Wi-Fi network
Supplies: Verify that the printer has sufficient ink or toner and that paper is loaded correctly
Restart devices: Turn off both your printer and computer, wait a few seconds, then power them back on
Step 2: Clear the Print Queue
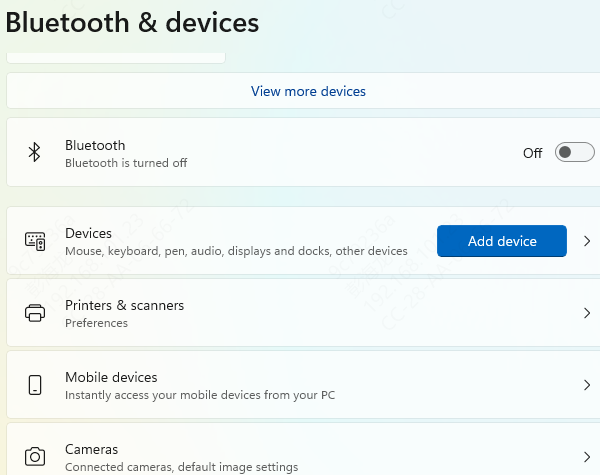
Open Settings → Devices → Printers & Scanners
Select your HP printer → Open Queue
Cancel all stuck print jobs
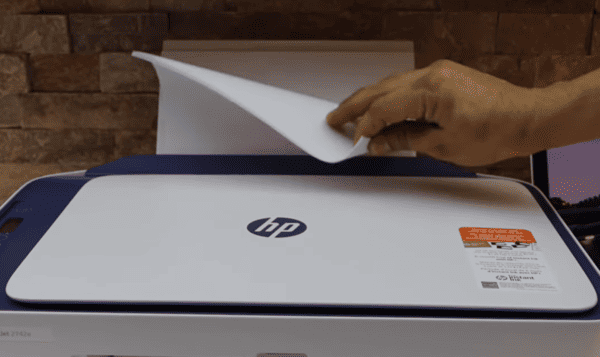
Print a test page to verify the printer responds
Clearing the queue resolves many common printing problems
Step 3: Set HP Printer as Default
Navigate to Settings → Devices → Printers & Scanners
Right-click your HP printer → Set as default printer
Remove any duplicate or inactive printer entries
This ensures that all print jobs go to the correct device
Step 4: Update or Reinstall Printer Drivers
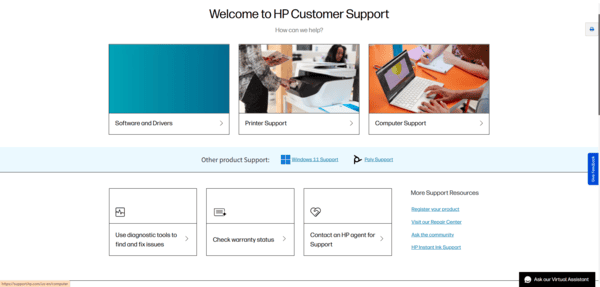
Visit HP Support – Software & Drivers
Enter your HP printer model and download the latest driver for your operating system
Uninstall the current driver via Device Manager → Printers → Uninstall Device
Install the downloaded driver and restart your computer
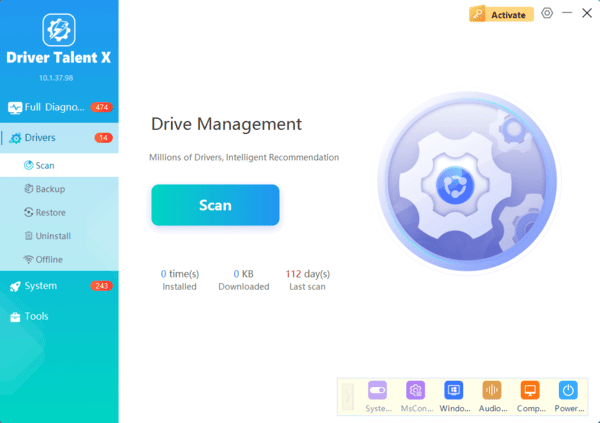
Use Driver Talent X
Install Driver Talent X on your PC
Click Scan to detect outdated, missing, or corrupted drivers
Select your HP printer driver and click Update or Repair
Restart your computer to apply the changes
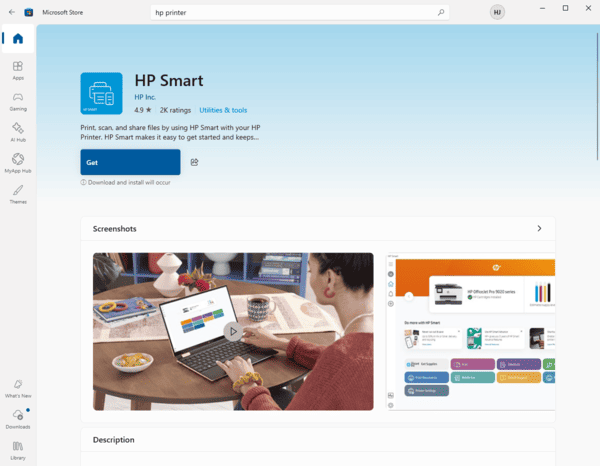
Step 5: Use HP Smart or HP Print and Scan Doctor
HP Smart: Manages wireless connections, checks ink/toner, and updates firmware
HP Print and Scan Doctor: Automatically detects and fixes printing problems, including offline status and driver errors
Running these tools can save time and often resolves issues without manual intervention
Step 6: Check Network Settings (For Wireless Printers)
Ensure both the computer and HP printer are on the same Wi-Fi network
Restart the router if needed
Verify the printer's IP address matches the one recognized by your computer
Correct network setup prevents connectivity conflicts and ensures reliable printing
Step 7: Troubleshoot Hardware Issues
Check for paper jams or misaligned paper
Inspect cartridges for proper installation and sufficient ink/toner
Clean print heads if the output is faded or streaky
As a last resort, perform a factory reset of the printer following HP's instructions

Conclusion
Fixing an HP printer that is not printing requires a combination of basic checks, driver updates, and network verification. Always ensure your printer drivers are up-to-date using Driver Talent X, which automatically scans, repairs, and updates drivers. Regular maintenance and monitoring of connectivity, printer settings, and supplies help prevent printing interruptions and keep your HP printer performing at its best.
