Intel Ethernet drivers allow Windows to communicate properly with wired network adapters. When these drivers become outdated, corrupted, or replaced by an incompatible version, you may experience problems such as no internet access, Ethernet adapter disappearance, or frequent connection drops. These issues often appear after a Windows installation, major system update, BIOS reset, or motherboard driver change, when Windows may install a generic driver instead of the correct Intel version. In this guide, we'll cover common Intel Ethernet driver problems and provide effective solutions, including quick checks, driver repairs, and complete reinstallation methods to restore a stable wired connection.
Confirm the Intel Ethernet Adapter in Device Manager
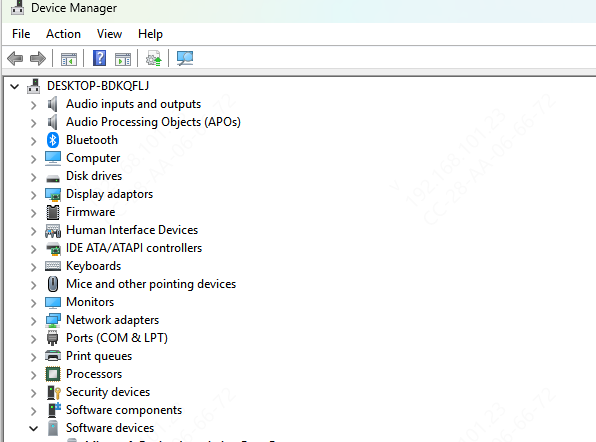
Press Win + X, open Device Manager, and expand Network adapters. Look for an Intel Ethernet device name. Depending on the system, it may appear as Intel Ethernet Connection, Intel I219-V, Intel I225-V, Intel I211 Gigabit Network Connection, or a similar controller name
If the device is present with a yellow exclamation mark, the adapter is detected but the driver is damaged or incomplete. If the adapter is missing, click View and select Show hidden devices. Also check under Other devices or Unknown devices
Download the Correct Intel Ethernet Driver Manually
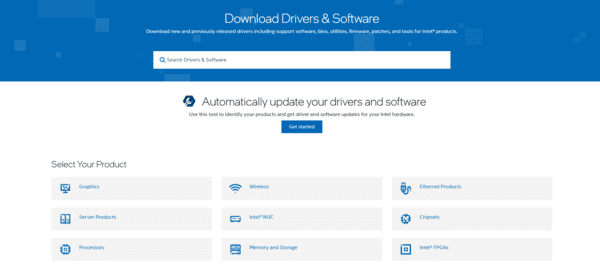
Intel's official support site can also provide Ethernet drivers by controller model, especially for Intel desktop controllers. However, for OEM systems, the manufacturer version is often the safer choice
Once the correct package is downloaded, do not install it immediately over a broken driver if the problem has been persistent. A clean reinstall is usually more effective
Repair Intel Ethernet Driver
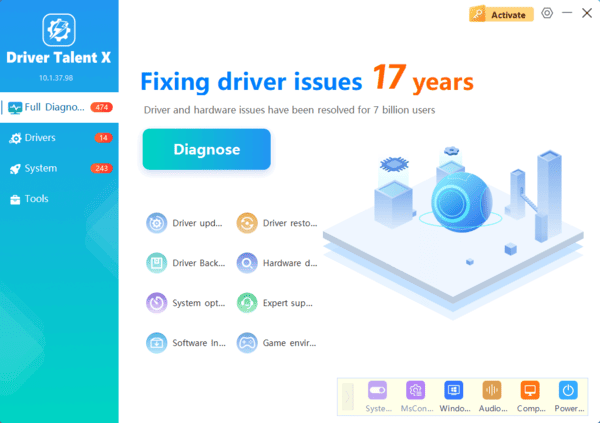
If you do not know the exact Intel controller model, or if the PC has several driver problems at the same time, an automatic repair tool is faster.
Reset the Network Settings
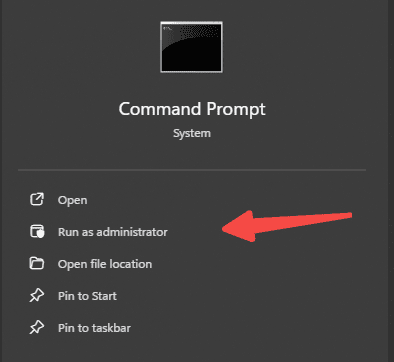
Open Command Prompt as administrator and run the following commands one by one:
netsh winsock reset
netsh int ip reset
ipconfig /flushdns
Check BIOS and Chipset-Related Causes
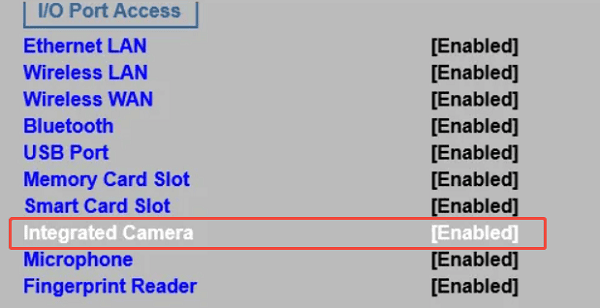
If the Intel Ethernet adapter does not appear at all, even after a reinstall, the issue may be outside the LAN driver itself. Some systems allow onboard LAN to be disabled in BIOS. Enter BIOS or UEFI settings during startup and confirm that the onboard Ethernet or LAN controller is enabled
You should also consider chipset drivers. On some motherboards and desktop systems, missing or outdated chipset drivers interfere with proper LAN controller detection. If the Intel Ethernet device keeps disappearing or never appears in Device Manager, updating the chipset driver may restore correct detection
How to Confirm the Driver Is Working Properly
After applying any fix, verify the result before assuming the problem is solved. Open Device Manager and make sure the Intel Ethernet adapter appears without any warning icon. Then open Network Connections and confirm that Ethernet is listed as an active adapter
Connect the cable and test internet access. You can also open the Ethernet status window and check the link speed. A stable connection with normal speed and no repeated disconnects usually confirms that the driver issue has been resolved
Conclusion
Intel Ethernet driver issues are usually caused by outdated, corrupted, or incorrectly replaced LAN drivers. The fastest repair path is to check the cable and port first, confirm the adapter status in Device Manager, then update or reinstall the proper Intel or OEM driver. If the driver looks normal but the connection still fails, resetting the Windows network stack is the next logical step. When identifying the exact controller model is difficult or multiple drivers are broken together, Driver Talent X provides a faster repair path by scanning the system and installing the correct driver automatically from https://www.drivertalent.com.