Intel Integrated Graphics (such as Intel Iris and Intel UHD Graphics) power millions of laptops and desktop PCs. When issues like screen flickering, unexpected resolution changes, video playback lag, or application crashes occur, the cause is often an outdated, corrupted, or conflicting Intel graphics driver. Updating your Intel graphics driver is one of the most effective ways to resolve these display and performance problems. A successful update requires a clean system environment and the correct driver version for your specific Intel processor and Windows operating system. This guide provides a systematic, step-by-step approach to safely and correctly update your Intel graphics drivers and restore stable system performance.
Part I: Driver Integrity and System Synchronization
Intel graphics performance relies heavily on the driver working in harmony with the core CPU and motherboard Chipset drivers. Conflicts here are the primary cause of intermittent lag and display instability.
Automated Driver Update with Driver Talent X
Manually searching for and updating the correct Intel driver for your processor generation can be confusing, especially if your PC manufacturer (e.g., Dell, HP, Lenovo) requires a specialized version. A specialized utility simplifies this by identifying and installing the correct, compatible driver version for your system configuration.
Download and Install:
Click the "Download" button to download the software package.
Install it on your Windows PC.
Run Scan:
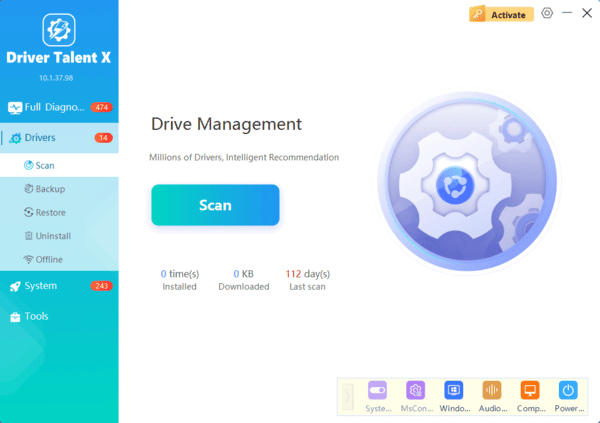
Launch the application and go to "Drivers" > "Scan", click "Scan".
The software will perform a deep analysis of your system, focusing on your integrated graphics and core components.
Execute Clean Update:
After the scan is complete, the software will display a list of all drivers that need attention. Select the necessary Intel Graphics and Chipset drivers and click the "Upgrade" or "Repair Now" button.
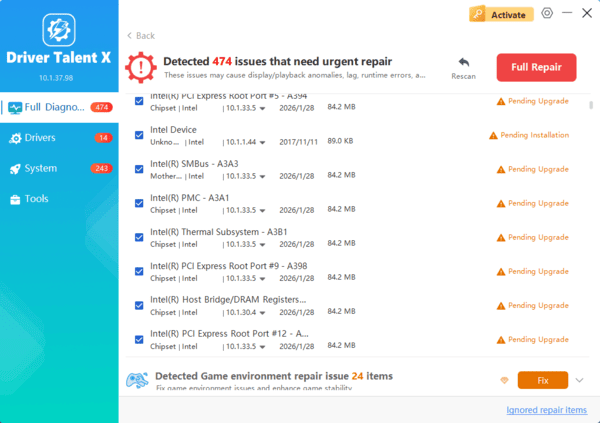
Driver Talent X will download the latest, certified drivers that are customized for your specific Intel processor, which is critical for display stability and smooth video playback.
Finalize:
After the installation is complete, restart your computer to integrate the new drivers fully.
Part II: Official Intel and Windows Update Methods
These methods rely on official tools provided by Intel and Microsoft for manual control over the update process.
Method 1: Use the Intel Driver & Support Assistant (IDSA)
Intel provides its official tool to manage and deliver graphics driver updates directly. This is the best method if you use a custom-built PC or a laptop whose manufacturer allows generic Intel drivers.
Download IDSA: Download and install the Intel Driver & Support Assistant (IDSA) application from the official Intel website.

Run Scan: Run the application. It will open a browser window and automatically scan your hardware for available graphics driver and software updates.

Install Update: If a new Intel Graphics driver is listed, select the option to "Download" and "Install" it. IDSA handles the cleanup of the old version during installation.
Restart: Restart your PC after the installation is complete.
Method 2: Clean Reinstallation via Device Manager
If the display issue persists, a complete removal and reinstallation of the existing driver package is necessary to eliminate corrupted files.
Press Windows Key + X and select "Device Manager".
Expand the "Display adapters" category.
Right-click on your Intel Graphics adapter and select "Uninstall device".

Crucially, check the box that says "Attempt to remove the driver software for this device".
Restart your PC. Windows will automatically detect the hardware and reinstall a fresh, default driver. You can then use Method in Part I to install the latest official driver on top of this clean base.
Part III: Power and Configuration Fixes
These steps address settings issues in Windows that can throttle graphics performance or cause lag.
Method 1: Adjust Power Plan Settings for Performance
When the power plan is set to "Power saver" or "Balanced", Windows often throttles the integrated GPU speed, leading to lag during video playback or graphical tasks.
Press Windows Key + R and type "powercfg.cpl".
Select the "High performance" or "Ultimate Performance" power plan.

If you are on a laptop, ensure this High Performance setting is active for both the "Plugged in" and "On battery" modes.
Method 2: Configure Windows Graphics Settings
Windows allows you to explicitly tell the system which graphics preference to use for specific applications.
Press Windows Key + I to open Settings.
Go to "System" > "Display" > "Graphics settings".

Click "Browse" and select the executable file of the application experiencing lag (e.g., a video editor or game).
Click "Options" and set the preference to "High performance" (even if it's the only GPU available, this prioritizes it over other system processes).
Conclusion
Resolving display issues, video lag, and application crashes caused by Intel Integrated Graphics is directly tied to driver quality. The most reliable strategy for sustained performance is to first ensure system-wide driver synchronization and stability with Driver Talent X.
By combining this foundational fix with using the Intel Driver & Support Assistant and ensuring your Power Plan settings are optimized for performance, you guarantee a smooth, reliable, and lag-free visual experience.
