Need to download and install the Brother MFC-7860DW driver for Windows 10 or 11? This guide covers 3 methods — downloading the Full Driver & Software Package from Brother's official site, using Driver Talent X for automatic detection and installation, and updating via Device Manager — to quickly restore printing, scanning, and faxing functionality.
Preparation for Download
Before downloading, ensure the following:
Your operating system is Windows 10 or Windows 11 (32-bit or 64-bit).
Your computer is connected to the Brother 7860DW via USB or wireless network.

You have administrator privileges to install the driver.
Download Brother 7860DW Drivers
Method 1: Download from Brother Official Website
Brother's official website provides the latest drivers for various operating systems, including Windows 10, Windows 11, and Windows 8.1.
Open your browser and visit the Brother official driver download page.
Select your language and click on "Printers".
Go to "Support" > "Drivers & Downloads".
Enter "MFC-7860DW" in the search box and click "Search".
Select your operating system (e.g., Windows 10 or Windows 11 32-bit/64-bit) and click "OK".

In the list of drivers, find the "Full Driver & Software Package" or individual drivers and download them.
Save the installation file to your local computer.
Method 2: Use Driver Management Software
It's recommend to use Driver Talent X, a smart tool that automatically detects, downloads, and installs the correct driver for your device.
Click the Download button to get the latest version of Driver Talent X. Install and launch the software.
Under the "Drivers" tab, click "Scan" to detect the driver status on your PC.
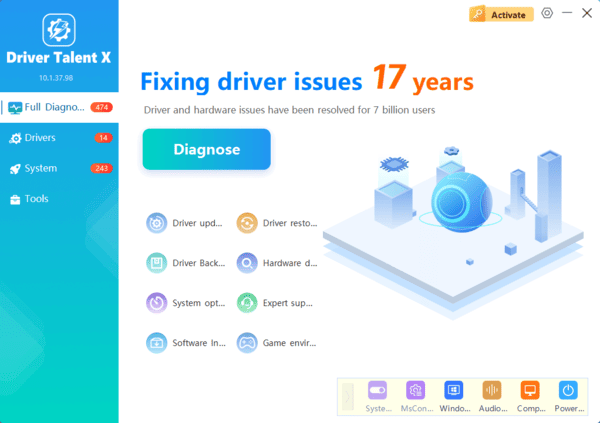
Once the printer driver is listed, click "Upgrade" to install the latest version.
Restart your PC to apply changes.
Method 3: Update via Device Manager
Connect your printer to the computer.
Open Device Manager.
Find "Print queues" > "Brother MFC-7860DW".
Right-click the device and choose "Update driver".
Select "Search automatically for drivers".

Driver Installation Steps
Double-click the downloaded driver file to begin installation.
Choose your language and region, then click "Next".
Select the connection method: USB or wireless network.
The installer will automatically detect your device and complete configuration.
Once done, restart your PC to ensure the driver is fully activated.
Frequently Asked Questions (FAQ)
Q1: What if the driver won't install?
Uninstall old drivers, try compatibility mode, and disable antivirus before reinstalling.
Q2: Printer not found on Windows 11?
Use the latest Brother Universal Driver and add the printer manually.
Q3: How to set up wireless printing?
Choose Network Connection during setup and enter your Wi-Fi info to complete it.
Installing the correct driver is essential for ensuring your Brother MFC-7860DW works properly on Windows 10 or 11.
Follow the steps above to quickly restore printing and scanning functions. If problems persist, visit Brother's support page for further technical assistance.
