A dual monitor setup with a Dell laptop and docking station is an excellent way to improve productivity, expand your workspace, and make multitasking more convenient. Whether you are managing multiple applications, working with large documents, or enjoying entertainment content, an extended display setup provides a more efficient workflow. However, issues such as monitors not being detected, screen flickering, incorrect resolution, or no signal errors can occur if the docking station, cables, or drivers are not configured properly. This guide will walk you through how to connect dual monitors to a Dell laptop using a docking station, configure Windows display settings, and update the necessary drivers to ensure a smooth and stable multi-monitor experience.
Connecting the Docking Station to Your Laptop
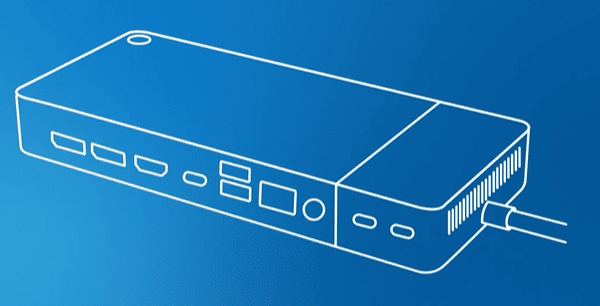
Connect the Docking Station: Plug the docking station into your laptop using a USB-C or Thunderbolt cable. Ensure that the connection is secure and the docking station powers up (indicated by a light or other indicators)
Power Connection: Some docking stations, like the Dell WD19S, require an external power supply. Make sure the docking station is plugged into a power source
Connecting the Monitors
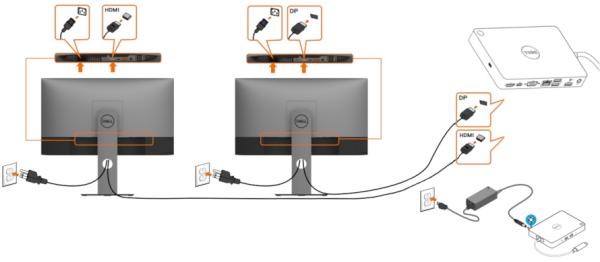
HDMI or DisplayPort: Depending on your docking station, you can use either HDMI or DisplayPort cables. Plug one end of the cable into the docking station and the other into the monitor
USB-C (if supported): Some monitors and docking stations support USB-C connections. If your monitors have USB-C inputs, you can connect them directly to the docking station using USB-C cables
Configuring the Display Settings in Windows
Automatic Detection: Windows should automatically detect the connected monitors. If not, users can manually trigger detection
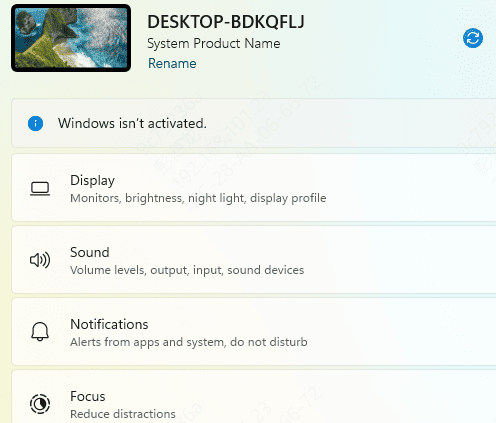
Right-click on the desktop and select Display Settings
Scroll down and click Detect under the Multiple Displays section. Windows will search for the connected monitors
Extend Displays: This mode extends your desktop across both monitors, allowing you to use each monitor as if it's part of one large screen
Duplicate Displays: This mode mirrors the same image on both monitors
Set Primary and Secondary Monitors: In the Multiple Displays dropdown, you can designate which monitor will be the primary display (where your taskbar and start menu appear)
Adjusting Resolution and Orientation
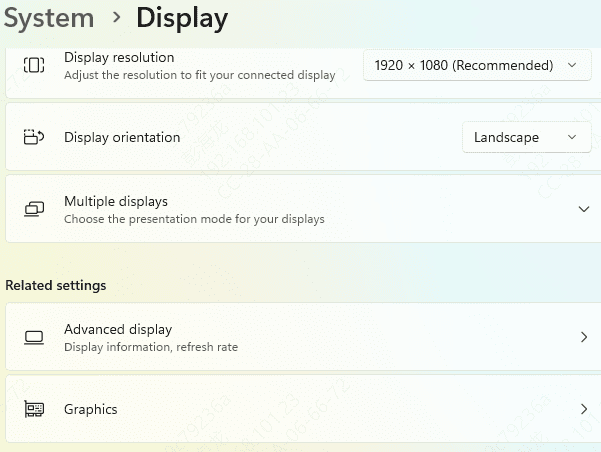
Resolution: In the Display Settings menu, adjust the Resolution for each monitor for optimal clarity. Most monitors work best with their native resolution (e.g., 1920x1080 for Full HD monitors)
Orientation: You can choose between Landscape or Portrait mode depending on your monitor setup
Check Driver
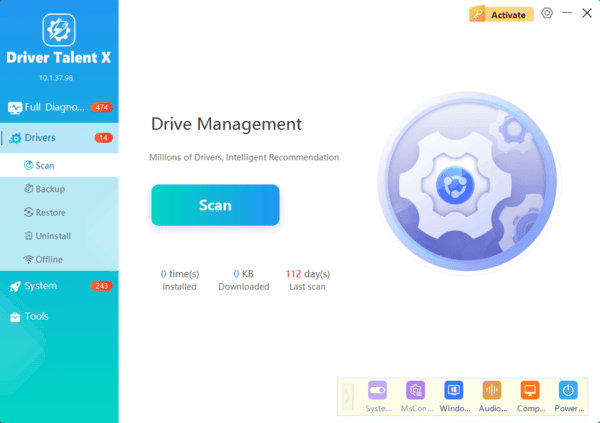
When setting up a dual monitor configuration with a Dell docking station, outdated drivers can often cause display detection issues. To ensure that your monitors are correctly recognized and to avoid display problems such as flickering, no signal, or resolution issues, it's crucial to keep your docking station drivers, graphics drivers, USB-C controller drivers, and firmware up to date. Updating your drivers ensures that your Dell laptop fully supports dual external displays and enables smooth, uninterrupted performance.
Conclusion
Setting up a dual monitor configuration with a Dell laptop and docking station is a straightforward process that can significantly boost productivity. By following this guide, users can easily connect multiple monitors, configure them in Windows, and resolve any issues they may encounter. With regular maintenance, such as driver updates and proper cable management, users can ensure their dual monitor setup remains stable and efficient for work, entertainment, or any other tasks.