Epson printer driver problems can prevent Windows from detecting your printer, cause printing errors, or disable important features like scanning. These issues often appear after Windows updates, system reinstallations, or corrupted driver installations. This guide explains how to download and install the correct Epson printer driver, remove old drivers, fix detection problems, and use automatic driver tools to restore smooth printing performance.
Method 1: Official Support Website
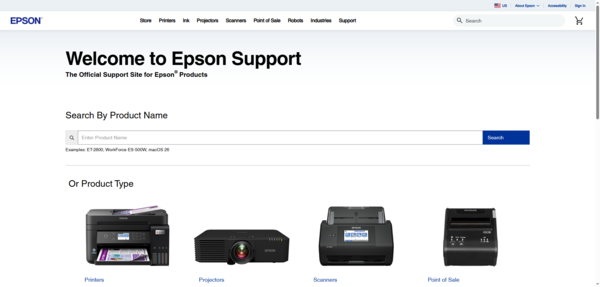
Go to Epson's official support site and enter the full printer model number in the search field
Select the correct product from the results and choose the operating system — Windows 10 64-bit or Windows 11 64-bit for most current systems
Download the package to the desktop and proceed to the installation steps
Method 2: Automatic Detection with Driver Talent X
When the Epson model number is unclear, the support site download fails or produces an installation error, or the printer disappeared from Windows after a Windows Update, Driver Talent X detects the Epson printer by hardware ID and installs the correct matched driver without requiring manual model identification.、
If the printer has a USB cable, connect it to the PC. Download and install Driver Talent X. Open Driver Talent X and go to the Drivers tab. Click Diagnose to scan all connected hardware
Find the Epson printer entry in the scan results. Click Full Repair to install the correct driver. Restart the PC and test printing
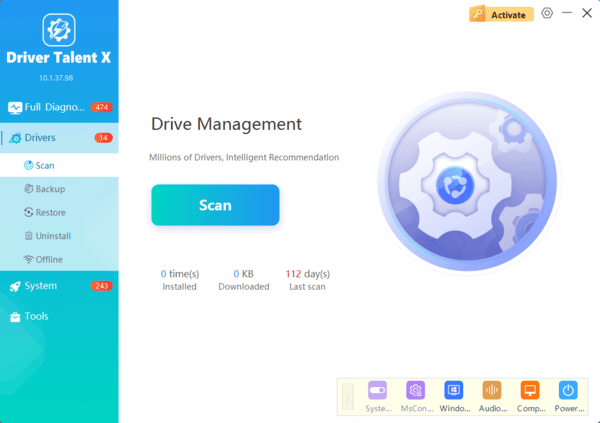
This method is particularly effective when multiple Epson driver components are broken simultaneously — the scan identifies all affected entries rather than requiring each component to be addressed separately.
Clean Installation Steps
Begin by removing all existing Epson software. Go to Settings, then Apps, and search for "Epson." Uninstall every Epson-related entry — printer driver, Epson Scan, Epson Connect, Epson Software Updater, and any other Epson components listed
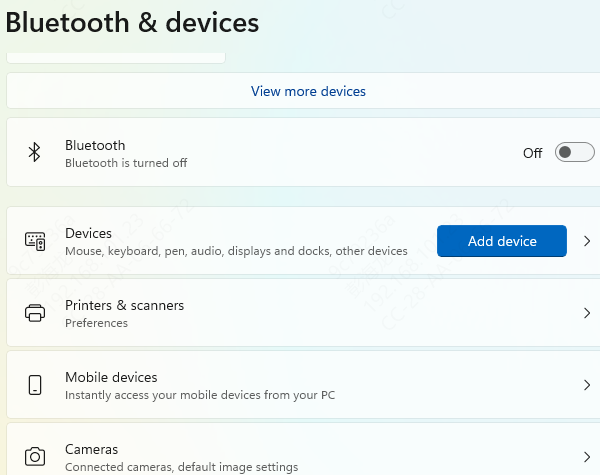
Go to Settings, then Devices, then Printers and scanners. Select the Epson printer and remove it. Restart the PC
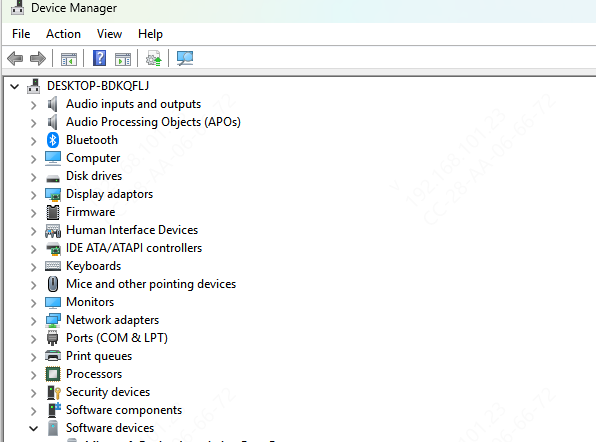
After the restart, open Device Manager by pressing Win + X. Expand Printers. If the Epson printer still appears in the list, right-click it, select Uninstall device, and check "Delete the driver software for this device" if the option is available
Set Up the Epson Printer in Windows
After installation, confirm Windows recognizes the printer. Go to Settings, then Devices, then Printers and scanners. The Epson printer should appear in the list. If it doesn't appear within a minute of completing installation, click Add a printer or scanner and wait for Windows to detect it
Click the Epson printer, select Manage, and click Print a test page. A successful test page confirms the driver is installed correctly and the connection is active. If the printer is the primary printer on the system, click Set as default printer in the same menu
Fix: Epson Printer Not Detected After Driver Install
For USB connections, try a different USB cable and a different USB port on the PC. Epson printers require a data-capable USB cable rather than a charging-only cable, and the difference is not always obvious visually. Also connect directly to a USB port on the PC rather than through a hub
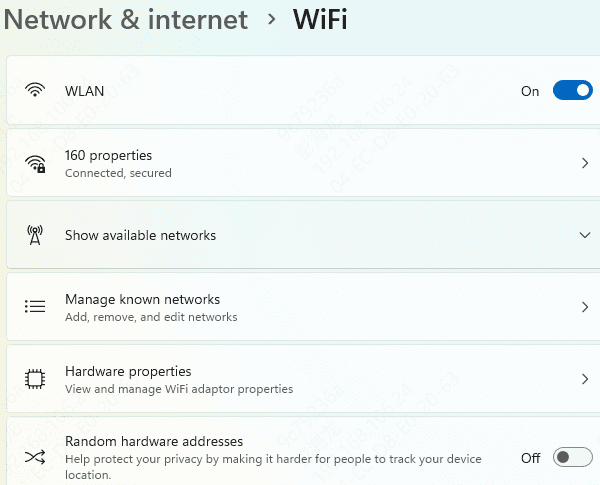
For WiFi connections, confirm the printer and the PC are on the same network. Print a network status sheet from the printer's control panel menu — it shows the current IP address and the network name the printer is connected to. If the network name doesn't match the PC's network, run the wireless setup wizard from the printer's menu to reconnect
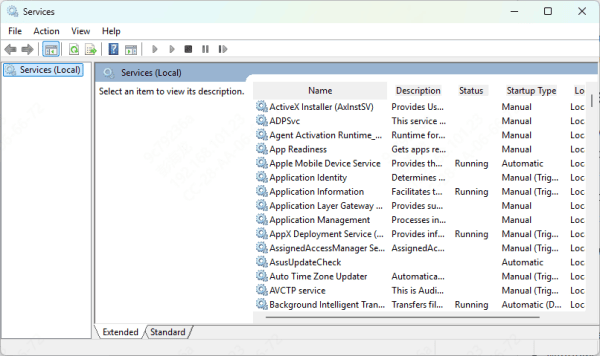
Restart the Print Spooler service if the printer appears in Windows but won't print. Press Win + R, type services.msc, press Enter, find Print Spooler, right-click it, and select Restart. After restarting the service, attempt printing again
Conclusion
Downloading the correct Epson driver requires the exact model number and the correct Windows version. The Full Feature Driver and Software Package from Epson's official support site installs all required components for printing and scanning in a single process. For cases where the manual download and installation fail, Driver Talent X detects the printer by hardware ID and installs the correct driver automatically. After installation, confirm the printer appears in Windows Printers and scanners, print a test page, and assign a static IP for WiFi-connected printers to prevent recurring offline status.