Mouse acting erratically on Windows 11? This guide covers 3 methods to uninstall and reinstall mouse drivers — using Driver Talent X for automatic driver repair, Device Manager for a quick clean reinstall, and advanced command-line cleanup to remove hidden or conflicting driver packages — to restore smooth cursor control.
Why You Need to Uninstall Mouse Drivers
Drivers are pieces of software that allow your Windows 11 operating system to communicate with your mouse hardware. Over time, these drivers can become corrupted due to:
Failed Windows Updates: An update didn't finish correctly, corrupting the associated mouse driver files.
Software Conflicts: Third-party applications or other peripheral drivers interfere with the mouse driver.
Driver Errors: A faulty driver installation or a manufacturer-supplied driver that is incompatible with the latest Windows 11 build.
Uninstalling the driver forces Windows to either load a clean, generic replacement or prompts the system to find the correct, stable version.
Using Device Manager
This is the standard and most reliable method. When you uninstall a driver this way, Windows automatically reinstalls a fresh, default version upon reboot.
Open Device Manager:
Right-click the Start button (the Windows logo) or press Windows Key + X.
Select "Device Manager" from the menu.
Uninstall the Device:
In the Device Manager window, expand the category labeled "Mice and other pointing devices".
Right-click on your mouse device (it will often be labeled "HID-compliant mouse" or include your specific brand name, e.g., "Logitech", "Razer").
Select "Uninstall device".

Confirm Removal (Crucial Step):
A confirmation box will appear. If available, check the box that says "Attempt to remove the driver software for this device".
Click "Uninstall" to proceed.
Restart Your PC:
Restart your Windows 11 computer immediately.
As your PC reboots, Windows will automatically detect the mouse hardware and reinstall the necessary default driver. Test your mouse once you reach the desktop.
Uninstalling Hidden or Old Drivers
Sometimes, unplugging and uninstalling a driver isn't enough because Windows keeps a record of older, unused drivers that can still cause conflicts. This method uses a command to permanently clean up your system.
1. Open Terminal as Administrator:
Right-click the Start button and select "Terminal (Admin)".
2. Display Hidden Devices (Optional but Recommended):
In the Device Manager (from Method 2), click the "View" menu and select "Show hidden devices". This allows you to see drivers for devices that are not currently connected, which you can then manually uninstall.

3. List All Drivers with Command Prompt:
In the Terminal window, run the following command to list all third-party drivers installed on your system: pnputil /enum-drivers
4. Identify and Delete the Driver:
Review the list for a driver package associated with your mouse (look for the name of the manufacturer or device). Note the driver's Published Name (e.g., oemXX.inf).
To permanently delete the specific driver package from your system (replace oemXX.inf with the correct name you found): pnputil /delete-driver oemXX.inf /uninstall
5. Reboot and Reinstall:
Restart your computer. When you plug in your mouse, Windows will detect it as new hardware and install the latest available driver, free from old conflicts.
Automatic Driver Management (Driver Talent X)
If your mouse is a high-end model or a specific brand with complex drivers (like gaming mouce), relying solely on the Windows default driver may not restore full functionality. A specialized tool can ensure you get the perfect, updated manufacturer driver.
Driver Talent X is a tool that automates the process of finding, downloading, and installing the precise drivers for your hardware, guaranteeing optimal performance.
Download and Install:
Click the "Download" button to download the software package.
Install it on your computer.
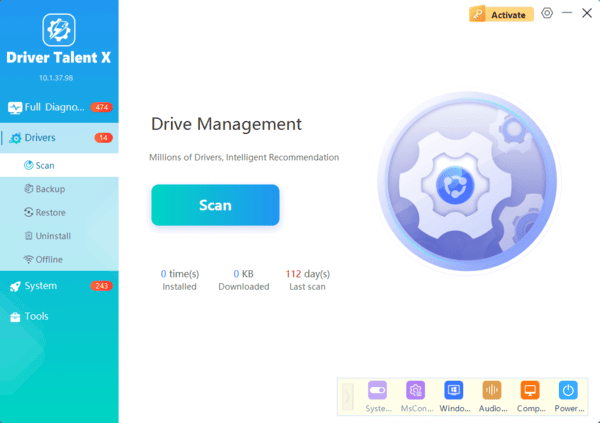
Run the Scan:
Launch the program and go to "Drivers" > "Scan", click "Scan".
The tool will analyze all your hardware, including the mouse, and check for missing, outdated, or corrupted drivers.
Complete Update:
After the scan is complete, the software will display a list of all drivers that need attention. In the scan results, click the "Repair Now" button.
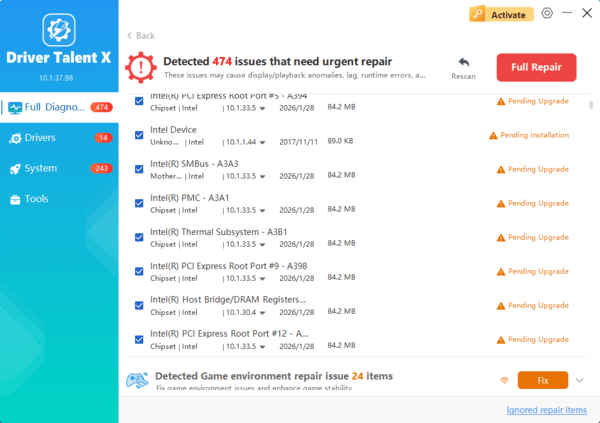
Driver Talent X will download the latest, correct, and certified driver version from its database.
Install and Reboot:
The application will install the new driver. Once complete, perform a system restart to finalize the installation and apply the changes.
Conclusion
Mouse issues on Windows 11 are almost always resolved by addressing the underlying driver software. If you suspect an issue with a complex or specialized driver, using Driver Talent X ensures you get the exact, fully functional driver required.
For persistent issues, manually clearing out old, hidden driver packages provides a deep, comprehensive cleanup. With these steps, you can restore smooth and accurate cursor control to your Windows 11 system.
