Learn how to replace ink cartridges in your HP DeskJet 2700 the right way. This guide covers updating printer drivers with Driver Talent X, step-by-step cartridge installation, and fixes for common post-replacement errors like "cartridge not recognized" — so your HP printer works smoothly after every cartridge change.
Step-by-Step Cartridge Replacement
Always use genuine HP cartridges to ensure the best print quality and reliable recognition. The HP DeskJet 2700 typically uses one black and one tri-color (Cyan, Magenta, Yellow) cartridge.
Replacing the Ink Cartridges Correctly
1). Power On: Ensure the HP DeskJet 2700 printer is powered on.
2). Access Cartridges: Lift the outer access door (the scanner lid and top cover) until it locks into place. The print carriage will automatically move to the center of the printer. Wait until the carriage is silent and idle.
3). Remove Old Cartridge:
Gently push down on the old cartridge you wish to replace (Black is on the right, Tri-Color is on the left).
Pull the cartridge out of its slot toward you.

4). Prepare New Cartridge:
Remove the new cartridge from its packaging.

Crucially: Only remove the plastic tape that covers the copper-colored electrical contacts. Do NOT touch the copper contacts or the ink nozzles.
5). Insert New Cartridge:
Hold the cartridge with the HP logo facing up.
Slide the cartridge into its correct slot until it clicks firmly into place.
6). Close Door: Gently close the outer access door.
7). Alignment: The printer may automatically print an alignment page. Follow any on-screen instructions from your computer or the printer's control panel to complete the alignment process, which is necessary for clear prints.
Post-Replacement Troubleshooting
If you encounter an "empty" or "not recognized" error even after installing a new cartridge, try these steps.
Method 1: Reset the Printer (Power Cycle)
A simple power cycle can force the printer to re-read the cartridge contacts.
Printer On: Ensure the printer is turned ON.
Unplug: Disconnect the power cord from the rear of the printer.
Unplug Wall: Disconnect the power cord from the wall outlet.
Wait: Wait for at least 60 seconds.
Reconnect: Plug the power cord back into the wall outlet, and then reconnect it to the rear of the printer. The printer will power up automatically.
Method 2: Clean Cartridge Contacts
Dust or a slight residue on the cartridge's electrical contacts can prevent recognition.
Remove Cartridge: Open the access door and remove the problematic cartridge.
Clean Contacts: Use a lint-free cloth (like a coffee filter or microfiber cloth) slightly dampened with distilled water.

Wipe Gently: Gently wipe the copper-colored electrical contacts on the cartridge and the corresponding contacts inside the carriage slot.
Dry and Reinsert: Wait for the contacts to dry completely, then reinsert the cartridge until it clicks into place.
Automated Driver Update with Driver Talent X
Driver update ensures your computer and the printer firmware are synchronized, preventing cartridge recognition errors.

Download and Install:
Click the "Download" button to download the software package.
Install it onto the computer connected to your HP DeskJet 2700.
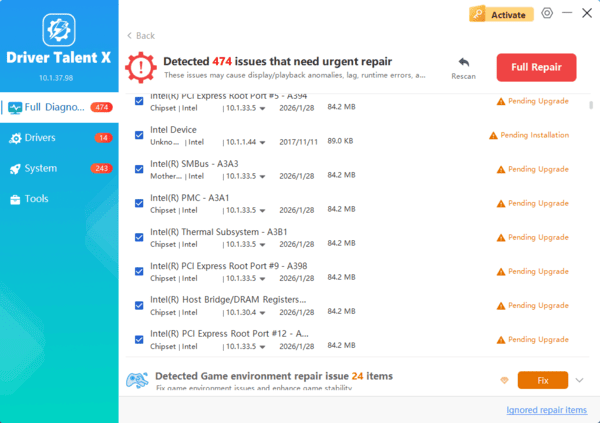
Run Scan:
Launch the application and go to "Drivers" > "Scan", click "Scan".
The software will perform a deep analysis, checking all hardware, including your HP printer and associated USB/Network components.
Install the Update:
After the scan is complete, the software will display a list of all drivers that need attention.
Select the necessary HP printer drivers and click the "Upgrade" or "Repair Now" button. Driver Talent X will download the latest, certified versions.
Restart Your PC:
After the installation is complete, restart your computer. Proceed to the cartridge replacement steps below.
Conclusion
Successfully replacing the ink cartridges in your HP DeskJet 2700 involves more than just swapping plastic. By starting with a preliminary driver update using Driver Talent X, you ensure the necessary firmware is ready to recognize the new supplies.
When combined with the careful, correct physical replacement steps and post-installation troubleshooting, you can avoid frustrating errors and maintain high-quality printing from your HP device.
