Installing a new ink cartridge in your HP printer may seem straightforward, but it often goes hand-in-hand with ensuring that your printer drivers are up to date.
Outdated or missing drivers can cause your printer to malfunction, fail to recognize the new cartridge, or produce poor print quality.
In this guide, we'll show you how to install HP printer ink cartridges easily and update your HP printer drivers using Driver Talent X, step by step.
Why Updating HP Printer Drivers Matters?
Printer drivers are software that allow your computer to communicate with your HP printer. If the drivers are outdated or corrupted, you may encounter issues such as:
Printer not recognized by Windows
Print jobs stuck in the queue
Errors while installing new cartridges
Poor print quality or incomplete prints
Keeping your HP printer drivers updated ensures that your device runs smoothly, your ink cartridges are recognized immediately, and printing performance is optimal.
Step 1: Prepare Your Printer and Ink Cartridge
Make sure your HP printer is turned on and properly connected to your PC via USB or Wi-Fi.

Remove the old ink cartridge following the manufacturer's instructions.
Unpack the new HP ink cartridge and remove any protective tape.
Insert the cartridge carefully into the designated slot.
Close the printer cover.
Tip: Some HP printers automatically start a calibration process when a new cartridge is installed. Wait until the process finishes before printing.
Step 2: Update HP Printer Drivers Using Driver Talent X
Updating drivers ensures that your printer communicates correctly with Windows and recognizes the new ink cartridge.
Step-by-Step Instructions:
1. Download and install Driver Talent X by clicking the "Download" button.
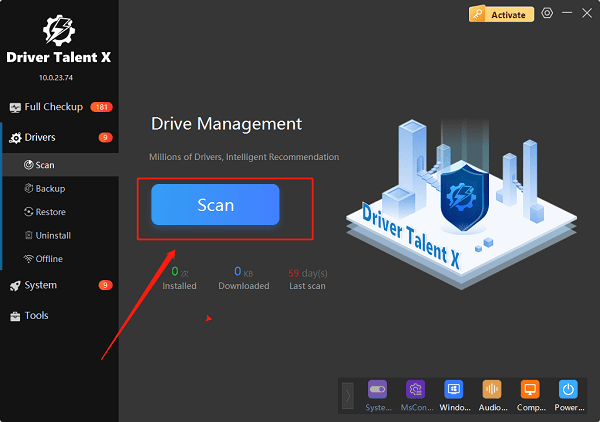
2. Launch the software and click the "Scan" button.

The tool will detect all outdated, missing, or corrupted drivers on your PC, including your HP printer driver.
3. Locate the HP printer driver in the scan results.
4. Click "Upgrade" next to the printer driver.
5. Wait for Driver Talent X to download and install the latest driver automatically.
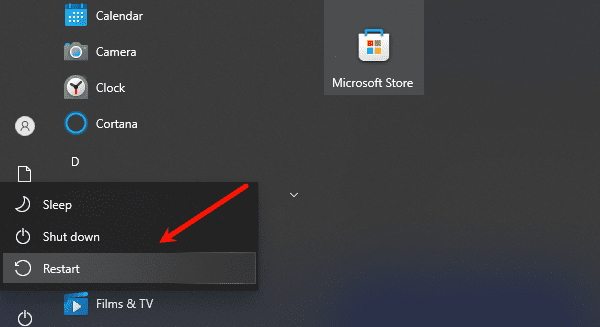
6. Once the update is complete, restart your PC to ensure changes take effect.

7. Print a test page to confirm that your printer and new ink cartridge are working properly.
Advantages of using Driver Talent X:
Automatically identifies the correct driver version for your HP printer
Avoids downloading the wrong driver from third-party sites
Fixes corrupted or missing drivers quickly
Compatible with both Windows 10 and Windows 11
Step 3: Test Your Printer
After installing the ink cartridge and updating drivers:
Open a document or image file.

Press "Ctrl + P" or select Print from the application menu.
Select your HP printer and click "Print".
Check print quality and ensure all colors appear correctly.
If issues persist, rerun Driver Talent X to make sure the driver is installed correctly.
FAQs
Q1: How do I know if my HP printer driver is outdated?
A: Signs include print failures, unrecognized printer errors, or random codes. Driver Talent X can scan and show driver status.
Q2: Do I need to uninstall the old driver before installing a new one?
A: Recommended if issues exist. Driver Talent X can automatically install the latest driver cleanly.
Q3: Will this work on Windows 10 and 11?
A: Yes. Driver Talent X supports both Windows 10 and 11 with the latest HP printer drivers.
Conclusion
Installing an HP printer ink cartridge is simple, but ensuring your drivers are up to date is crucial for optimal performance. By using Driver Talent X, you can easily scan, update, and repair your HP printer drivers without risking errors or compatibility issues.
Keep your drivers current, follow the steps above, and your HP printer will always run smoothly, giving you crisp, accurate prints every time.
