Are you experiencing Hypervisor Error 0x20001 on your Windows computer? This blue screen error may appear during startup, while running virtual machines, or even during normal computer use. In some cases, Windows freezes unexpectedly and restarts before you can identify the problem.
Fortunately, several troubleshooting methods can help identify the cause. This guide explains how to fix Hypervisor Error 0x20001 on Windows 10 and Windows 11.
What Is Hypervisor Error 0x20001?
Hypervisor Error 0x20001, also known as HYPERVISOR_ERROR, is a Windows Blue Screen of Death (BSOD) stop code.
The Windows hypervisor is a virtualization component that allows supported systems to create and manage isolated virtual environments.
It is used by technologies such as Hyper-V, Windows Subsystem for Linux 2 (WSL2), and certain virtualization-based security features.
When the hypervisor encounters a fatal error, Windows may stop operating to prevent further system instability.
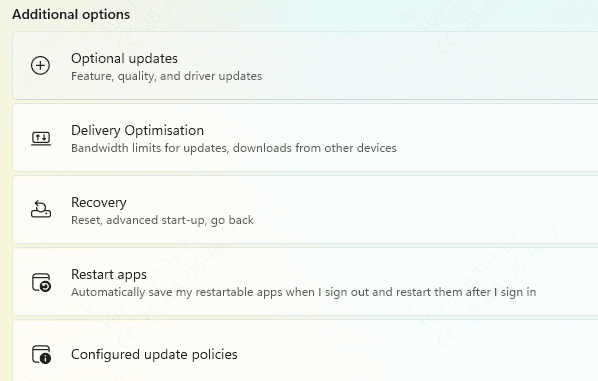
Method 1: Install Windows Updates and Check Recent Changes
Press Windows + I.
Open Windows Update.
Click Check for updates.
Install applicable updates.
Restart Windows.
Method 2: Repair Windows System Files
Run DISM
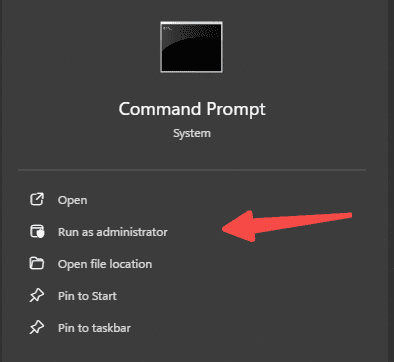
Type cmd in Windows Search.
Select Run as administrator.
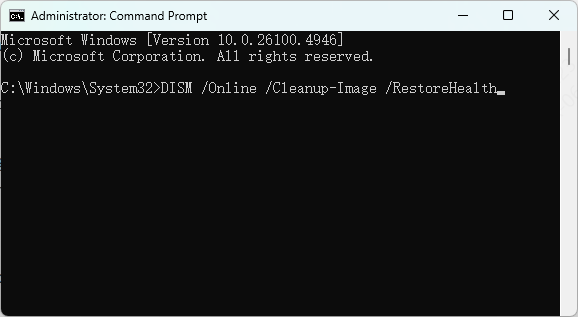
Enter the following command:
DISM /Online /Cleanup-Image /RestoreHealth
Press Enter.
Wait for the process to finish.
Run System File Checker
After DISM completes, enter:
sfc /scannow
Wait for Windows to scan and repair supported system files.
Method 3: Check Hyper-V and Windows Virtualization Features
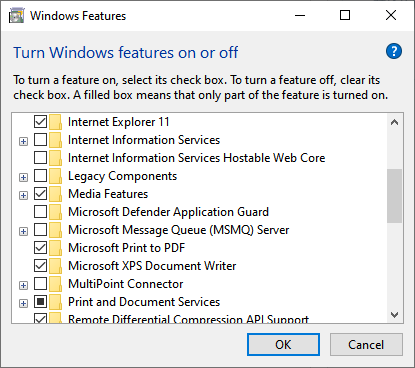
Press Windows + R.
Type optionalfeatures.
Press Enter.
Locate Hyper-V, if available.
Review Virtual Machine Platform.
Check Windows Hypervisor Platform.
Identify which features are required by your applications.
Method 4: Update Chipset and System Drivers
Outdated or incompatible drivers can contribute to system instability, especially when they interact with hardware virtualization and low-level Windows components. Chipset, storage, and other system drivers may be relevant when investigating Hypervisor Error 0x20001.
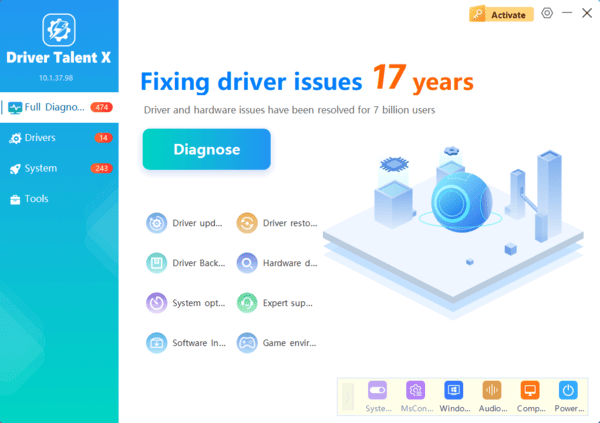
Driver Talent X is a Windows driver management utility that can identify supported missing, outdated, or problematic drivers.It provides an additional way to check chipset, storage, and other relevant system driver issues.
Download Driver Talent X .
Install and launch the software.
Click Scan to examine your computer.
Review the detected chipset and system driver issues.
Install appropriate compatible updates if available.
Restart Windows.
Method 5: Review BIOS or UEFI Virtualization Settings
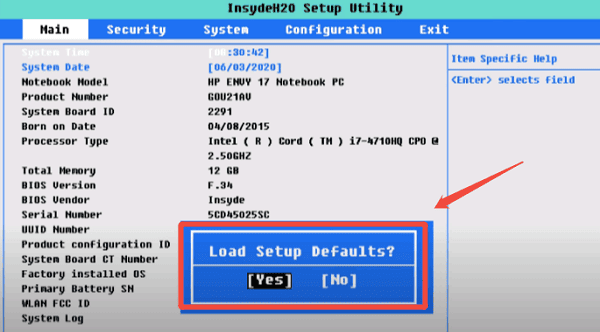
Restart your computer.
Enter BIOS or UEFI using the manufacturer's instructions.
Locate the virtualization settings.
Check Intel VT-x, AMD-V, or SVM Mode where applicable.
Confirm that the configuration matches your virtualization requirements.
Save changes only when necessary.
Method 6: Investigate Virtualization-Based Security Conflicts
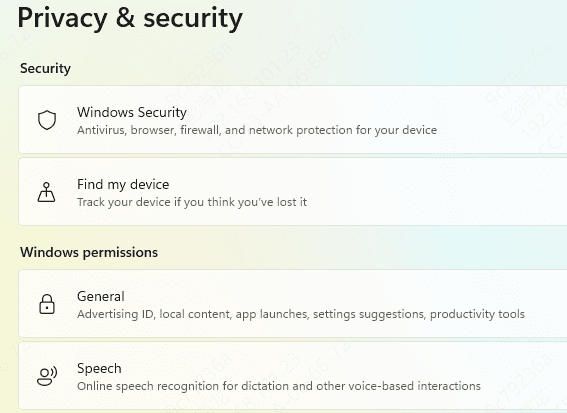
Open Windows Security.
Select Device security.
Open Core isolation details, if available.
Review the Memory integrity setting.
Method 7: Check Third-Party Virtualization Software
Close the affected virtual machine.
Restart Windows.
Check for updates to the virtualization application.
Review its compatibility with your Windows version.
Confirm that the required virtualization features are configured correctly.
Launch the virtual machine again.
Method 8: Test RAM
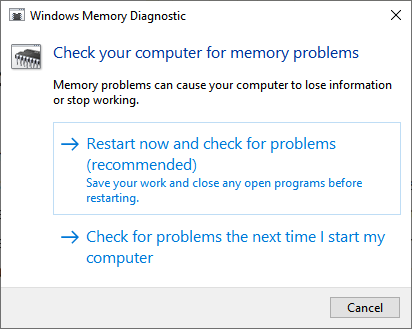
Press Windows + R.
Type mdsched.exe.
Press Enter.
Select Restart now and check for problems.
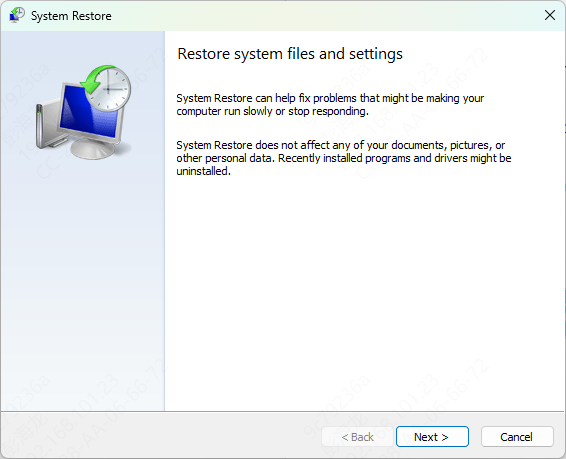
Method 9: Use System Restore
Press Windows + R.
Type rstrui.exe.
Press Enter.
Select an available restore point.
Review the affected programs.
Follow the instructions.
Method 10: Analyze Hypervisor Error Crash Logs
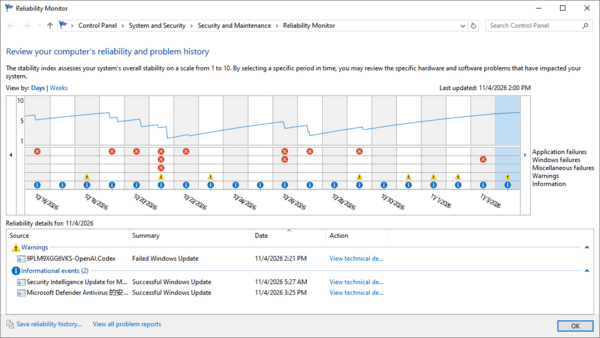
Press Windows + R.
Type perfmon /rel.
Press Enter.
Review recent critical events.
Look for failures that occurred around the time of the blue screen.
Review Event Viewer
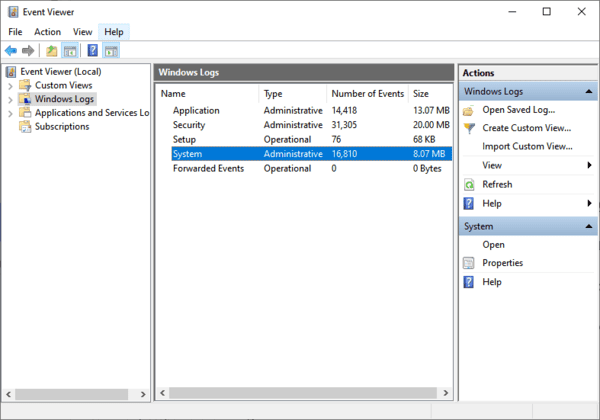
Open Event Viewer and navigate to Windows Logs > System.
Look for relevant BugCheck events, driver errors, or hardware-related warnings.
A Kernel-Power event may indicate that Windows restarted unexpectedly, but it does not identify the exact cause.
Analyze Memory Dump Files
Windows may save crash dump files in locations such as:
C:\Windows\Minidump
Advanced users can inspect supported dump files using Microsoft WinDbg.
The !analyze -v command can provide additional debugging information.
However, crash dump interpretation requires care because a reported component is not always the underlying cause.
Following these troubleshooting methods can help narrow down the cause and restore system stability on Windows 10 and Windows 11