Updating your Intel Chipset Driver is one of the most effective ways to improve your PC’s performance, stability, and compatibility with the latest software updates. The chipset driver plays a critical role in managing communication between the CPU, memory, and other system components. This guide will walk you through the different methods to safely update your Intel Chipset Driver on Windows 11, helping ensure your system runs smoothly and efficiently.
Method 1: Update Intel Chipset Driver via Windows Update
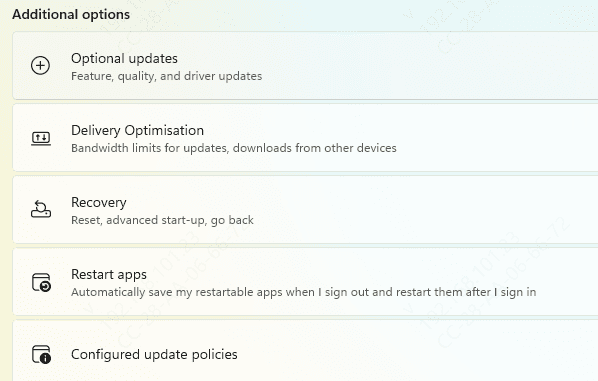
Open Settings (press Windows + I)
Navigate to Update & Security > Windows Update
Click on Check for Updates
If an Intel Chipset driver update is available, Windows will automatically download and install it
Method 2: Use Driver Talent X Automated Driver Updates
If you want a faster, automated solution to keep your Intel Chipset driver updated, Driver Talent X is an excellent choice. This tool simplifies the process, eliminating the need for manual searches or installations and ensures you always have the latest driver versions for optimal performance.
Steps to Use Driver Talent X
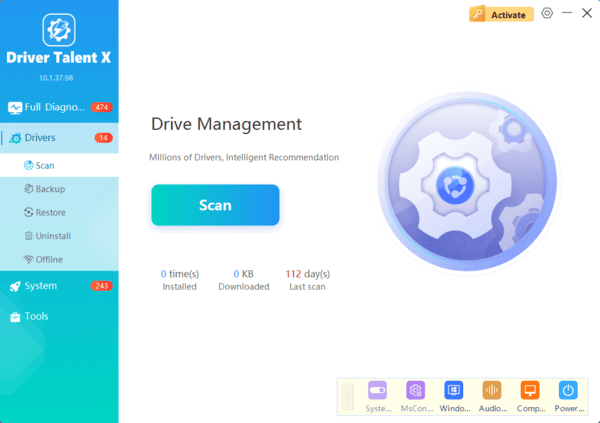
Download and Install: Download Driver Talent X from the official website and follow the installation instructions
Diagnose: Open Driver Talent X and click on Diagnose to automatically detect outdated Intel Chipset drivers
Download and Install: Once the scan is complete, click on Full Repair to download and install the correct drivers
Restart Your PC: After the installation, restart your computer to apply the updated drivers
Method 3: Manually Download Intel Chipset Drivers from Intel's Website
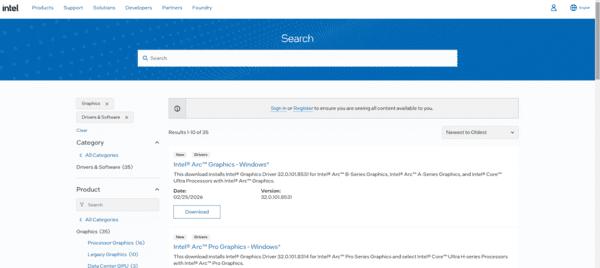
If you want more control over the process, you can manually download the latest drivers directly from Intel's official website.
Visit the Intel Download Center and search for your Intel Chipset driver
Select the correct version based on your operating system (e.g., Windows 11)
Download the driver and run the installer
Follow the on-screen prompts to complete the installation
Restart your computer after installation
Method 4: Update Intel Chipset Driver via Device Manager
If you prefer not to download any additional software, Windows Device Manager provides an easy way to update drivers directly from your computer.
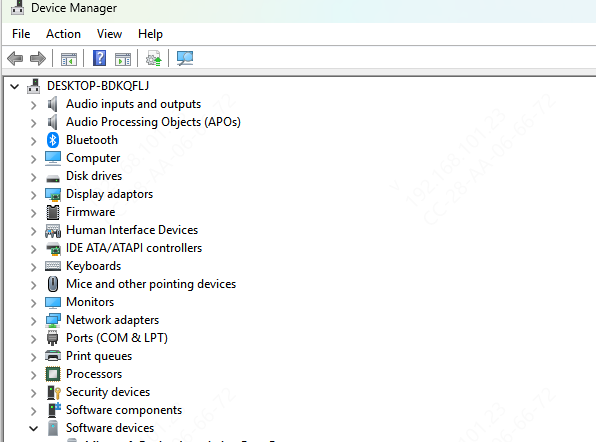
Right-click on Start and select Device Manager
Expand the System Devices section
Right-click on your Intel Chipset driver and select Update Driver
Choose Search automatically for updated driver software
If a newer driver is found, Windows will install it automatically
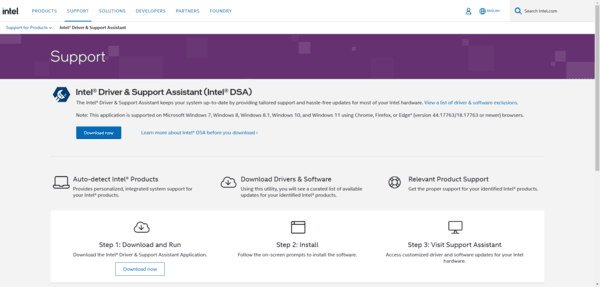
Method 5: Use Intel Driver & Support Assistant (DSA)
Visit the Intel Download Center and download the Intel Driver & Support Assistant
Install the tool and run it on your PC
The tool will scan your system for outdated or missing drivers
Conclusion
Keeping your Intel Chipset Driver updated is vital for ensuring smooth, stable, and optimal performance on your Windows 11 PC. Whether you update using Windows Update, Intel Driver & Support Assistant, Device Manager, or Driver Talent X, keeping your drivers current will ensure that your system runs at its best. By following these methods, you'll maintain your system's stability and get the most out of your Intel-powered device.
