Learn what Intel Chipset Device Software is and why it matters for system stability. This guide covers how to update Intel chipset drivers using Driver Talent X, install them manually from Intel's official site or your motherboard manufacturer, and fix common issues like USB disconnects, unknown devices, and slow performance.
What Is Intel Chipset Device Software?
Intel Chipset Device Software is a collection of INF files that tell Windows how to properly identify and configure the motherboard chipset components. It does not install traditional drivers but ensures Windows assigns the correct resources and names to devices such as:
PCI Express controllers
USB controllers
SATA and storage controllers
System timers and bridges
Without these INF files, Windows may use generic configurations that limit performance or cause hardware features to malfunction.
Why Intel Chipset Device Software Is Important?
Installing or updating Intel Chipset Device Software provides several benefits:
Ensures proper hardware recognition in Device Manager
Improves system stability and boot reliability
Reduces hardware conflicts and error messages
Enhances performance for storage, USB, and PCIe devices
Supports newer CPUs and motherboard features
This software is especially important after installing Windows, upgrading Windows versions, or replacing a motherboard.
How to Install Intel Chipset Device Software Manually
If you prefer a manual approach, you can install the chipset software directly from Intel.
Method 1: Download from Intel Official Website
Visit Intel's official support website.
Enter your motherboard chipset or CPU model.

Select your Windows version (Windows 10 or Windows 11).
Download the latest Intel Chipset Device Software.
Run the installer as administrator.
Follow the installation prompts.
Restart your computer after installation.
Method 2: Install via Motherboard Manufacturer Website
Visit your motherboard manufacturer's support page (ASUS, MSI, Gigabyte, ASRock, etc.).
Enter your exact motherboard model.

Navigate to the "Drivers" or "Support" section.
Download the chipset driver package for your OS.
Install the driver and reboot your system.
Manufacturer-provided drivers may include additional optimizations specific to your board.
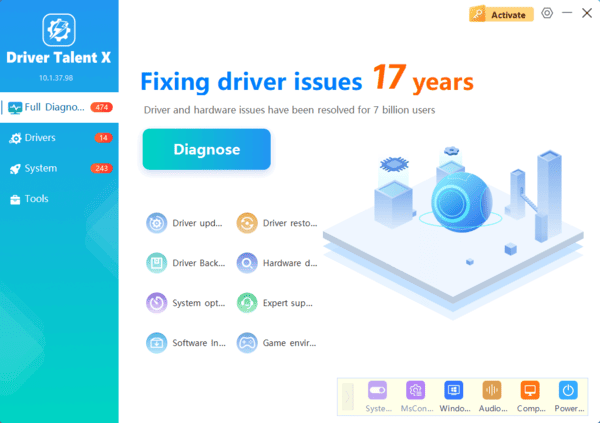
Update Intel Chipset Drivers with Driver Talent X
Outdated or incorrect chipset drivers are one of the most common causes of system instability on Intel-based PCs. Using Driver Talent X helps ensure you install the most compatible and stable chipset drivers for your specific hardware and Windows version.

Download and Install:
Click the "Download" button to download the installer to your computer.
Run the installer, follow the on-screen instructions, choose the installation path, and complete the setup.
Scan for Driver Issues:
Open Driver Talent X from the desktop shortcut or Start menu and go to "Drivers" > "Scan", click "Scan".
Driver Talent X will detect outdated, missing, corrupted, or incompatible drivers, including Intel graphics, chipset, WiFi, Bluetooth, and audio drivers.
Update All Drivers:
Wait for the scan to complete. The tool will automatically detect outdated, missing, corrupted, or incompatible drivers.
Select the necessary drivers and click the "Upgrade" or "Repair Now" button.
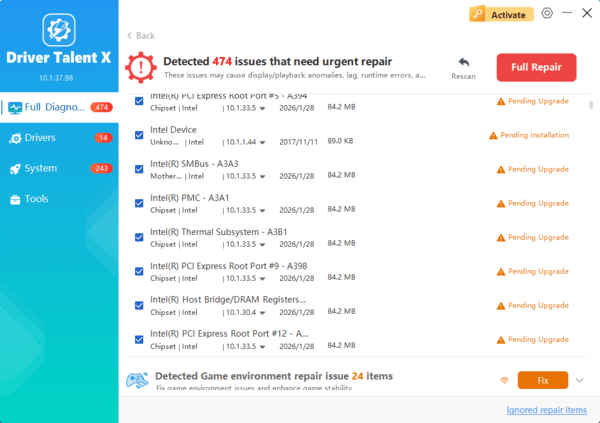
Driver Talent X will download the correct driver version for your motherboard and operating system.
Restart Your Computer:
Follow the on-screen instructions to complete the installation.
Restart your computer to apply the changes.
Updating chipset drivers at the beginning helps prevent conflicts with graphics drivers, network adapters, USB controllers, and other critical system components.
Common Issues Caused by Missing or Outdated Chipset Drivers
USB ports randomly disconnecting
Storage devices not detected properly
Slow system performance or stuttering
Errors in Device Manager with unknown devices
Problems installing graphics or network drivers
How to Check If Your Chipset Driver Is Installed Correctly?
Press Windows + X and select Device Manager.
Expand the "System devices" section.
Look for Intel chipset-related entries such as Intel PCI Express Root Port or Intel SMBus Controller.
Right-click a device, select "Properties", and check the driver provider and version.

If devices show generic names or warning icons, a chipset update is recommended.
Best Practices for Chipset Driver Updates
Always update chipset drivers before installing GPU or network drivers.
Avoid using unofficial or modified driver packages.
Restart your system after every chipset update.
Use a trusted driver tool like Driver Talent X to reduce installation risks.
Conclusion
Intel Chipset Device Software is essential for proper hardware communication and system stability on Intel-based PCs. Keeping it updated ensures Windows recognizes your motherboard correctly and allows other drivers to function as intended.
For the safest and most efficient results, updating your chipset drivers with Driver Talent X should be your first step before troubleshooting performance issues or installing additional drivers.
