ASUS PC not booting or stuck in a boot loop? This guide walks you through systematic fixes — including updating system drivers with Driver Talent X, flashing BIOS via ASUS EZ Flash, clearing CMOS to reset firmware settings, and reseating RAM and GPU — to resolve ASUS boot failures and restore system stability.
BIOS Update and Configuration
If the issue is persistent and occurs before Windows even starts, the BIOS firmware itself needs attention.
Method 1: Update ASUS BIOS via EZ Flash
Updating the BIOS is the most direct solution for critical boot issues, as the update often contains stability fixes for hardware and startup sequences.
Crucial Warning: The PC must remain plugged into a stable power source throughout this entire process.
Identify Model: Go to the official ASUS Support website and enter your specific motherboard model number (e.g., ROG MAXIMUS Z790 HERO).
Download BIOS File: Download the latest BIOS file from the "Drivers & Utility" section. Unzip the file and copy the .CAP file to the root directory of a FAT32 formatted USB flash drive.

Enter BIOS: Restart your PC and repeatedly press the DEL or F2 key to enter the BIOS/UEFI screen.
Launch EZ Flash: Navigate to the "Tool" menu and select "ASUS EZ Flash 3 Utility".

Perform Update: Select the .CAP file on your USB drive and follow the prompts to begin the update. DO NOT interrupt the process.
Reconfigure: After the update, the PC will restart. Return to the BIOS and load "Optimized Defaults" (F5 key) to ensure all settings are correctly initialized.
Method 2: Clear CMOS (Reset BIOS Settings)
A corrupted or incorrectly configured BIOS setting (like a faulty overclock or memory timing) can lead to a non-booting system. Clearing the CMOS resets all BIOS settings to factory defaults.
Power Down and Unplug: Ensure the PC is completely off and unplugged from the wall.
Locate CMOS Battery: Find the small, flat silver coin-style battery (CR2032) on the motherboard.

Remove Battery: Gently remove the battery using a small non-metallic tool.
Wait: Wait for 5 minutes to ensure the CMOS memory is cleared.
Replace and Test: Reinstall the battery, plug the PC back in, and attempt to turn it on.
Driver Integrity and System Synchronization
Before updating the BIOS, which is a critical procedure, ensuring your operating system's main drivers are stable can sometimes resolve boot failures caused by conflicts during Windows startup.
Automated Driver Update with Driver Talent X
If your PC can boot into Windows or Safe Mode, using a driver utility can fix corrupted system drivers (like those for the chipset and ACPI) that may be causing startup conflicts.
Preparation (If Possible): If your PC is experiencing intermittent boot issues, boot into "Safe Mode" (search online for your Windows version's instructions for Safe Mode access).
Download and Install:
Click the "Download" button to download the software package.
Install it on your ASUS PC.
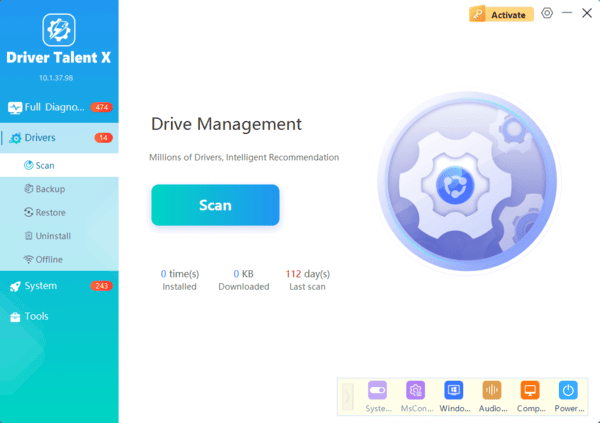
Run Scan:
Launch the application and go to "Drivers" > "Scan", click "Scan".
The software will perform a deep analysis of your system, focusing on critical power and system components.
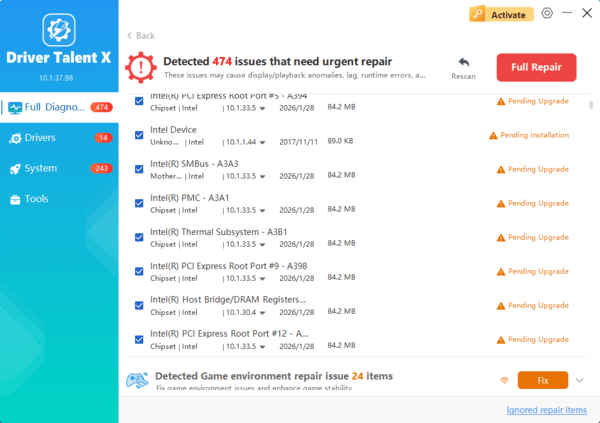
Execute Update:
After the scan is complete, the software will display a list of all drivers that need attention.
Select the necessary system drivers and click the "Upgrade" or "Repair Now" button. Driver Talent X will download the latest, certified versions specific to your ASUS motherboard.
Finalize:
After the installation is complete, restart your computer and check if the boot issue is resolved.
Hardware and Component Troubleshooting
If the system remains non-responsive, the issue may be related to a specific hardware component interfering with the boot process.
Reseat RAM and Graphics Card
Components that have shifted slightly out of their slots can prevent the system from passing the Power-On Self-Test (POST).
Power Down and Unplug: Ensure the PC is completely off and unplugged (repeat Method 2 in Part II).
RAM: Locate the RAM sticks. Gently unclip them, remove them completely, and then firmly seat them back into their slots until the clips lock into place. If you have multiple sticks, try booting with only one stick installed.
GPU: Unclip the graphics card (release the retention clip on the PCIe slot) and remove the card. Re-seat it firmly into the slot and ensure the retention clip locks properly.
Attempt Boot: Plug the PC back in and attempt to boot.
Conclusion
ASUS boot issues are frequently solvable through systematic troubleshooting of software and firmware. The most critical fix is performing a BIOS update via ASUS EZ Flash, but first step is to ensure a stable system environment with Driver Talent X.
By combining the BIOS update with a CMOS clear and reseating critical components like RAM, you can reliably overcome boot failures and restore system stability.
