A gaming session interrupted by a failure to boot is every PC owner's nightmare. If your ASUS gaming desktop (including ROG and TUF models) refuses to turn on, the problem is typically related to power, components, or firmware.
Understanding the systematic approach to troubleshooting can save you time and potentially a repair bill. This guide provides step-by-step solutions to diagnose and fix why your ASUS gaming desktop is not turning on.
Part I: Driver and Firmware Solutions
If the PC powers on but immediately freezes, shuts down, or stops booting after the ASUS logo, the issue is likely rooted in conflicting drivers or firmware.
Method 1: Automated Driver Update with Driver Talent X
Corrupted chipset, firmware, or power management drivers can cause boot-time crashes. If you can access Windows (even for a short time or in Safe Mode), an automated utility is the fastest way to stabilize the system.
Access Windows: If your PC boots but fails soon after, or if you can access the Troubleshoot menu to enter Safe Mode with Networking, do so.
Download and Install:
Click the "Download" button to download the software package.
Install it on your Windows PC.
Run Scan:
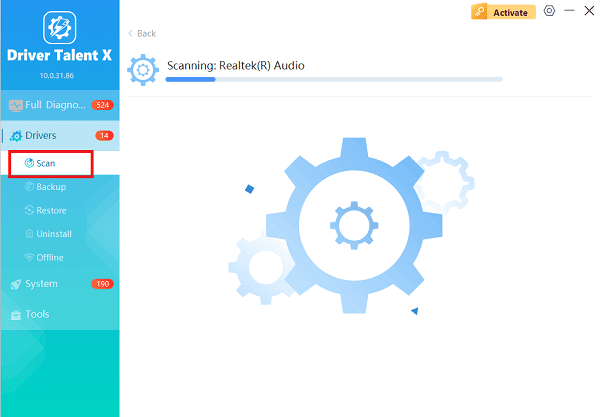
Launch the application and go to "Drivers" > "Scan", click "Scan".
The tool will check all your hardware, focusing on critical ASUS-specific Chipset, BIOS/Firmware, and System drivers.

Update Critical Drivers:
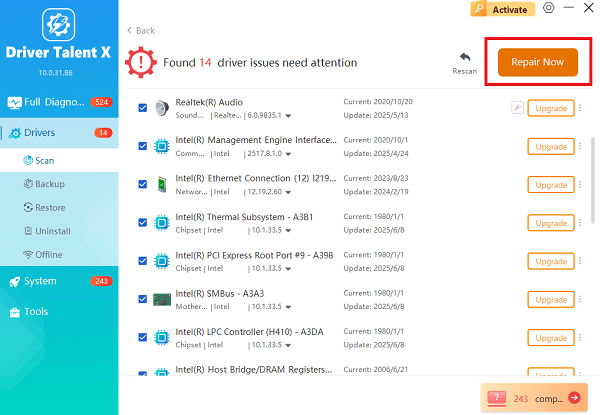
After the scan is complete, the software will display a list of all drivers that need attention.
Select System drivers and click the "Upgrade" or "Repair Now" button. The utility ensures you install stable, compatible versions of these low-level components.

Restart Your PC:
After the installation is complete, restart your computer to load the new firmware and drivers, which should resolve the boot conflict.
Method 2: Clear CMOS Jumper or Battery
The CMOS (Complementary Metal-Oxide-Semiconductor) holds your BIOS settings. Resetting it to factory defaults can fix boot issues caused by incorrect settings (like incorrect RAM timing or overclocking).
1). Power Down Safely: Follow the power down and unplug steps from Method 1 in Part II.
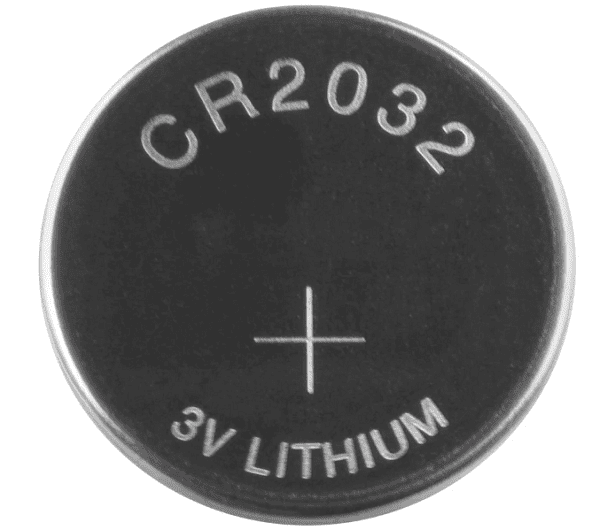
2). Find CMOS: Locate the small, coin-sized CMOS battery (CR2032) or a labeled "CLRTC" jumper on your ASUS motherboard.

3). Reset:
Jumper Method: Move the jumper cap from its default position (e.g., pins 1 and 2) to the other position (e.g., pins 2 and 3) for 5-10 seconds, then move it back.
Battery Method: Carefully remove the coin battery for 5 minutes, then re-insert it.
4). Test: Plug the power cable back in and attempt to boot. You will need to press F2 or DEL to enter the BIOS and reset the time/date.
Part II: Immediate Power and Hardware Checks
Before diving into complex software or component fixes, rule out simple power issues and component seating problems.
Method 1: Perform a Hard Reset
The hard reset is the most common fix for power-on issues. It drains residual electrical charge that can confuse the motherboard's power controllers (like the Embedded Controller or EC).
Unplug Everything: Power down the PC completely. Flip the switch on the rear of the Power Supply Unit (PSU) to the OFF (0) position and unplug the main power cable from the wall.
Disconnect Peripherals: Unplug all external devices (monitor cable, keyboard, mouse, USB drives).
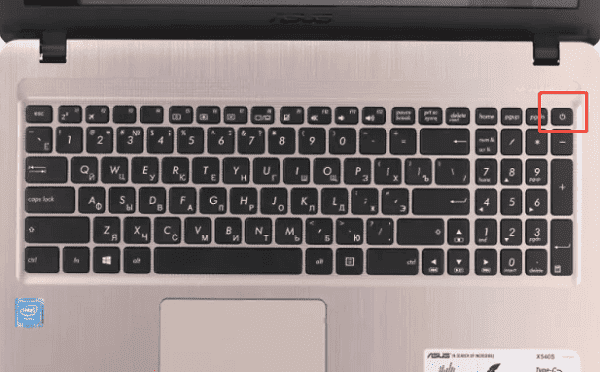
Hold Power Button: Press and hold the PC's main power button for 30 to 40 seconds. This action discharges any remaining "flea power" from the motherboard.

Test: Plug the power cable back into the wall (and the PSU) and attempt to power on the system normally.
Method 2: Verify Power Source and Components
If the hard reset fails, isolate the hardware failure.
1). Test Power Outlet: Plug the PC into a different wall outlet or use a known-working power cable.
2). Inspect PSU Switch: Ensure the voltage selector switch on the back of the PSU (if present) is set correctly for your region (usually 115V or 230V).
3). Check Internal Connections: If comfortable, open the PC case.
Ensure the main 24-pin ATX power cable and the 8-pin CPU power cable are firmly seated on the motherboard.
Check that the Graphics Card (GPU) is properly seated in its slot and that all necessary PCIe power cables are securely connected.
Method 3: Reseat RAM Modules
A slightly loose or improperly seated RAM stick is a frequent cause of a "no boot" situation, as the system cannot initialize the memory.
Power Down Safely: Follow the power down and unplug steps from Method 1 in Part II.
Locate RAM: Find the memory sticks on the motherboard.
Reseat: Press the retaining clips (usually on both ends of the slot) to pop the RAM sticks out. Clean the slots gently, and firmly push the sticks back in until the clips snap securely into place.
Test: Plug the power back in and attempt to boot.
Conclusion
A non-turning-on ASUS gaming desktop is a serious concern, but most issues are solvable. If the problem persists but allows some booting, using Driver Talent X to ensure stable system firmware and drivers is the most efficient software fix.
If all internal resets and reseating steps fail, the problem likely points to a faulty PSU or motherboard, necessitating professional repair or warranty claim.
