ASUS 4K monitors are popular because they cover different needs very well. Some are built for creators, some focus on gaming, and others are designed for everyday office and home use. That variety is a big advantage, but it also means buyers can choose the wrong model if they focus only on 4K resolution. A good ASUS 4K monitor is not just about having 3840 x 2160 pixels. The real value depends on panel quality, refresh rate, color performance, connectivity, and whether your PC can actually use the monitor properly.
Who Should Buy an ASUS 4K Monitor
For gamers, the answer depends more on hardware. A 4K monitor can look excellent in story-driven games, racing games, and visually rich open-world titles. But 4K gaming puts a heavy load on the graphics card. If your GPU is not strong enough, you may not get the smooth experience you expect
For general users, an ASUS 4K monitor can still be a great choice for browsing, streaming, office work, and media viewing. In that case, comfort, brightness, and panel quality often matter more than advanced gaming features

The Main Types of ASUS 4K Monitors
ProArt monitors are best for content creation. They usually focus on color accuracy, wide color coverage, and a more professional visual experience. If your work depends on how colors look, this series makes the most sense
ROG and TUF monitors are built more for gaming. They often offer higher refresh rates, adaptive sync, and faster response times. If you want 4K visuals with smoother gameplay, these are the models to look at first

What Features Matter Most
Refresh rate is very important for gaming and much less important for office work. A 60Hz 4K monitor is still perfectly fine for writing, browsing, editing, and media use. But if you play fast-paced games, 120Hz or 144Hz can make motion feel much smoother. Of course, that only matters if your graphics card can support it
Color accuracy matters most for creators. If you edit photos or video, wider color coverage and better factory calibration are valuable. If you mainly watch videos, browse the web, and work in office apps, extreme color accuracy is less important than overall screen quality
Ports also matter more than many buyers realize. If you want 4K at high refresh rates, you need the right HDMI or DisplayPort bandwidth. This becomes even more important if you use a gaming PC, a laptop, or a console with the same monitor

Make Sure Your PC Matches the Monitor
This is where many buyers make mistakes. A high-end ASUS 4K monitor cannot perform at its best if the PC behind it is too weak. If you have an older mid-range graphics card, a 4K monitor can still look great for work and video, but gaming performance may be limited. If you own a stronger GPU, then a high-refresh 4K gaming monitor becomes much more worthwhile.
That is also why driver stability matters. A good monitor can still have flickering, wrong refresh rates, missing HDR options, or sync problems if the graphics and chipset drivers are outdated
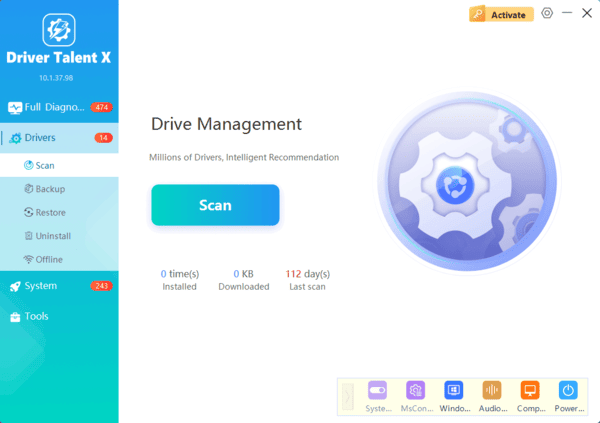
If you want to check whether the system side is limiting the display, Driver Talent X can help scan for outdated graphics, chipset, and display-related drivers more quickly. This is especially useful after buying a new monitor or after a major Windows update
How to Choose Smartly
If you are a creator, look at color and panel quality first. If you are a gamer, focus on refresh rate, sync support, and whether your GPU can keep up. If you mainly need a good monitor for work and entertainment, prioritize comfort, sharpness, and reliable overall quality
After that, make sure your PC can actually support what the monitor offers. Then, once you buy it, confirm that Windows is set to the correct 3840 x 2160 resolution and highest supported refresh rate, and make sure your drivers are current
Conclusion
If you choose based on panel type, refresh rate, color needs, connectivity, and PC compatibility, you are much more likely to end up with a monitor that actually improves your daily experience. When the monitor and system are matched correctly, an ASUS 4K display can deliver the sharp, smooth, and high-quality experience that makes the upgrade worth it.
